
Here in Colorado, as most people know we have a lot of mountains. We are, in fact, the highest by average elevation state in the lower 48 states. With that comes a lot of peaks that are quite tall--we have 53 peaks that exceed 14,000 ft. Here in Colorado, we affectionately call these '14-ers'. To scale one of the 53 peaks is a sort of right of passage if you call Colorado home. I remember my first, it is a gorgeous peak called Mt. of Holy Cross near Vail. We started out at about 3:30am from camp hiking by headlamp, taking the long 9 hr, more scenic way to the summit. You have to leave early to make sure you summit early in the day and are on your way down before the afternoon thunderstorms roll in. Well, you start out full of energy and enthusiasm to conquer this daunting task ahead of you. About 3-4 hrs into the hike, as the sun is coming up and you are now above treeline, the entusiasm has certainly dampened if not completely vanished as you labored up the mt in the thin air. At this point in my hike, 5 of our original group of 10 decided they had enough and headed back down. They all had various excuses for throwing in the towel, but I remember not one of them told the truth and admitted that they just werent up for it and this was more than they bargained for.
I wouldnt have blamed them at all, it was hard work, much tougher than I had expected when I started either. We still had about 6 hrs hiking ahead of us before we summited at around 1:00. This next six hours, all at an altitude above 11,000 ft was the toughest of the trip. Not because of the difficulty per se, because most of the elevation gain was behind us. It was because, the enthusiasm and excitement were now gone, and we werent close enough to the summit to see the light at the end of the tunnel. This was where you had to trudge on and be persistent, determined to go on. One step at a time.
Finally we summited and to stand on top of the peak was an experience I wont ever forget...the culmination of a hell of a lot of hard work and it would have so easy to turn around and give up when the others did. I'm so glad I didnt.
My relevance for the story is this, building this airplane has striking similarities to climbing that mountain. There are a lot of builders that throw in the towel around this point in the project. Right now I feel like I am starting to get the middle of my climb up the mountain...that period when it just isnt sexy anymore, its more like work--it would be easy to give up. I trudge on, because I dont plan to miss this summit. Dont get me wrong, I am still enjoying myself but I can sense that the project is evolving into something different than when I started.
Time to climb this mountain! The most rewarding things in life are the ones that are difficult to achieve, if it was easy everyone would be doing it and that wouldnt be any fun. ;) If you're like me, and feeling the grind, KPR my fellow builders!
So, rib prep work (deburring, fluting, etc) is thankfully almost done on both the main ribs and the nose ribs. I bolted on the tie-downs to the main spar and drilled holes in the ribs for the cable routing.

Main ribs, ready for prep, lots of 'em...

Before fluting: see how the rib is bowed in the middle. This is a natural occurence when the part is formed.

After fluting: you can see how the fluting, when done properly will flatten out the rib. This is almost an art to do it well. Ideally each flute is identical all adding up to straightening the rib perfectly. By the end of this process I was getting pretty good at it.
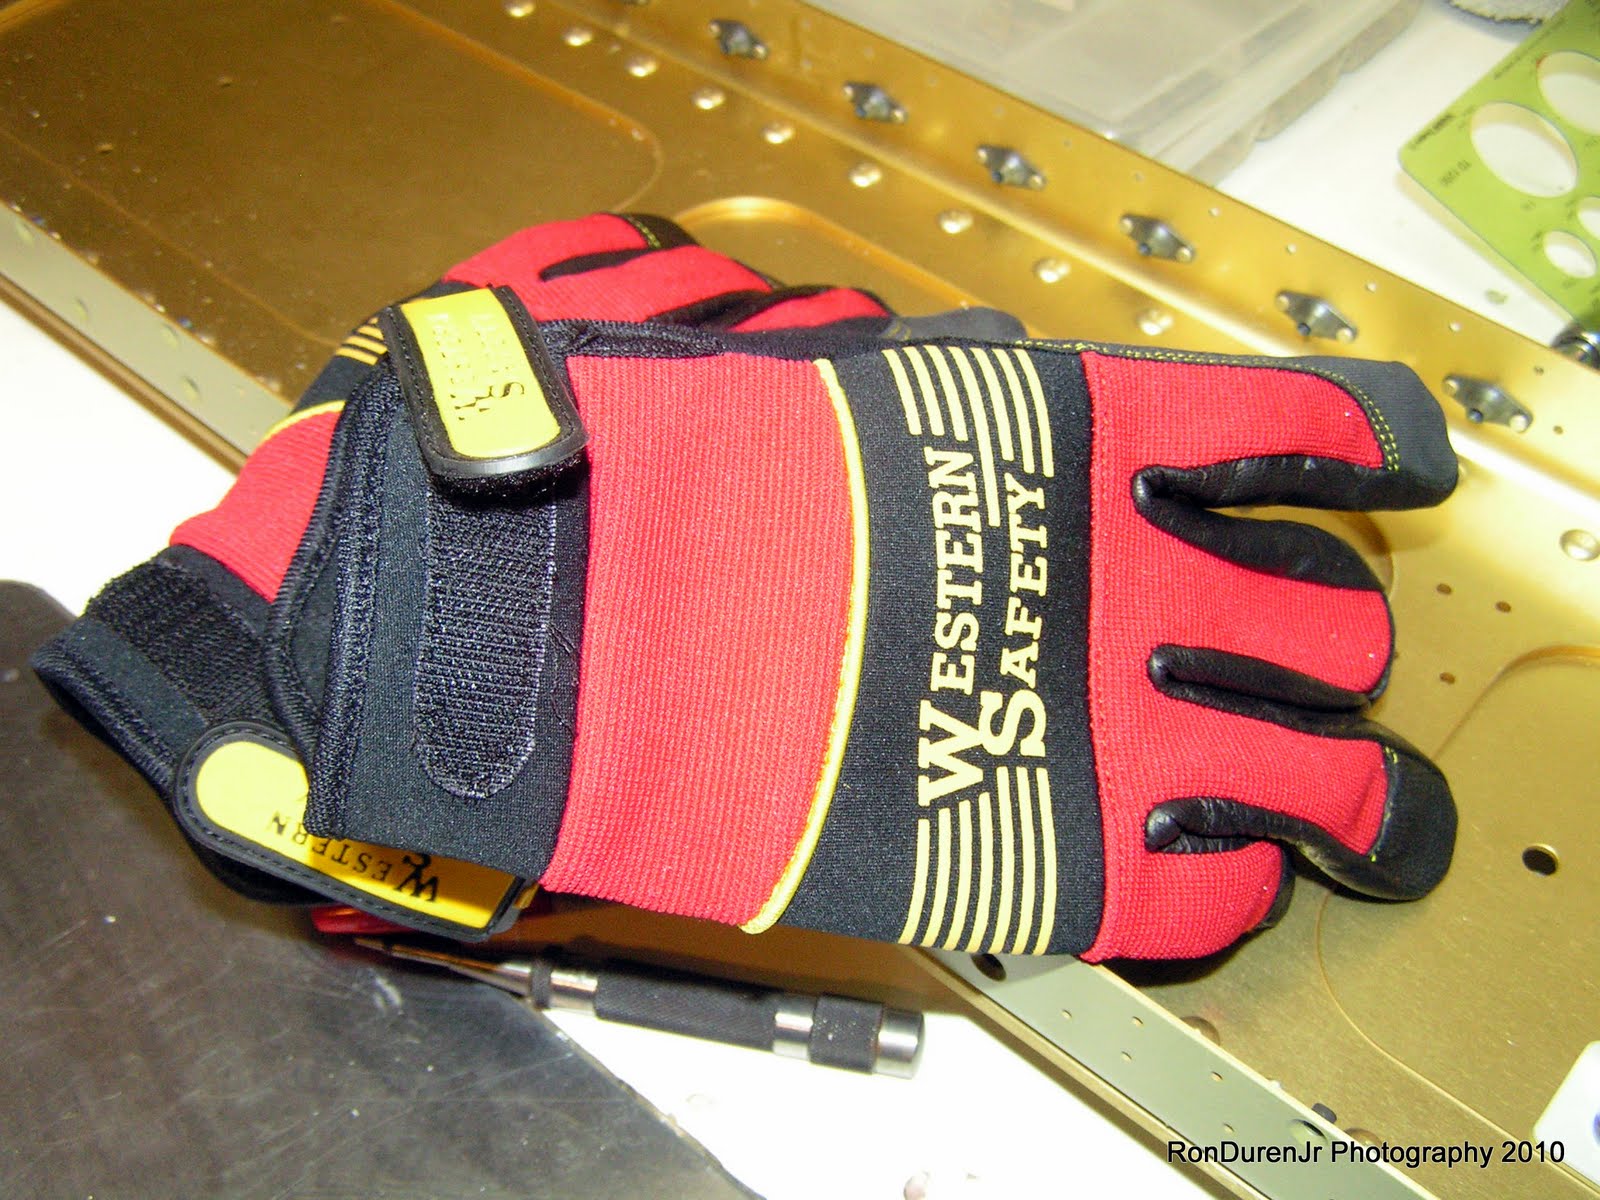
All of that fluting is hard on the hands, I had several blisters by the end of all those ribs. I went down to Harbor Freight the next day and bought these gloves to save my tender hands! Thats what happens when you work at a computer all day. :)

Stacks and stacks o' ribs...all fluted

Aileron bellcrank brackets on the backside of the tie downs. I put these on, but may have to remove them to assemble the bellcranks...hmm EDIT (7/19/10): Yup, although the plans say to install these now...dont. You cant get the bolt in with them installed, gonna have to take them off.

The access hole for the cable conduit, all of my wires running to the wingtip will route through here. Van's pretty much leaves this up to the builder to locate this routing path. You want a straight run that also doesnt interfere with the pushrods or the pitot tube. The lower left hole is where I originally planned to put it (the same location that Checkoway used) but decided against it because I didnt like how close it was to the corner relief cuts and the possibility of comprising the rib strength. The hole with the cross-lines is where I drilled instead. I really dont think it would be a structural problem in either place, Checkoway has 1000's of hours on his airframe now without a problem so its clear his layout worked fine.

In the lower center you can see my 1/4" dia pilot hole. I drilled one rib (the top one), then matched the next rib (seen here on the bottom) and then continued through the stack of ribs drilling pilot holes in the same place. I then used a unibit (love this tool!) to ream it out to 1.125" diameter for the grommet I plan to use. I wasnt nearly as anal about this as Checkoway was, he actually made a cardboard template to ensure every hole lined up exactly. Mine may not be that exact, but they are going to be darn close without as much time and effort. If they are off by an 1/8" here and there they will still work fine for a straight cable run.
No comments:
Post a Comment