
This brought my running total so far to 32 hrs on the wings (5 of which were inventory). So, all in all, it took me about 27 hrs to get the rear spars completed. Certainly seemed to take longer than I expected when I started out but I think that total is right in line with what other builders have done (Checkoway for example).
Update: regarding my driling mistake I mentioned earlier, I decided to build on. As my Dad jokingly said, those are just lightening holes in the rear spar! haha! All told, it wasnt 4 added holes as I mentioned, but 6 total. 4 of them are no factor, the other two were concerning because they blended together into a figure eight (see pics). Of those two holes, one of them holds on a cover bracket for the flaps (not structural and is one of many), the other one just secures the doubler and reinforcement fork...and it is also one rivet of many doing this job. I just fabricated a small reinforcement piece to make up for this one to add a little strength for piece of mind. That's my thought process on this flub. It is now going to just add to the character of the build although it would be hard to ever see it when the wing is finished...I wouldnt advise going this route if you can help it however! :) Its definitely kind of ugly to look at.
My tip to other builders: be careful when doing the right side of anything when building these wings...the plans will show the left wing (but not the right), you, as the builder, need to mirror that image in your head to do the right side. Takes a little concentration and its easy to get confused, so beware!

Here is a shot of the infamous 6 holes, click on the pic to enlarge.

Here you can see an inserted rivet, this one was the one that caused me concern. My thinking was because of the figure eight hole that the shop head would not form correctly with this configuration and probably just bend over.

So I quickly fabricated this reinforcement piece out of some scrap alum for the backside. Hit it with some self etching primer and voila, the shop head formed up nicely.

To give you an idea, this is that same rivet from the other side. It isnt going anwhere!

This is some fabrication work I needed to do on the inboard side of the doublers. This is just an RV7 specific trim I believe. This pic shows one already trimmed per the drawing, I just traced the outline on the other one to match.

More fabrication, had to cut out a hole for the pushrod. It is shaped like that to match the movement of the pushrod. Not a big deal, did some of it with the unibit and then trimmed it up nice with the dremel.

Alodine bath...


Tie down brackets. I wasnt happy that my nut plates came out a little askew...just a pride of workmanship thing since it really doesnt affect their functionality at all.

This view shows the alodining process in the tapped hole that I added for the tie down rings. If you werent alodining parts I'm not sure how you protect this hole from corrosion since painting threads probably wouldnt be advisable. Came out nice like this.

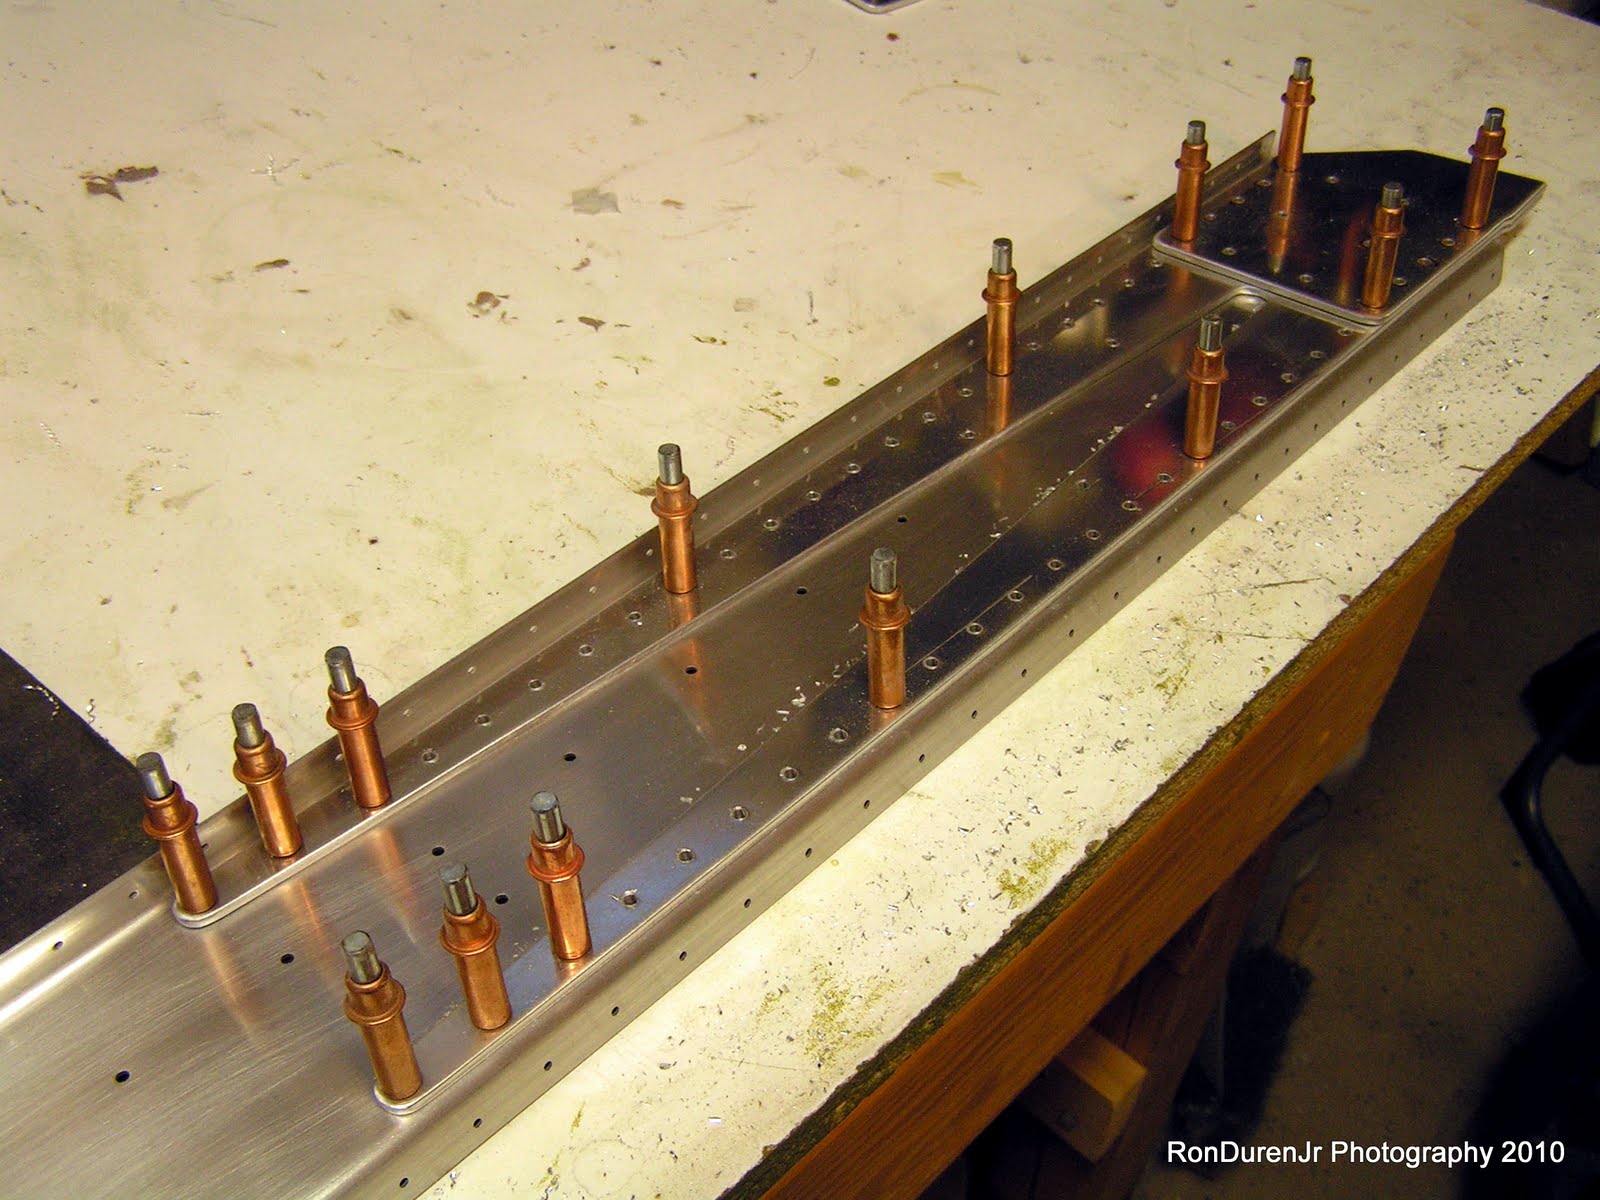
And a few shots of the finished parts: the holes circled with no rivets installed are purposely left open as they are riveted later in the assembly of the wing skeleton.

Note: I forgot to machine countersink some of these holes before priming. Doh! They will sit flush under the aileron bracket. No big deal, I will do this later and just hit it with some self etching primer when I'm ready to rivet this section.

Next step: prepping the ribs!! Woohoo, not too excited about this step but its gotta be done.
No comments:
Post a Comment