Ron's RV7 Aircraft Factory


Welcome to my personal blog. This site was created as an informal description of my build progress in the construction of a Van's RV7 aircraft. A place where family/friends/builders/curiosity seekers can follow along. It is not intended to be a detailed description of every step in the building process as that would be much too time consuming. There are plenty of sites that do a great job in that arena, that is not my intention with this site. My intention is for this to be a philisophical/motivational/inspirational account of the emotional ups and downs of the life changing journey...and it will change your life. I hope this will give you an idea, through my eyes, of what its like to make this transformation. A note to other builders, I am not an expert so do not put your safety at risk by attempting anything you see on this site until you have done your own research, or send me an email so we can discuss it. Any deviations from the plans are not approved, nor endorsed by Van's Aircraft or myself. Thanks for visiting.


Monday, January 31, 2011

Sean Thomas Visit HOBBS 461.5 hrs


Good news, bad news. Good news...it was a fun weekend, bad news...didn't get much done on the plane.

Saturday I took a former colleague, business partner and good friend, along with his wife and her 10 yr old son on a trip in the DA-40 G1000 out to Sidney, NE to visit Cabela's. We had a great time, the flight was good although the winds (24kts G32) made my landings a tad interesting, but we survived...I will post more on this later.

Sunday, Sean Thomas, who is interested in building a RV7A came out for a visit. I almost felt bad for Sean as I talked his ear off for about three solid hours! :) That was about all the information I had stored up on how to/tips/tricks/lessons learned in my little ol' brain. Sean will be attending the SportAir RV class in February and already has both of the practice kits in his possession. All he needs now is some tools, an empennage and a place to build it! Good luck Sean, was good meeting you.

As for the project....just making final preparation's on my left ER tank in giddy anticipation of yet another ProSeal dance. ;) Pretty easy to see from the dimple pattern  in the pic exactly where the ER tank is going to be located...looks cool.

Friday, January 28, 2011

Wing Access Hole HOBBS 457.5 hrs

This week I went about the process of cutting an access hole into my leading edge. This hole will be for accessing the transfer pump and plumbing along with the ER tank access cover. Pretty straightforward, but again, I have been dragging my feet to do this. Not too excited about cutting into my leading edge...no room for error or its gonna cost me time and money. So I made sure I really thought it through before breaking out the dremel tool. Here are the results, I think it came out pretty good.


Layout and planning. The existing square access hole you see is for the stall warner which I wont be installing. I will have AOA in my plane, which is far superior to a stall warner. But, this hole will be needed since I have such a tight space to work with. Both holes will be utilized in the event I have to access this ER tank. I will duplicate this layout on the right wing later.


Using a unibit, drill holes for your radii in the corners first, remember no sharp inside corners. I used 1/2" to try and mimick the existing design


As mentioned previously, the dremel with a cutoff wheel is my tool of choice for cutting stuff like this. Works great. Be very careful with this cut, no slips, use both hands so that bugger doesnt get away from ya!


Created a back plate for the nutplates in much the same way


Access covers dimpled and cleco-ed in place for a test fit. This space is only a little over 2" wide--that was all I could squeeze out of this geometry. The strategy will be to use the stall warner access hole for reaching in with tools and the new, skinny hole is needed to remove the tank access cover. Make sense? Looks good on paper...probably be drilling out rivets to remove the entire leading edge assembly if I have any major problems with this tank! ;) How careful do you think I will be with sealing that tank?? This is a weak part of the design for sure...a removable tank would be ideal.

Pics from the Weekend HOBBS 453.5 hrs


A box of supplies arrives from Van's for the ER tanks...MORE ProSeal (woohoo!), locking fuel caps, etc


Locking deluxe fuel caps. Although my main tanks don't have locking caps as I didn't think I needed them for that application. I did, however, want them on the aux tanks so a line boy doesn't mistakenly fill them without my knowledge. Its safety, not necessarily theft that I am concerned with.


A template I made from the standard tanks. No need to cut out the hole twice, just find center and drill a #40 hole in it. The center point is what I am interested in....


...If....of course, you have a set of these in your shop. I am a huge pack rat (I am working on it!) and I tend to keep everything. Well, case in point, this compass is left over from my undergrad education about 23 yrs ago!! That's back in the day when they actually still taught manual drafting..with pencils, erasers, easels and straight edges. :) Nowadays that is all done by computer with CADD (Computer aided Drafting and Design)...thankfully. Manually drafting, although fun and a sort of art, was very time consuming. Anyhow, these came in handy. Use them, along with your center hole to create your circle cut-out for the fuel cap.


Also mark your rivet holes, and start cutting. I laid the skin flat and used my special hole cutting tool....hate that thing, but it worked. Here, after some careful work, is what you get...ready for the fuel cap install.


And now for my 'misadventures' in ER fuel tank installation. It suddenly dawned on my that I needed a feed line coming from the ER tank through my ER electric transfer pump and then feeding into my main tank per Mr. Tuckey's design. I already have both of my main tanks sealed up nicely...what the heck am I going to do about this?! 

Crap!!! ...and some other choice words...followed by perspiration on the forehead and that uneasy feeling in the pit of my stomach that has become quite common while building an airplane for the first time! After calming down...always gotta do that first, clear the head and then solve the problem. I then scratched it (my head) quite a bit, pondered my predicament and weighed my options. Why not cut another access hole in the end rib...and cover it with the extra covers I had for the float type system that I'm not using? Seemed like a good plan...  


Broke out my hole cutting tool again and was able to perform the surgery on the completed tank. Gosh, I gotta tell  ya, it did hurt a little to cut into a perfectly good fuel tank! So much for my earlier tank pressure test...I will certainly have to redo that.


And the challenges continue...wouldn't be any fun if it was easy...how do I get the reinforcing ring into the tank???! Crap! More sweat and uneasiness...relax...cut it on the band saw in one location and slide it in to position. No structural compromise. No problemo! What was I worried about? ;)


And here you can see the product of my work...almost done. I have to tell ya, building these ER tanks is nerve wracking but a ton of fun for me! You really get a real sense of accomplishment, that you are actually building something from scratch (not really...but closer) and you are not following plans word for word.

Monday, January 24, 2011

Busy Weekend HOBBS 453.5 hrs

This weekend was a busy one....there was a whole lot of RV construction activity going on. Included in this activity were some ER tank misadventures...I'll explain later. I didnt get a chance to download pics, but I will post them in the next entry. I was up at 6am both days working in the factory...there's some dedication for ya! ;)

I spent most of my weekend working on the 3rd fuel tank (the 1st ER tank). If I had forgotten, I was quickly reminded fuel tanks are a lot of work! But I am on a mission to finish these puppies up and move on. On the positive side, I should be able to teach a class on how to build a fuel tank when I am done with these ER tanks. :)

Friday, January 21, 2011

Chris Sands RV7 HOBBS 441.0 hrs


Spent a few hours this week, sandwiched between schoolwork and a social engagement, peeling skins and doing edge prep work, dimpling next. Trying to get all of the skins prepped and ready for riveting. My ER tank supplies came in from Van's yesterday so I plan to tackle the 3rd fuel tank this weekend! woohoo!

Check out this outstanding picture (remember you can click on the photo for a larger view) of an RV7 posted on VAF. Simply stunning photography and paint job! I swear to you just so you know I'm not copying Mr. Sands, my fuselage paint scheme (my hand sketched drawings) looks very similar to this scheme (minus the checkerboard). :) Just swap the colors for red/black.

This certainly gives me confidence that my scheme will also look good when done...thats assuming mine comes out this nice. Hand sketches are quite different than real life. Anyhow, hope you enjoyed these photos as much as I did. Nice job Chris and whoever your painter was. In my humble opinion, this is what an RV7 should look like. I am not a fan of the 'bare bones' utilitarian RV's that are out there. Panel work is also exquisite and courtesy of SteinAir.

[On as a side note: I have not obtained permission from Mr. Sands to use these photos although I am trying to get his contact information. I am also not sure if permission is required under the fair use copyright laws of the United States as long as I provide information and/or a link to the rightful owner? (which I have done)] [Edit 01/24/11: I recieved permission from Chris, thanks Chris. Let me add, regardless of the legality of posting someone else's photos. It is, at the very least, ethical and polite to ask permission...which I always try to do. By the way, this plane is for sale, $129,000 and its all yours! Edit 04/11/11: Chris told me he sold this plane within an hour of posting it for sale...not too shabby in this economy.]


Sunday, January 16, 2011

More Push Rod Work HOBBS 438.5 hrs

Its been awhile since I have had to scrap anything, in fact its only happened once and it was way back on the empennage. Well, tonight makes #2! :)

I dove back into the push rods, wanting to get them finished up from yesterday. The pull rivets in the larger, long aileron push rods were a piece of cake and I got those done no problem.

Then I tackled the smaller ones that go from the bell crank to the aileron. They get one AN470 4-12...this is the one that some builders weld instead of riveting. Well, let me say I dont regret trying to rivet them because I did get one rod done...but its really kind of a bitch and you have to be real careful when doing this. Since its such a long rivet and you're trying to rivet onto a round surface...it really doesnt want to cooperate.

I did 3 of the 4 successfully, but the second one I attempted gave me trouble. I drilled it out and tried again...crap, screwed it up even worse. Tried to drill it out a third time and it was toast! Oh well, as I always say, its not the end of the world....mistakes happen. I'll order some more material and give it another go.

By the way, this was my process for the successful ones. I used the drill press with wood blocks to hold the rod in place and keep it centered (you can buy nice 'V' blocks to do this properly). This wasnt too difficult, but just go real slow and easy to keep it straight. Then I cut the -12 rivets down just slightly with my rivet cutter (I think they are a smidge too long for this task). Then I used my rivet gun and my back rivet plate as a sort of bucking bar. This worked pretty good if you can keep the rod nice and square and go slow. That rivet wants to bend over...dont let it. ;) Anyway, up to you if you want to go this route or weld. I could certainly see the argument for welding as this will challenge your machinist and riveting skills.

[Edit 01/17/11: did some research on VAF after the fact . Seems most guys will just clamp the rod in a vice and then buck the rivets with the gun...some guys also squeeze them, not sure if my pnuematic squeezer could handle such a long rivet? But both of these sound like fine ideas. I also noticed some discussion about using an alum alloy rivet in steel parts which is a valid point. Right now I dont plan to redo mine with different rivets...I mean Van's specs alum rivets and there are 7000+ flying. But fundamentally from an Engineering standpoint its a flawed design. It will certainly be something I keep an eye on for corrosion during inspections. In addition, I plan to primer those rivets to create a moisture barrier. It wont help with the dissimilar metals problem, but it might help overall.]


Using my handy paper again, I did a layout for the 6 equally spaced rivets around the rod. Using the paper get a measurement for the circumference, then lay your paper out on the table, do your arithmetic to equally divide the distance and draw index marks on the paper. Roll it back onto the rod and voila...you have now transferred your layout to the round rod. The paper also will keep you nice and square to the end.


You can see here in this pic, even though I call this a successful rivet (the shop head measures to spec), you can see its still not very pretty. It just doesnt want to conform to the round tube very well. Oh well I'm not going to sweat it, its not going anywhere. This at least gives you an idea what my results look like for comparison to your own.

Saturday, January 15, 2011

Fuselage on Order! HOBBS 437.0 hrs

Today I mailed in my deposit for the fuselage! This is actually ahead of schedule for what I had originally planned. Van's is having their annual price increase on Feb. 1st so I will scrape together the cash to buy them now instead of waiting until later.

So...about 8 1/2 weeks from now hopefully my fuse will be arriving. I am pretty stoked about this. The wings have certainly been more fun than the empennage...but I am really looking forward to the fuse as being a lot more fun. I mean, heck, soon I will be able to sit in the cockpit and make airplane noises!! Vrooom, vroom! ;)

This also means I need to step up the pace on the wings so I can try and be ready for the fuse when it arrives. Good problems to have...maybe one day this puppy will fly!

Aileron Push Rods HOBBS 437.0 hrs

One of my favorite sayings goes something like this, "What's the best way to eat an elephant? One bite at a time." Building an airplane certainly falls into the category of eating an elephant...so many things to do, it can seem overwhelming if you look at it in its entirety. So, I just focus on the bites...well, lets just say I have been taking quite a few bites out of the elephant lately.

Thursday I put in another order to Van's...the remainder of my ER fuel tank supplies (minus the low pressure electric pumps). So, I will be expecting that order to arrive some time next week so I can crank through those leading edge tanks.

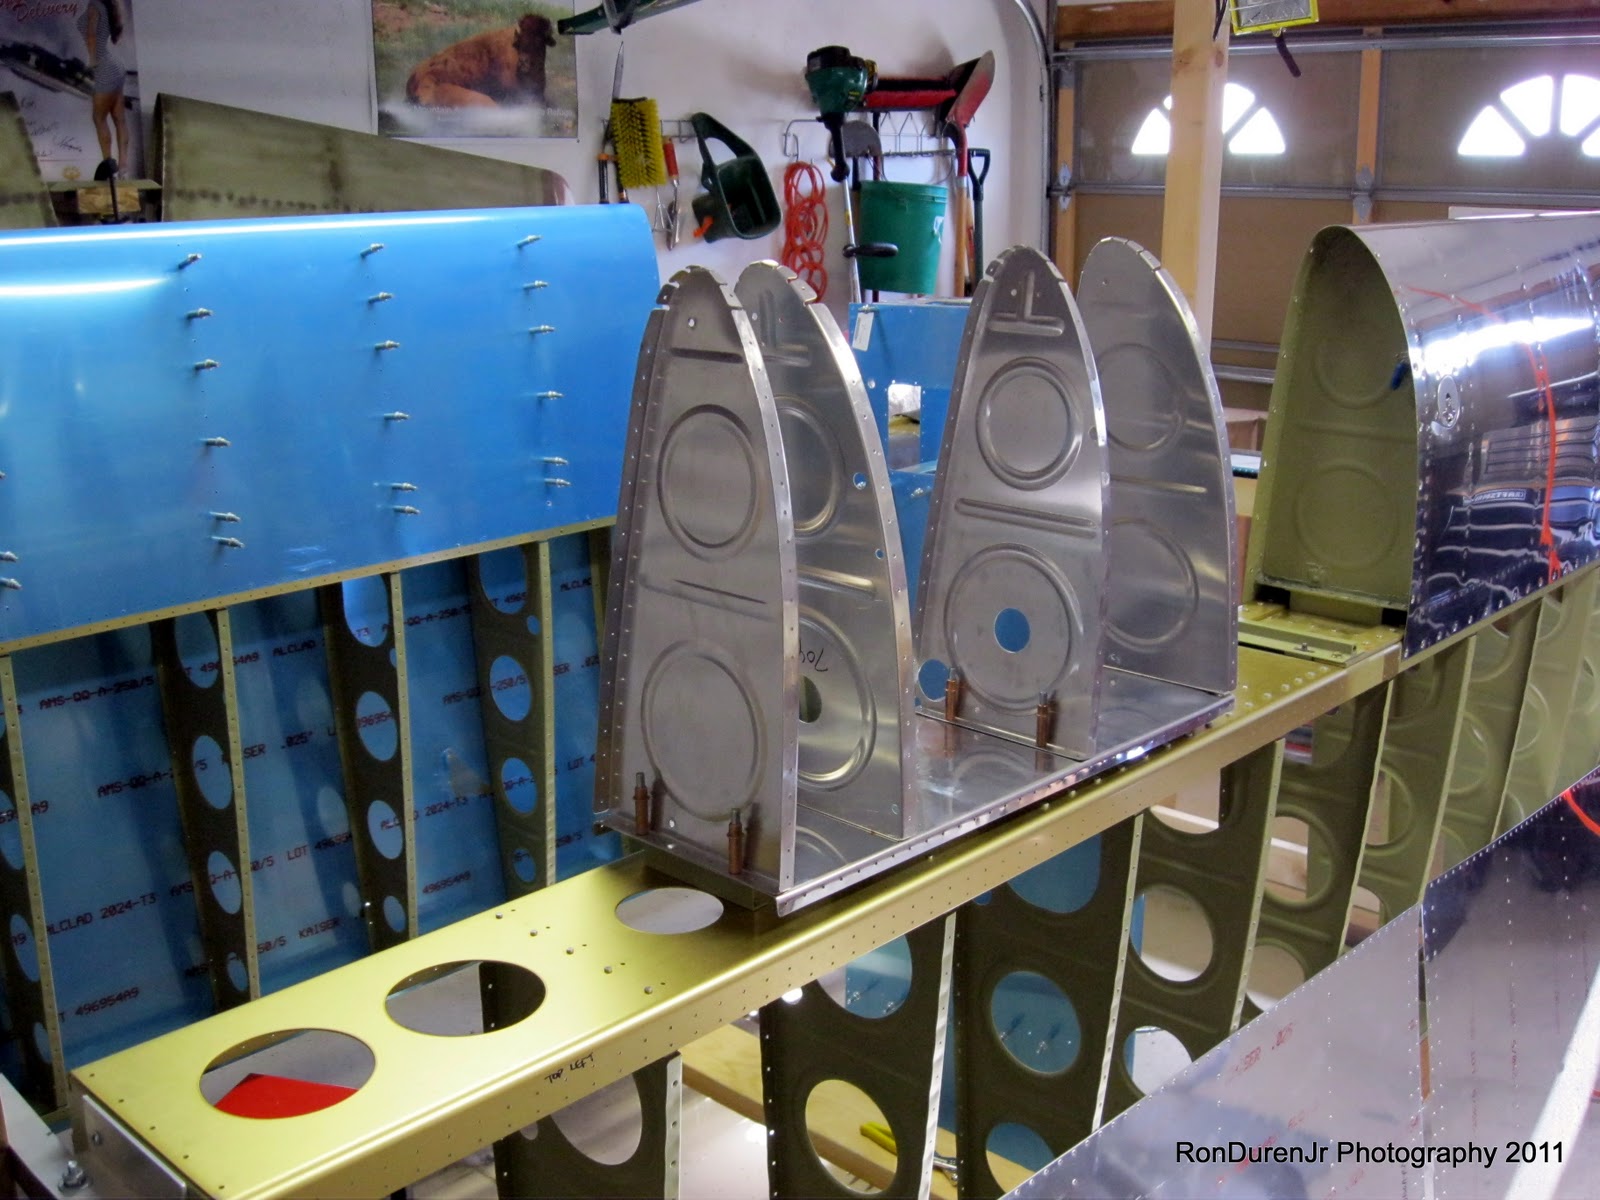
The last few days have seen work on the following:  machine countersinking the main spars, fixing a mistake on the fuel tanks, more ER fuel tank work, assembly of the aileron bell cranks and fabricating and building the aileron push rods. Here are some pics...


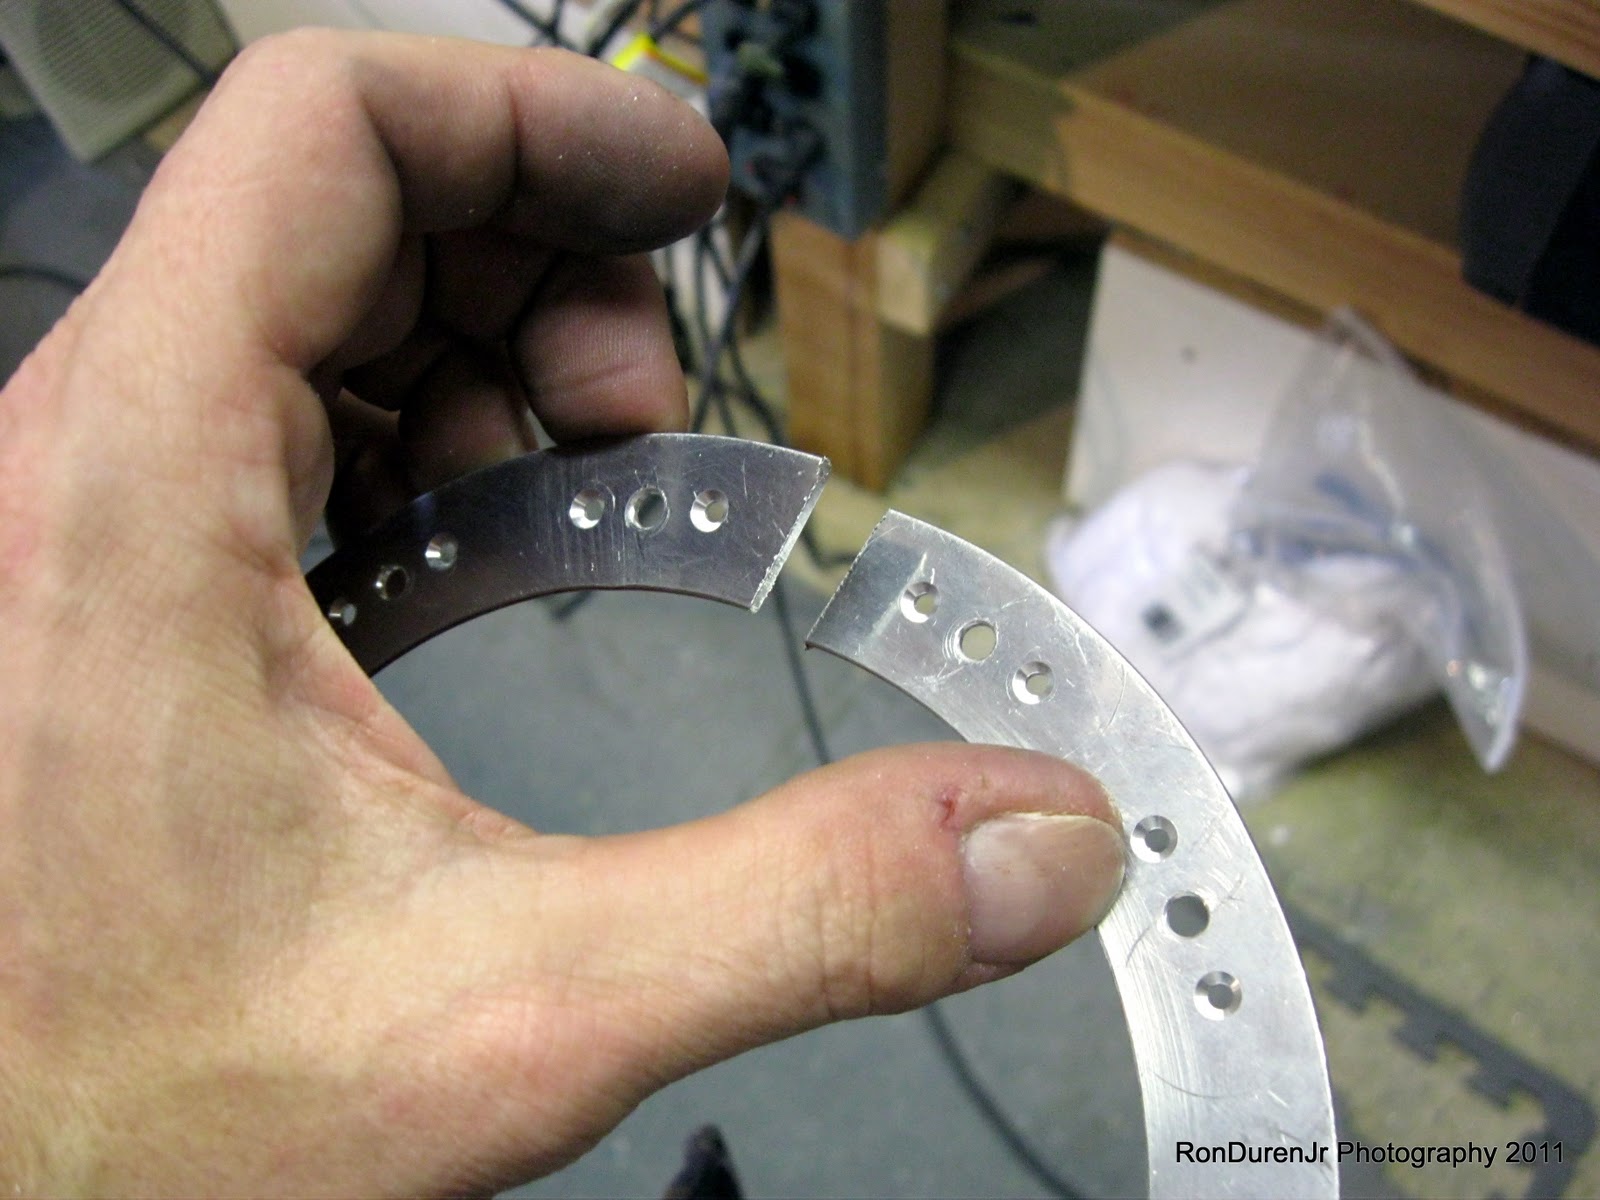
A small mistake I made on fuel tank attach brackets...the inboard bracket doesnt get nutplates...whoops. So I had to drill these out to remove them and then rivet them to the spar.


Machine countersink...self-etching rattle can primer, rivet nutplate to the backside.


Machine countersinking the main spar for the wing skins. I am 3/4 of the way done with this. It kinda wears a guy out...my arm was getting a little tired so I'll finish it up in the next session. ;) After countersinking...gotta prime those holes. I just used my self-etching rattle can for this.


You have to cut to length the aileron push rods from stock tube, this is the larger one that will go from the aileron bell crank to the control stick. Van's calls out a measurement of 65-25/32". Awfully precise for a part that is being measured with a measuring tape and marked with a sharpie. On top of the fact, the design is adjustable so its debatable if its that important. Oh well, I did my best to make it exactly as they called out. It came out pretty darn good for the tools I was working with. In this pic, you can see I cut it about an 1/8" long and then used a piece of paper as a way to get a square, precise mark for the final length. I then sanded it down on the belt sander, did some hand file work, followed by the debur tool, emery cloth and then scotchbrite to clean it all up nice. This process worked well for me.


Here is my final line marked on the tube. You can see my marks on the table for the length.


Once they are cut to length you need to prime the inside of each tube. I just taped one end of the tube and used a funnel to pour some primer into the tube. I then proceeded to roll the tube until I felt like it was coated. I used a flash light to inspect it the best I could...I think it worked well from what I could tell. After that is complete, you add the threaded end caps. I did this while the paint was still wet...they are a tight fit. Next I will drill them and use pull rivets to attach the threaded end caps...followed by priming the entire assembly.


Here is a shot of the smaller aileron push rods. These go from the bell crank to the aileron itself. These are steel tube and have threaded studs that insert in each end. These also had to be cut to length just as the longer versions. Some guys weld these inserts in place...Van's says you can weld them or rivet them. Although the weld idea is a nice clean solution, I plan to rivet them...just because I dont want to spend the time to go find a good welder and then spend the money. Rivets should suffice.


Here is the aileron bell crank assembly. There is a brass bushing that is included in this assembly that needs to be reamed to 1/4" ID for the attach bolt to fit through. I just used a pair of pliers to hold it in place and my drill press to do this. Certainly not very high tech, but it worked alright. The reamed hole doesnt need to rotate around the bolt so the quality of the hole finish is not that important. I used some lubricant (LPS-1) on the outside of the brass bushing and polished it up good with the scothbrite wheel to get a nice rotation within the bell crank.


I threw these rivets in to the wing ribs. They sit underneath the fuel tank skins so I dont think they attach to anything else? The only reason I mention this is, I could not find a callout in the prints for these rivets anywhere. I used AN426 3-4's, worked fine.

Tuesday, January 11, 2011

Tank Access Hole HOBBS 427.5 hrs

Spent some time on misc ER fuel tank details last night. Cut the access hole in the end rib (hate that hole cutter...dangerous bugger!), riveted the reinforcement ring, etc. Feels like I've been here before...??

Sunday, January 9, 2011

Right Tank Closed Up HOBBS 426.0 hrs

Today closed a very productive weekend in the factory. Today I started the morning with more work on the left leading edge/ER tank. After a few hours of that I switched over to the right fuel tank that has been sitting in the corner collecting dust...to finally finish that puppy off.

It was just needing a few interior ProSeal details, final visual inspection cleaning, continutity check on the capacitance plates and finally close it all up with the rear baffle. Even though I have done this before on the left tank and know what I'm doing, it still took me two busy hours to attach the rear baffle.

Its a pain, I gotta tell ya, that might be my least favorite part of the fuel tanks? Lots and lots of rivets, pull rivets, tank attach brackets, etc. You  gotta work fairly fast to get it done before the ProSeal sets up which only adds to the pressure. Anyhow, glad to have it behind me!! Pressure test in a few days after the ProSeal has set up and of course I still have two ER tanks to do but they should be quite a bit easier. But the main tanks are done...and good riddins!! Glad to have it in my rearview mirror...onward!


Match drilling the tank attach brackets to the rear baffle for the left ER tank


Here ya go...a 9.5 gallon leading edge fuel tank...kinda cool


I did a very careful layout...I must've checked my dimensions 6 or 7 times before finally drilling the main spar for the tank attach holes. This would be an EXPENSIVE mistake so use due diligence. I think I am good to go. I will match drill the tank attach brackets when the leading edge is clecoed in place later.

Saturday, January 8, 2011

Brian Beatty Visit HOBBS 420.0 hrs

This morning I had a nice visit from fellow builder Brian Beatty, he is also building an RV7 and is almost neck and neck with me in his build progress. I met him through the Colorado RV list and we hit it off immdediately. He showed up at 8:30 this morning and before I knew it...two hours of good ol' hangar talk had zipped by! He gave me some good ideas and tips that he is doing with his wings that I'm thinking of incorporating into mine. Hopefully this is the start of another great RV friendship. The people you meet in this hobby are second to none in my opinion.

After Brian left I got down to the business of building an airplane...thats what this is all about anyway isnt it? :)

Most of my efforts today were working on my ER tanks and left leading edge assembly. It was a good day...exciting and very fulfilling.


New parts arrived from Van's...always fun to get a box from Van's! ER tank parts and spare hardware to refill the parts bins.


Notice the two different versions of 8-32 nutplates...this explains my earlier mistake on the tank access covers...doh! Interesting to note.


ER tank layout work...lots of head scratching...planning...more head scratching...but you can see its starting to take shape. Progress is being made and it was fun to see.


A piece of paper cut to specific length to help with layout...to keep the ribs nice and straight/parallel before I match drill them to the skins.


For the close quarters work of match drilling the skins/ribs, I needed to purchase a right angle drill from Harbor Freight. $32..which was a little pricy for HF but it worked good. Its a tool I needed to buy anyway...handy to have in the tool box as the project goes on.

Wednesday, January 5, 2011

Aircraft Systems Design HOBBS 414.5 hrs

I was doing research over the weekend on fuel tank systems design. I wanted to spend some time understanding my fuel system...instead of just following blindly how Mr. Tuckey did his system. Nothing against Mr. Tuckey, but I just like to understand the details. Anyway...this research is ongoing. In my search I came across this very nice document by Gary VanRemortel on Aircraft Systems Design. I thought I would post it for your consumption. I have not read it in its entirety yet, but I will when I get some free time.

Wing Skins HOBBS 414.5 hrs

Well, I got a little bogged down over the last half of the holiday weekend...at least with the project, as I didnt get back on it the last two days. I had to attend to some 'chores' around the house that were long overdue. And yep, even us single guys have 'chores' to do from time to time. ;)

I've learned that as a single guy, I dont have any 'checks and balances' in place that most married men have to keep them honest. Besides school, the plane tends to take priority over everything. I dont have anyone in my ear saying, "honey, could you take care of this or that before working on the plane?" So I have to police myself...and let me tell you, its tough....work on the plane or clean the kitchen?? hmmmm...what would you do? :)

So, with those much needed tasks behind me, I started in on the top wing skins last night...dimpling, edge prep, getting 'em ready for riveting.


Here is a nice little tip I picked up from the RV community. Use a piece of water pipe or conduit to remove the blue plastic from the skins...worked like a charm.


It goes without saying, make sure you mark your skins before dimpling...check, double check...


Dont forget to omit the rivets shown for attaching the wing fairing later...I made this mistake on my emp, but not this time! :)


And a nicely finished wing skin...ready for riveting