Yesterday while I was working Dad installed all of the nutplates for the inspection covers on the bottom skins and did a fine job. He also finished up dimpling all of the skins so we're ready for riveting. And as I was afraid of, he is now waiting on a new task. Ideally I wanted to wait for my Ducworks leading edge lights to arrive so we could install those before riveting the ER tank to the spar.
But...I still havent heard from Van's yet on a confirmed delivery date for my fuse (and LE lights). So, I made an executive decision as 'RV7Factory CEO'....last night Dad and I discussed it and decided to forge ahead and we'll install the LE lights later. No time to wait...."burning daylight!"
So, first order of business is to do a pressure test on the left wing ER tank to ensure we have a valid pressure vessel. After that passes (and I know it will!), he is going to tackle riveting the ER tank in place today. Its mostly a rivet "squeezer" operation so it will be an easy one person job.
Although I will have to admit...it hurts a little...deep down inside. It would be like missing out on your first born taking his/her first steps while you were working. Up 'til now, nobody has built anything on my airplane but me, and certainly nothing as significant as riveting my first major structure to the wing!! ;)
But alas, if it's not me...who better than my Dad! Like I told him last night, the #1 priority is to get this baby flying sooner rather than later and I welcome his help. Of course it makes it much easier considering I completely trust his workmanship, which is of higher quality than mine. So, my baby is in good hands.
On a seperate note, yesterday I ordered a new batch of Akzo Nobel Primer (finally ran out) and some fuelube from Aircraft Spruce. I also ordered a double offset back riveter (many thanks to Sean Blair for offering for me to use his...I have a sickness, I just like to buy tools! I will take him up on his offer to use his longeron dies however) and a longeron yoke (also offered up by Bryan Raley, thanks) from ATS. All needed supplies/tools to finish up the wings and start on the fuse.

Showing posts with label Primer. Show all posts
Showing posts with label Primer. Show all posts
Thursday, March 17, 2011


Wednesday, July 21, 2010
Rib Priming Cont HOBBS 253.5 hrs
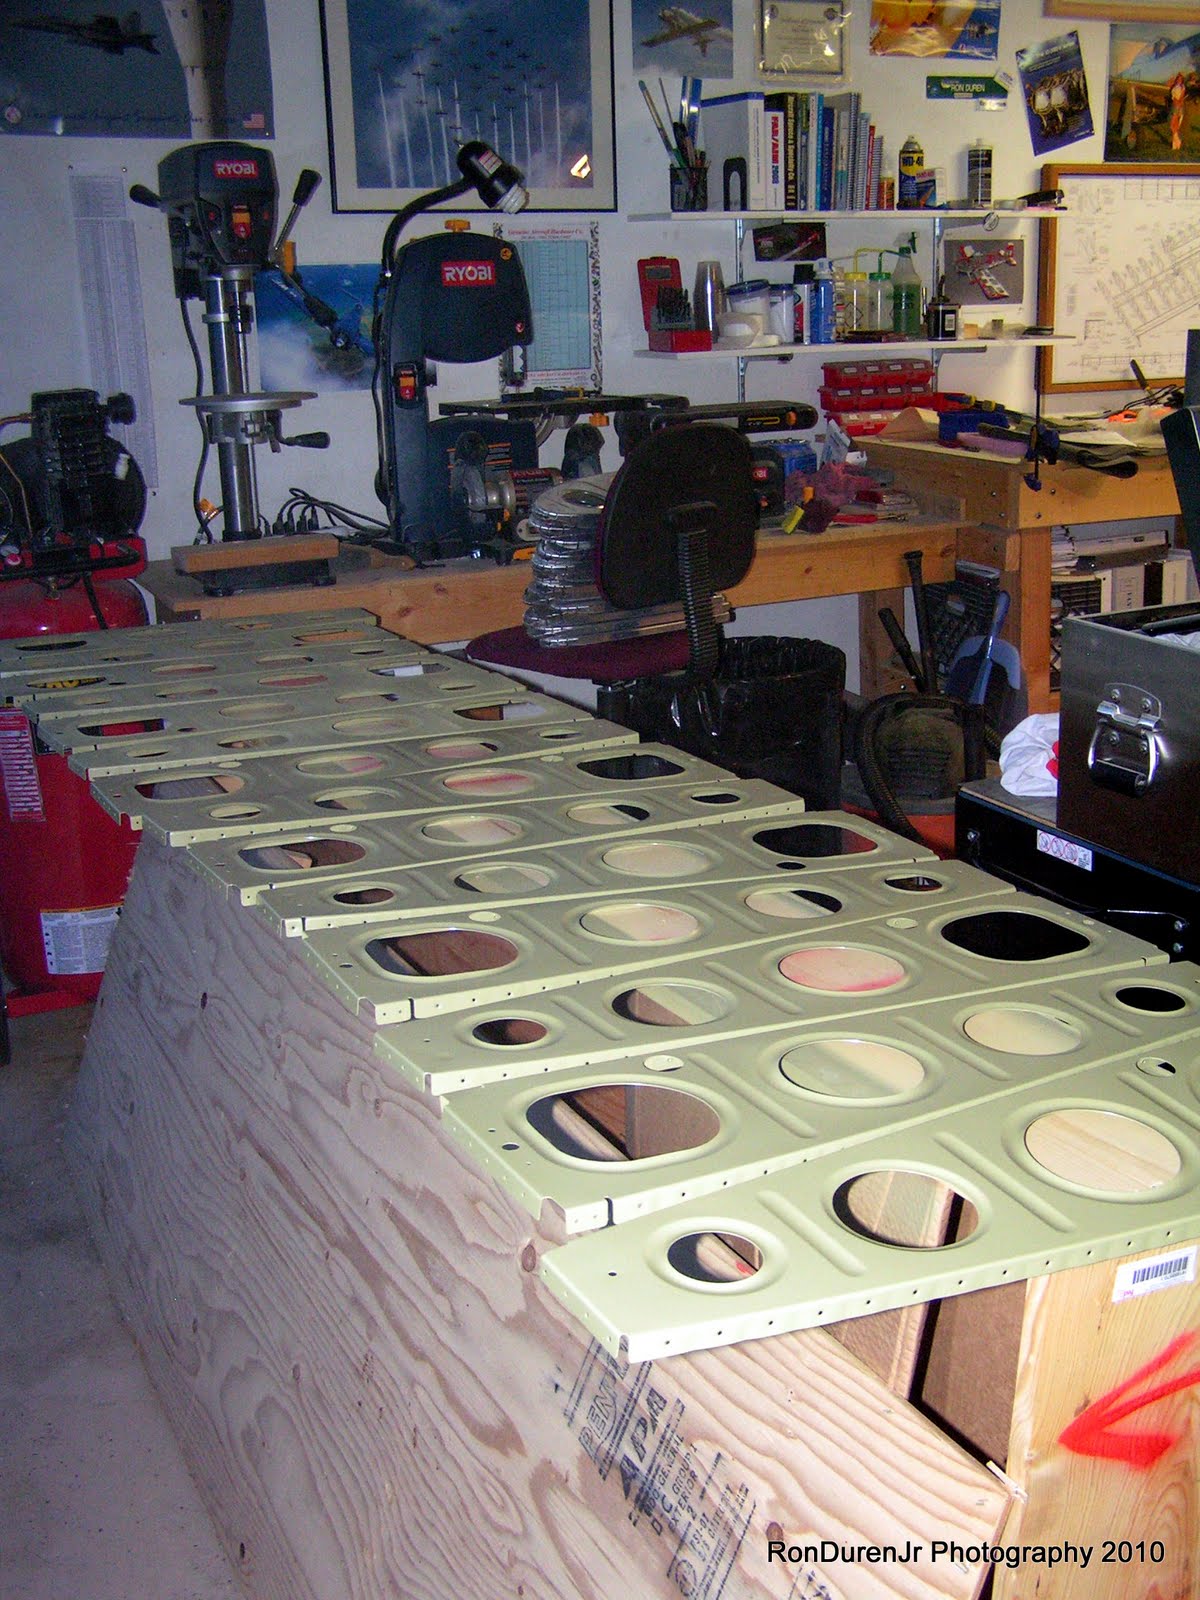
In the meantime I am keeping myself plenty busy with aircraft construction so I'm sure the time will go fast. Tonight I finished up priming all of the main ribs. They are now ready for final riveting, hee haw! I'm getting much better at this painting thing, these looked pretty good if I do say so myself. I have about 1/4 of my gallon of primer leftover. I'm guessing I should be able to finish up the nose ribs, not sure if it is enough to finish the wings however. Cross that bridge when I get there. Here are a couple shots of the 28 ribs drying (no I didnt spray that close to my truck!)

Tuesday, July 20, 2010
Priming Ribs HOBBS 252.0 hrs

I've never done so many large parts in one batch, the amount of prep work caught me off guard. Much different than doing the empennage parts. I am also getting low on my Akzo Nobel primer, I read that Checkoway ran out even before this stage in his project. For some reason I thought one gallon was enough to do the whole project?? I was sure naive on that one! :) So I am already dreading buying more of that stuff. It really works great, its bulletproof, but it sure isnt cheap.
My new Harbor Freight HVLP paint gun, $15...and I'm liking it so far.

My homemade paint rack, I used the cardboard from the empennage box...framed it up to add strength and voila. Works great, cost literally nothing...chicken wire and a couple pieces of scrap 2x4.

Sunday, June 27, 2010
Wash Primer HOBBS 207.0 hrs
I ordered some Sherwin Williams Wash Primer from Global Aerospace. You cant get this stuff locally so I had to have it shipped and pay the HAZMAT fees which is aggravating because it so expensive. With shipping and HAZMAT, it was about $50 to have it shipped. Part of the process with the airplane building process I am learning, you gotta deal with it unless you use an automotive paint system which I'm not interested in...call me an aviation snob. :)
Wash primer is essentially a very lightweight, cheap (relatively speaking) self etching primer. By using this, I dont have to alodine or acid etch before shooting the primer. That is kind of nice, less hassle, and its the same primer that Van's uses on its quick build kits. I tell ya, it didnt have nearly the coverage of my two part epoxy primer. I had heard it went on very light, but gosh, this was kind of extreme...it doesnt look like I even got it coated evenly as hard as I tried. I think on my first round I had a clogged tip on my spray gun. After a conversation with good ol' Dad (thanks Pop!), he advised storing and soaking the tip (it just unscrews from the gun) in a coffee can of MEK to keep in clean and clog free. Good tip (no pun intended!) as that certainly seemed to help and the next parts came out a little better but similar. I think it will be ok, but it just doesnt look very esthetically pleasing which kinda bothers me. It really looks almost identical to the self-etching rattle can I have. Anyway, this will protect the aluminum where I removed the alclad. My prep process was scuff the surface, clean with dish soap and scothbrite, air dry with compressor, wipe down with acetone and then paint. So I have the HS, elevators and trim tab painted and stored now. They're not perfect, but I'll fine tune them later. Still gotta do the VS and rudder! ugh


It turns out that my wing stand doubles as a very nice paint rack!! Gotta love it when it works out that way, I can just lie and say...planned it that way!! haha! Sounds good doesnt it?

Right elevator...

Left elevator, the dark discoloration is the Epoxy filler over the rivet heads. I decided to fill in all of the rivet heads on the top surfaces of the HS and elevators, out of boredom I think! :) It was a lot of work, but it should be as smooth as a baby's bottom when top coated. I won't do any other parts like this...the wings would be way too much work for my taste, but the empennage has been done...and I'm sure I will be happy with it now that its done.

And last but not least, the trim tab. You can see in the left side of the picture where I had some adhesion problems with the epoxy filler. I inadvertently forgot to scuff the surface before applying the filler. Damn! Will have to revisit that later...another lesson learned.
Thursday, May 28, 2009
First attempt at Primer! Ugh! HOBBS: 35.5 hrs
Well, I finally got to the primer step last night. Lets just say, I learned a lot! :) My primer strategy (and there are MANY of them) is this. I am using two part epoxy AKZO primer on all ribs and spars, but not the inside of the ALCLAD skins. If the ALCLAD is not scratched it will provide all the protection I need from corrosion, IMHO.
So, essentially it is a four step process for me. First, I wash the parts with Dawn detergent to remove all dust, debris and grease. Second, I use Alumiprep 33 to acid etch the part and prepare them for Alodine. Third, I apply Alodine 1201. And lastly, I spray my primer. Well, the first three steps really went off without a hitch, a little time consuming, but pretty simple really. I used a small dunk bath for the Alodine and only left them soak for about a minute or two, a little on the short side but it seemed to work fine. Spraying the primer was a different story, mostly because I wasnt properly prepared...ie, didnt have a good system of hanging parts to dry. I only did a few parts before it got dark and I realized I needed to do a better job of preperation, I will finish this up this weekend and let you know how it went...and hopefully what I learned so that it goes a little smoother. Lots of lessons to be learned.
So, essentially it is a four step process for me. First, I wash the parts with Dawn detergent to remove all dust, debris and grease. Second, I use Alumiprep 33 to acid etch the part and prepare them for Alodine. Third, I apply Alodine 1201. And lastly, I spray my primer. Well, the first three steps really went off without a hitch, a little time consuming, but pretty simple really. I used a small dunk bath for the Alodine and only left them soak for about a minute or two, a little on the short side but it seemed to work fine. Spraying the primer was a different story, mostly because I wasnt properly prepared...ie, didnt have a good system of hanging parts to dry. I only did a few parts before it got dark and I realized I needed to do a better job of preperation, I will finish this up this weekend and let you know how it went...and hopefully what I learned so that it goes a little smoother. Lots of lessons to be learned.
Subscribe to:
Posts (Atom)