Ron's RV7 Aircraft Factory


Welcome to my personal blog. This site was created as an informal description of my build progress in the construction of a Van's RV7 aircraft. A place where family/friends/builders/curiosity seekers can follow along. It is not intended to be a detailed description of every step in the building process as that would be much too time consuming. There are plenty of sites that do a great job in that arena, that is not my intention with this site. My intention is for this to be a philisophical/motivational/inspirational account of the emotional ups and downs of the life changing journey...and it will change your life. I hope this will give you an idea, through my eyes, of what its like to make this transformation. A note to other builders, I am not an expert so do not put your safety at risk by attempting anything you see on this site until you have done your own research, or send me an email so we can discuss it. Any deviations from the plans are not approved, nor endorsed by Van's Aircraft or myself. Thanks for visiting.


Showing posts with label Plenum. Show all posts

Wednesday, April 2, 2014

Plenum Sealing

I had a VAF reader compliment my plenum design (previous posts can be found by clicking the keyword "plenum" in the right column), or more specifically how I did the front end (behind the flywheel). I had decided to remove the plenum this week to finally seal up all the gaps I could find with high temp RTV and do some tweaking to the fiberglass also.
 
Keep in mind, it still isn't done...its still a little bit rough, but you get the idea. I wont know for sure until later how well it performs, but I think this solution is going to work just fine. It is very securely mounted, I can move the entire airplane when I grab the plenum.
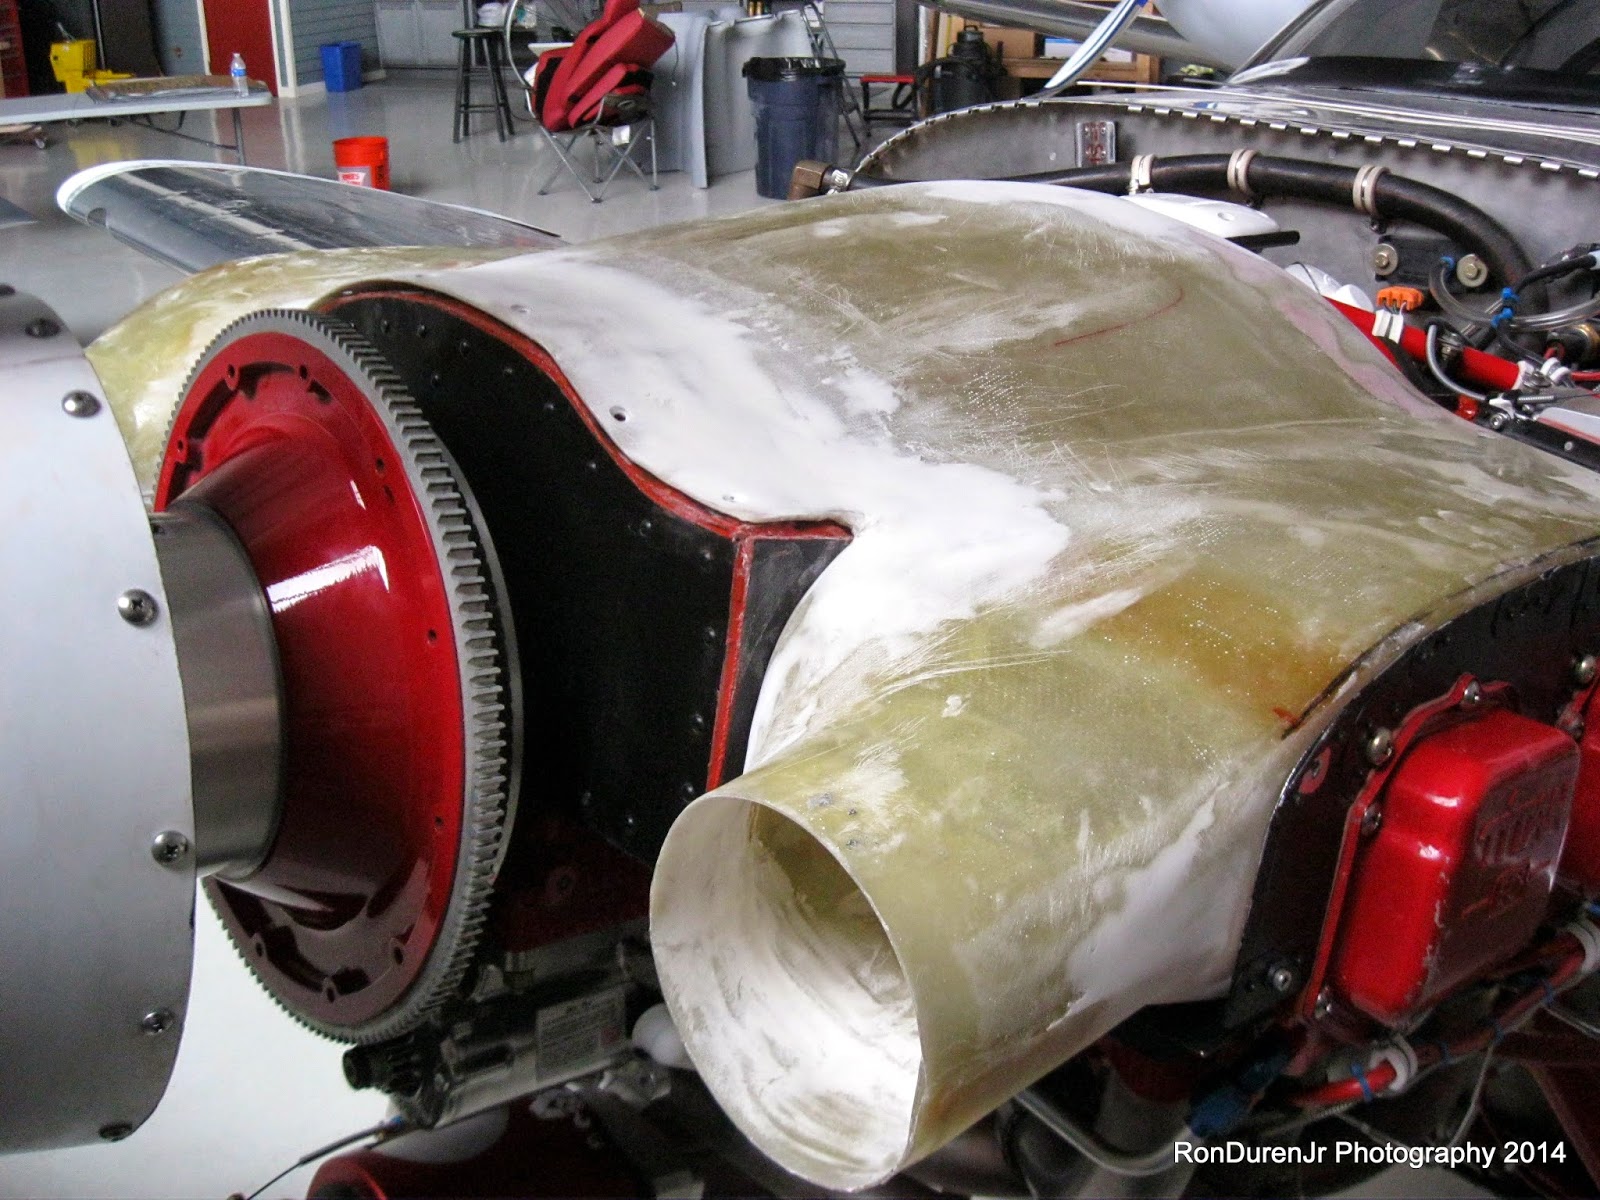
 
 
I basically just used the standard baffle kit from Van's and cut it to fit my installation. Once I had this in place, I put some packing tape and mold release on the sheet metal and laid up fiberglass to make the transition from plenum to baffles.
 
I then cut some of the rubber material supplied in the baffle kit and laid it over my front (black part) bracket. This sandwiches between the plenum and the bracket as a sort of rubber washer. I used some high temp RTV to hold it in place.


These two pics show the transition of the two inlets. As you can see, I didn't use any fasteners in this area and am relying on a nice tight mate between the plenum and baffles. It does fit real nice, so I'm hopeful this is a good enough air seal.

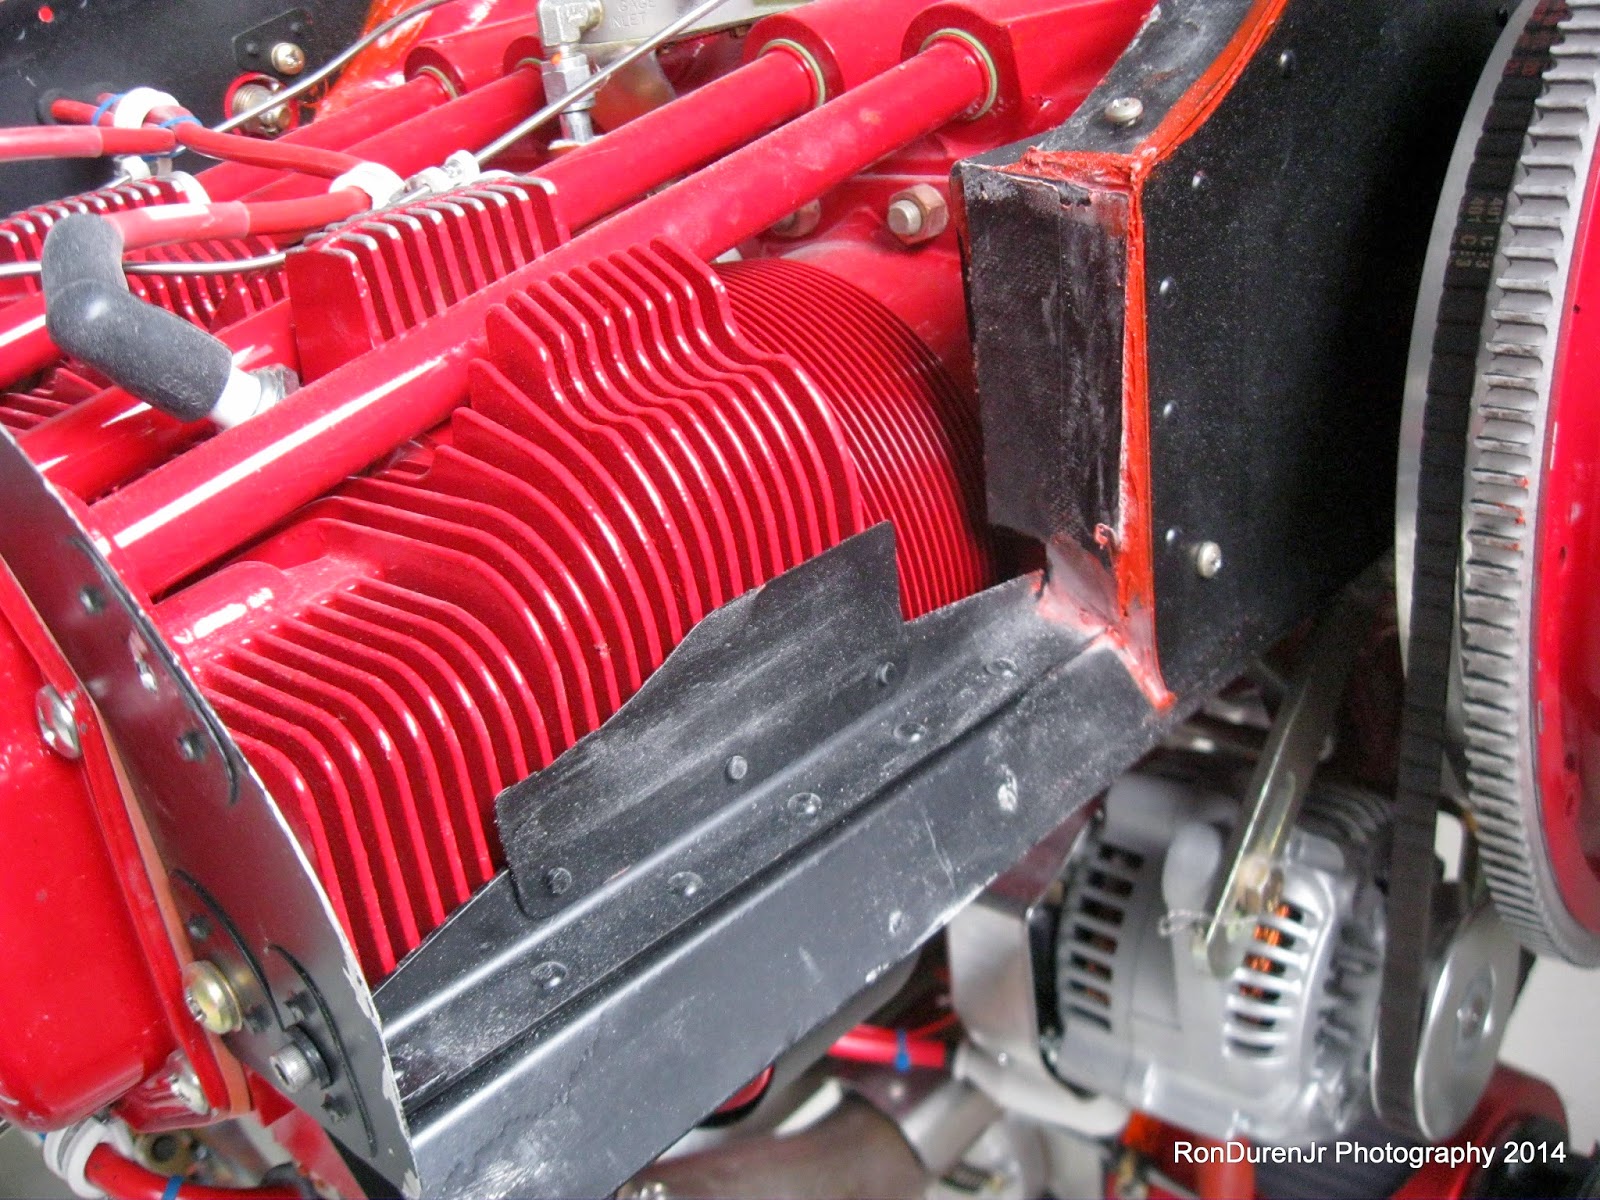
 
These shots give you an idea how I modified the Van's baffle kit to fit my installation. Notice how much I cut down the deflectors also...time will tell how well I did on that as I balance out the thermals on the cylinders.
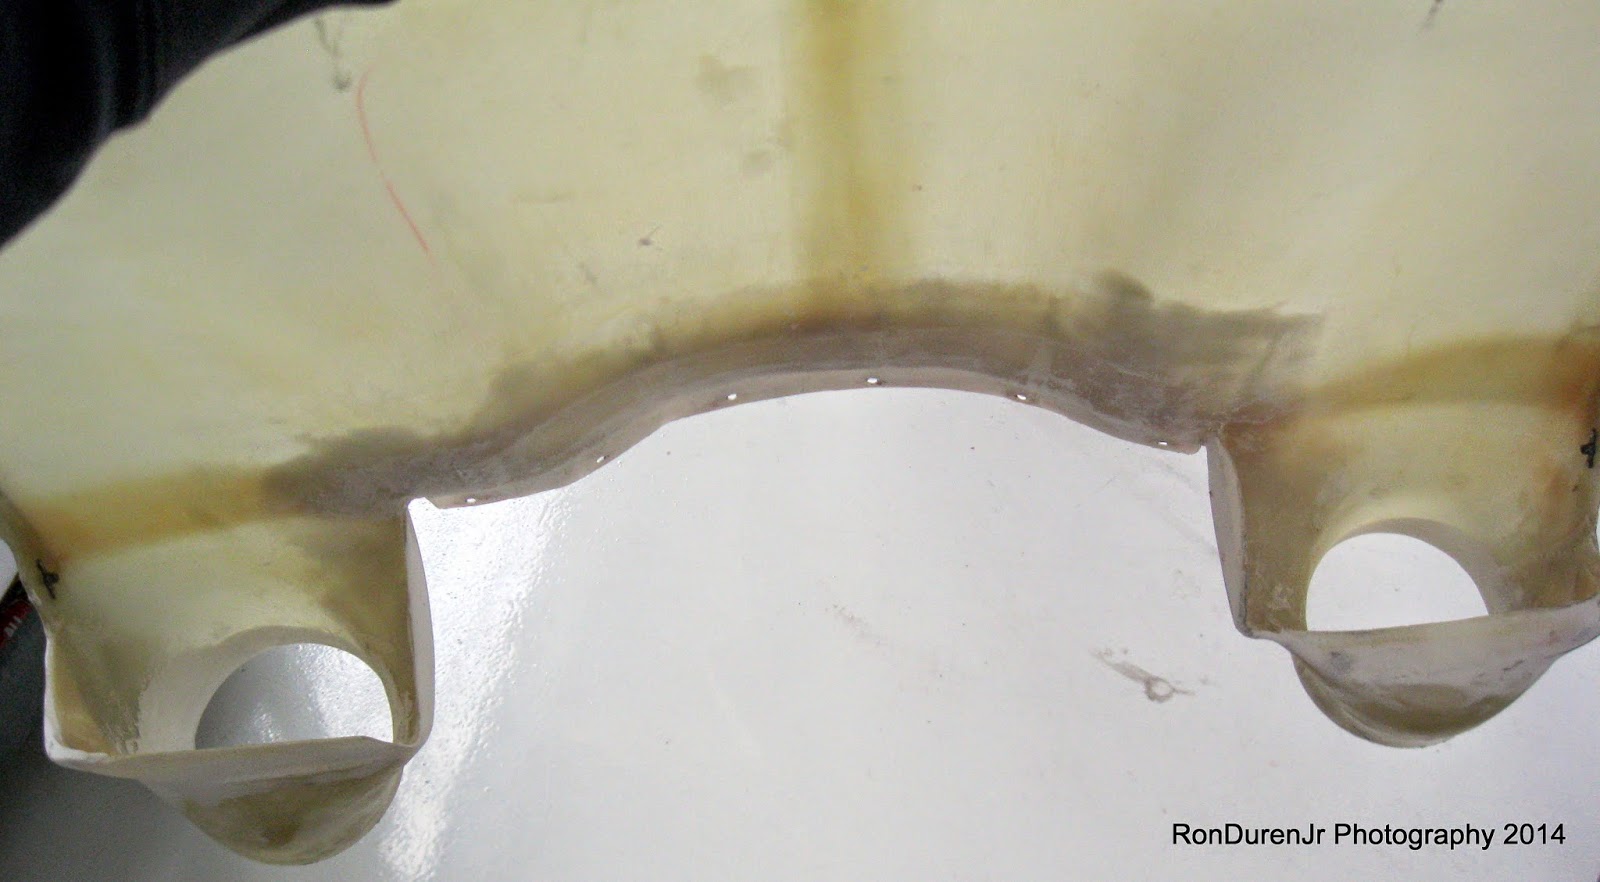
 
Again, another shot of how the inside of the plenum looks. One thing I failed to mention was that I had to extend the SJ plenum to overlap my front bracket.

 
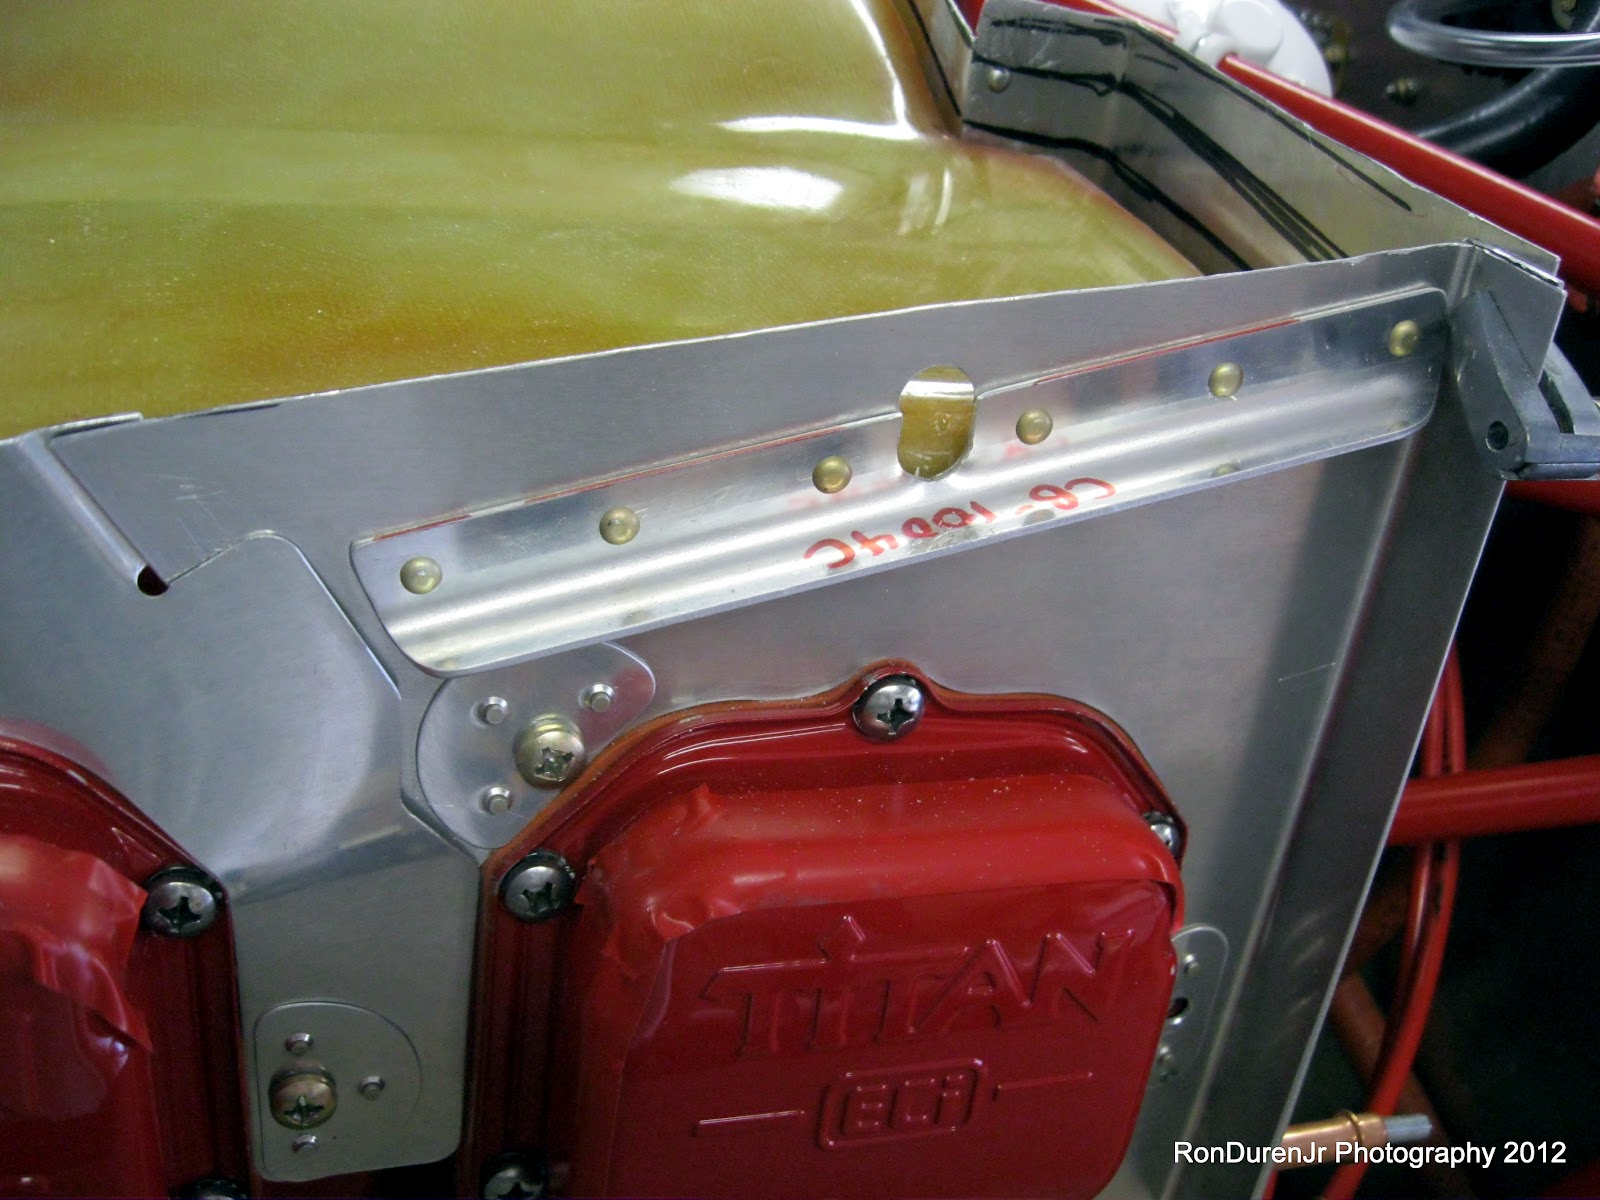
I then used tinnerman washers and flathead screws to mount it from the top. Notice the two above and in front of the oil cooler.

 
Another detailed view of the top/front.


Detailed views of how the inlets look when installed.

 
Lastly, another view of the other side. I hope these pics and description give you enough to go on for your own solution. Or better yet, take what you see here and make it better. I personally like how this turned out, but the proof will be in the pudding...how efficient is it for cooling? Time will tell. The next flight should tell me a lot, now that I have sealed it up better.

Wednesday, September 26, 2012

SJ Plenum/Baffles HOBBS 1538.5 hrs

Almost all of my activity last week was focused on the Sam James (SJ) plenum and baffles. I am using the baffle kit supplied by Van's...and mating that with the plenum, you will need both. Let me start by saying, if you're like me and thought going with a plenum will save you a lot of time and headache versus going with regular baffles...you'll be sadly mistaken. Both routes take some time and iteration...and are kind of a pain. I cant say which is worse...but this plenum is kind of a pain in the rear to be honest.

Not to bash a vendor, but I've got to be honest for your benefit regarding my assessment of the plenum. I've met Sam James at Oshkosh and he is a real nice guy, but this plenum is not what it should be. The fit and overall quality are not on par with what I paid for it. The cowl was much better and I was very happy with that purchase, this one, not so much. I realized, I could've made my own...but it would've taken me a fair amount of time to get it just right...which lengthens my "time to flight". At this point, paying a little extra $$ to get flying sooner is worth it. So I will grin and bear it at this point.


First thing you will notice when you dig into this is that the Van's baffles will need quite a bit of material trimmed away from it. They are much bigger than they need to be. Here you can see several trim lines as I get ready to start cutting. I will say I agonized over this...am I doing this right? Finally I remembered that Chad Jensen had done a SJ plenum on his -7 and did a real nice writeup...so of course, I read through his posts and felt better about what I was about to do as it was the same as he had done. A sanity check is always worth a million! I spend more time head scratching and thinking about things than actually working sometimes! :)


So trimming/cutting commences...a little at a time. In between multiple fit checks with the plenum and top cowl so I knew I had enough clearance while maximizing the airspace under the plenum. You will get real good at getting your cowl on and off during this phase.


As I trimmed, I noticed that these angle support pieces had to go...dangit, wish I would have known that when I built them. I drilled out the rivets and removed them.


Its getting real close here...gives you an idea about what it should look like. I have a fair amount of glass work to do on the front and rear, but its getting there.


This big ol' honkin' gap is typical...what most guys do is cut this area and then re-glass it back into place to close it up. I'll post pics later to show what I mean.


I also had this gap on the rear that aggravated me...I don't think Chad has this problem so I'm not sure what happened here. That rear baffle position is dictated by the pre-fabbed support bracket that attaches to the engine so I don't know how I could've went wrong? It is what it is, long story short, I will need to do some glass work to close this gap up.


Front baffles/air dam will require you to trim off quite a large portion since its not needed with the plenum...here is what mine looked like. Pic below is what it looks like before trimming...