Ron's RV7 Aircraft Factory


Welcome to my personal blog. This site was created as an informal description of my build progress in the construction of a Van's RV7 aircraft. A place where family/friends/builders/curiosity seekers can follow along. It is not intended to be a detailed description of every step in the building process as that would be much too time consuming. There are plenty of sites that do a great job in that arena, that is not my intention with this site. My intention is for this to be a philisophical/motivational/inspirational account of the emotional ups and downs of the life changing journey...and it will change your life. I hope this will give you an idea, through my eyes, of what its like to make this transformation. A note to other builders, I am not an expert so do not put your safety at risk by attempting anything you see on this site until you have done your own research, or send me an email so we can discuss it. Any deviations from the plans are not approved, nor endorsed by Van's Aircraft or myself. Thanks for visiting.


Showing posts with label Fiberglass. Show all posts

Tuesday, February 4, 2014

Plenum Details HOBBS 2598.5 hrs

 
As most of you know, I have almost the full Sam James system...cowl and plenum (Van's wheel pants however). I was very happy with the finish on the cowl and have no regrets with that purchase...the alum inlet rings are just cool looking, as is the entire cowl design.
 
The plenum is a different story altogether. It hasn't fit well from day one and here I am still messing with it at this late stage. Off the shelf fiberglass parts shouldn't need major surgery to work well in my humble opinion. But hey, on the bright side, I am getting to be a fiberglass expert!
 
So, Sam James expects you to mold your plenum in the front to the engine case. And that's what most guys do...put some mold release on the engine and do your layups in place. They then seal that gap with high temp RTV. To me, that's crap...there is no way I want that shoddy look on my plane (no offense if that's what you did/do), along with the fact, to remove the plenum you need to peel it off the engine. It wont come off often...but I don't want that scenario to deal with. So, how else to secure the front of the plenum??
 
Whatever I do, it leaves me with more work...ugh! It never ends, I feel like crying uncle sometimes. Finally, I decided I wanted to design a front mounting box for the plenum. Here are my first steps in going down this road...its still in progress as we speak. How I tie it all together is still being decided...and no, I don't always have it all figured out before I start, otherwise I might not ever start. Sometimes in life, we just need to jump and build our wings on the way down. ;)


I was very happy how my sheet metal box came out, matching the contour of the plenum...I find it fun doing things from scratch, although its so time consuming.

 
It took some doing but I designed and fabricated this engine attach bracket out of 0.060" alum sheet. Came out real nice. It was then riveted to the box structure, see below.

 
Here you can see how it all is coming together.


You'll see in my pics later, but I am fiberglassing the gaps now...this gives you an idea where I started from. This plenum work is one of my last major tasks...so I'll be happy to have this behind me.

Friday, January 31, 2014

Gear Leg Fairings HOBBS 2570.0 hrs

I tackled the gear leg fairings about a week ago. Although I don't need to have these done for first flight (I'll fly "dirty" for the added drag until the engine gets broke in), I wanted to get them mostly done for my initial weight and balance calculations.
 
I assumed this wouldn't be a big deal to install, I mean, they are just cosmetic fiberglass fairings...right? Well, turns out this was a naïve assumption...if you get these crooked, they will have a bigger impact on a straight flying airplane than crooked wheel pants. That surprised me...and made me not take this lightly.

 
The instructions are a little hard to follow...but reading through them a couple times, I finally got the gist of what the goal is. Once I did, I just did this on my own...basically not referencing the instructions again. First step is to make sure your fairing is straight and not twisted.
 
 
Use your cleco clamps (you have some of these right?) to hold 'er straight. Cut out the 1:1 template from the drawings set. Wrap this around your gear leg...again, getting it nice and straight. Hold it up to the light to make sure both sides (edges) of the template are aligned. Now use a sharpie to mark your cut line.
 
 
Once you get it cut to size according to the template (a little big actually), slap 'er on the gear leg. You may have to trim the length to get it fitting properly. Install your intersection fairings if you have them (mine are from RVBits and they rock...good purchase, love the finish and fit of these). These will essentially help to hold your fairings in place while you do your fitting.


Now, hang a plumb bob of the fuse centerline. Stretch a double string from the leading edge to the tail. The goal is to get the trailing edge in the center between the two strings.

 
Hang a plumb bob off the HS...draw a line at fuse center, measure from there to the plumb bob string. Adjust to make it the same dimension as the trailing edge of the gear leg fairing. Note that the plane is in a level flight attitude for this task. I just eyeballed that the string line was also level. You are trying to set up a straight datum plane, which will simulate the airstream. It sounds more confusing than it really is.
 
Notice that I did not jack up the airplane to get it off the gear. Same strategy that I had for the wheel pants. Unless the gear toes in or out when its lifted, the wheels and gear legs are straight. So I disagree with the plans on this step. Again, your call whether you agree with me or not.

 
I am bonding my intersection fairings to the wheel pants. Some guys just screw these in place. I always intended to do it this way for the clean look. When Sheryl and I were at LOE this year, I showed her versions of both and asked her which one she liked better. She chose the blended look...I knew there was a reason I liked her. :) Notice the split line I will cut into the intersection so the wheel pant can be split.

 
Lastly, drill your holes for attaching the intersection fairing to the fuse. These holes will get nutplates later. I didn't get any pictures, but the trailing edges get a piano hinge to keep it closed up nicely.

 
I am continuing to work on these as I have time...but since they aren't required for first flight, they are not on my current priority list. These are gonna look nice when they are done.

Wednesday, November 20, 2013

Detour! HOBBS 2328.0 hrs


First off, I apologize for my long pause in updating the site (notice the large jump on the HOBBS). There are several reasons for this, and some of them are actually good ones. I had a two week absence from building as I had a business trip to Wichita, KS where I got to tour the Cessna plant which was pretty cool.
 
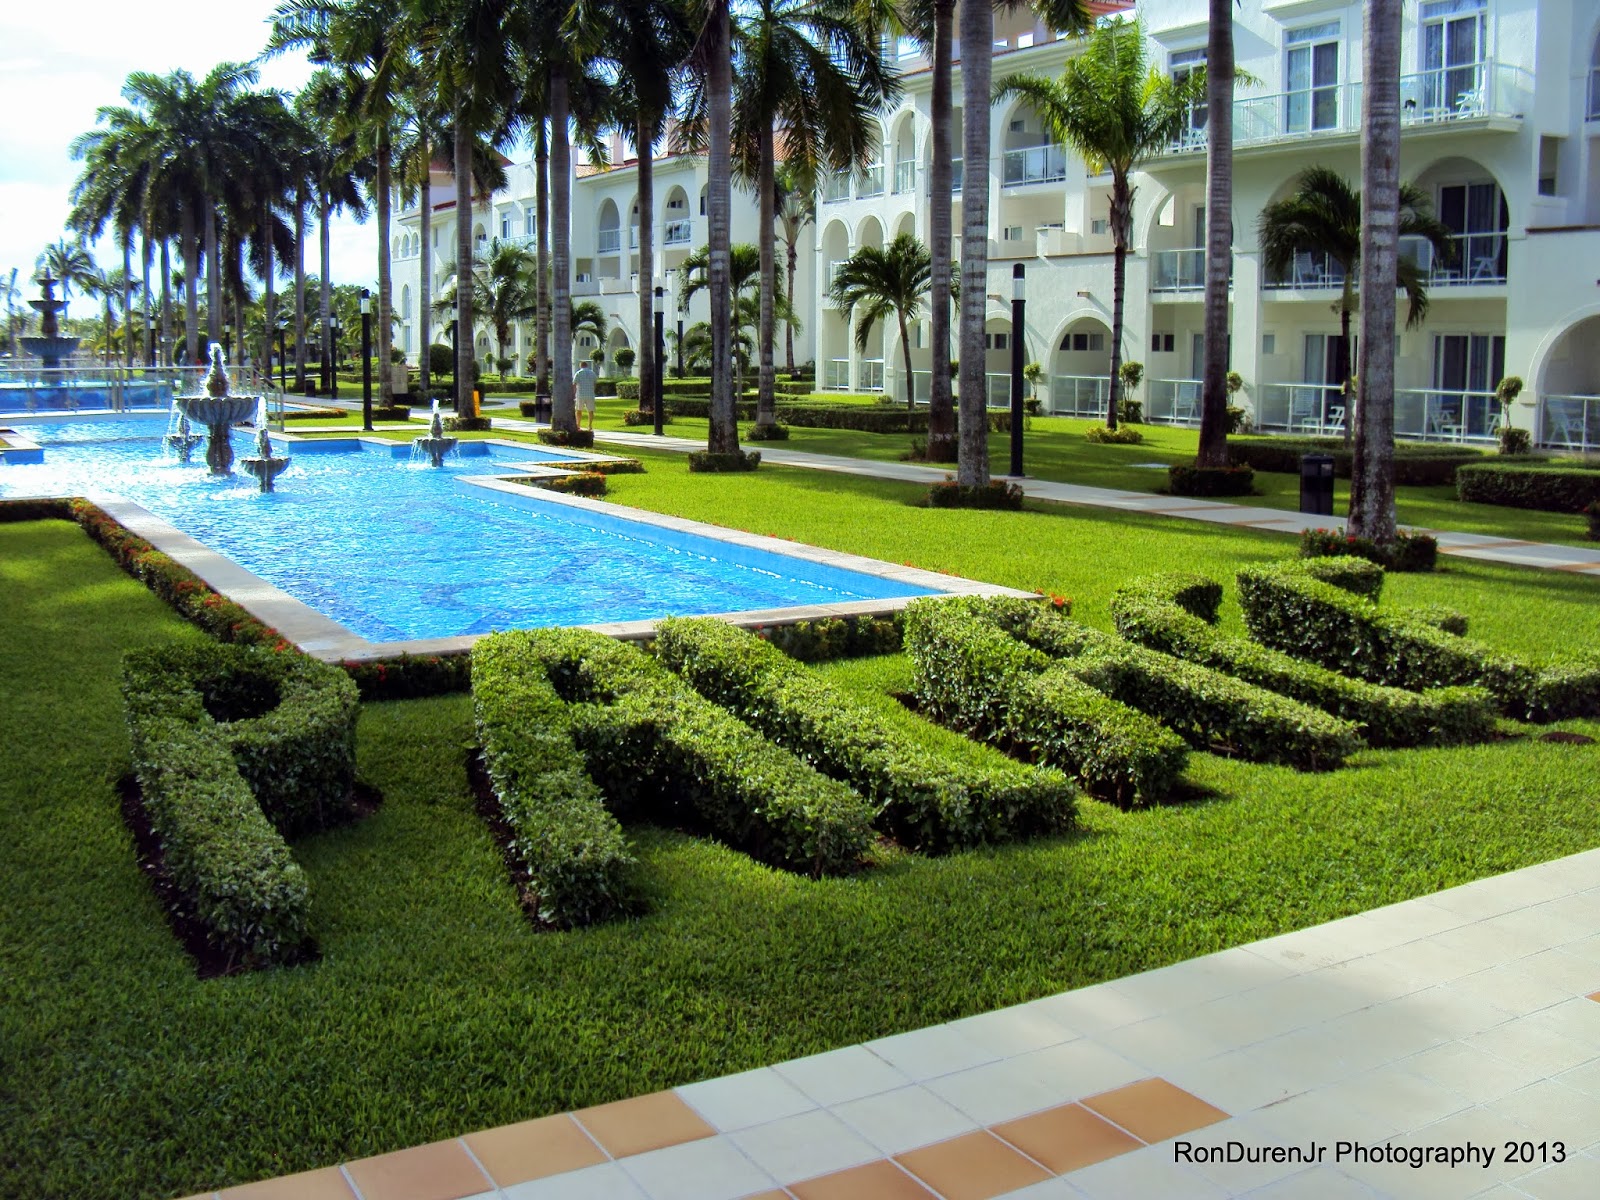
Following the business trip, Sheryl and I spent a week with friends in Playa Del Carmen, Mexico at the all-inclusive Riu Palace resort. Sheryl finished her four open water dives to become a certified diver and I did four dives as well, including a pretty cool wreck dive where I seen a bull shark. We had a great time and I didn't think about the airplane, work or school for the entire week! It was a great recharge of the batteries as I am now "pedal to the metal" to finish this sucker!

 
From my last post, you remember I was working my way through the finishing touches on the cowl fiberglass work...trying to get it primer painted and off my plate. Here is some microballoon finish work to make the cowl match up nicely with the spinner.

 
I installed my lower scoop inlet ring with some flox. Notice the polished ring, looking good.

 
I also spent a fair amount of time polishing my hinge pin covers. I realized guys with polished airplanes and spinners can have them! Polishing is a pain...and messy. But, the results are pretty good....its not chrome-like, but passes the '3 foot' test nicely.

 
Doing the finish work around the lower inlet ring...I really liked how this was looking.

 
Getting the cowl sanded and prepped for paint...I was feeling like I was almost there. Little did I know...I wasn't, details coming.


Several shots of the finishing touches...


This is when the "detour" started. I was looking at how my Rod Bower ram air unit was lining up with my inlet ring and really wasn't happy with it. I kept thinking, well, it doesn't line up perfectly but I can make it work. But in the back of my mind, I knew that wasn't going to cut it. It was then, that a friend stopped by (a fellow RV7A builder/flyer) the hangar and I showed him my dilemma. After we talked through it, he said he would fix it if it were him...and I knew he was right. It would bug me forever if I didn't.
 
So, even though I knew this was going to cost me at least 20 hrs of work, it had to be done. I had to move the inlet opening down and slightly aft. All of the work I did to make it look pretty was for naught. As I always say, "if building one of these was easy, it wouldn't be any fun". It hurt to cut up my nice looking cowl...but onward I marched.

 
This pic shows how the alignment looked prior to the change. I had done a fitting with the ram air unit about a year ago and thought I had it looking nice. Only to find out that I had the ram air unit mounted wrong. After I mounted it correctly, this is what I was seeing.


So, the cutting begins...and in hindsight, I made this much harder than it needed to be. Suffice it say, there were times during this reconstruction that I thought the entire cowl had been lost and I would have to start over. It was that desperate at times. I kept sloggin' through it and kept my spirits up. Luckily, fiberglass is easy to fix if you screw up.

 
Here I am using a piece of soft aluminum as a sort of mold to lay up from the inside of the cowl. Getting that inlet ring in just the right place was a royal pain.

 
And the hodge podge patch job. Please don't think what you are seeing in these pics is in any way an elegant way to do fiberglass work. This just illustrates how I did this...and the fact that no matter how ugly it gets, it can be fixed. Don't lose hope...as you'll see. I know a lot of builders who have had to do major surgery to their cowls, this is not that uncommon.
 
 
Doing a fit check for alignment. Now she is lining up the way she's supposed to. I am already glad I spent the time on this detour.
 
 
Now to add a nice radius with my modeling clay.

 
Squint your eyes...it looks ugly here, but once I do my finish work, the beauty will come out. I am happy with it at this point...it was a painful process to get here.

 
The secondary benefit to moving the scoop down was I now no longer needed my bump to clear my mixture cable linkage. Len and I discussed this before I started as a nice added benefit.
 
 
A side view. I promise you this lower cowl is now "one of a kind". It probably could no longer be called a Sam James cowl...its a "Ron Duren special!"


And again, one last look at the front view. This was a painful, but satisfying detour. Next step is gluing the inlet ring back in place for a second time. While I do this fiberglass work, I am now shifting back to finishing up the electrical finally.

Thursday, May 16, 2013

Ah Yes, Airplane Work HOBBS 1918.5 hrs

 
You are probably thinking, "when was the last time you posted something about building an airplane??" That is what this blog is all about, right? Well, you're right, its been awhile...and as you know I have been very busy with other stuff. But...don't fret, progress is being made in the shadows.
 
I am so obsessed with the finish line right now, that I have been forgetting to snap pictures and post about my progress. Whoopsy...hopefully you can understand? I am putting in more hours now than I ever have (19 hrs this week and I missed all day Saturday because of Pitts flying and a cocktail date with a young lady), so it makes for long days.
 
This first pic shows the finishing touches on my oil door. Adding the latch and the cross pieces for structure. Many guys put two latches on this door...I cant help but think that with some structure, one latch will suffice against it bowing in flight. Time will tell.
 
 
I mistakenly cut my rockrack switch holes too big in my carbon fiber panel. I was pretty upset that I did this as the switches had some play in them...and that was just unacceptable. My solution was to mix up a batch of flox with black dye, put a piece of box tape on the front for a barrier (not shown)...lay in the flox and back it with a piece of fiberglass tape for support. Voila...now I just need to re trim to size.


Re trimmed...and it worked like a charm, switches are nice and tight and you don't even see my patch job behind the bezel.

 
Now, focusing on finishing up my center console. I had bought a automotive snap latch and I needed to make this fit into the overall design. This is what I came up with.


Next I started playing around with the "feel" and size of the armrest pad. I didn't like it extending too close to the throttle quadrant as it made my hand/wrist feel cramped. So, I decided to design and create a fiberglass "cap" that will transition downward and give it a nice finished look. I used modeling clay to create the desired shape and then later laid it up with fiberglass tape...more on this later.

 
I have about five fiberglass projects going on at once. I do some layups and then move to the next one so I can keep them all in a rotation. Here is another one of those projects. Finishing up the rudder cap. Its now bonded in place, and here you can see I am adding some nice curved transition pieces...purely for cosmetic reasons. I saw it posted on VAF and really liked it. I used a piece of scrap left over from my cowling...bonded it with flox.

 
Add some fiberglass tape...or the seam will crack.

 
Followed by your choice of micro...this is West Systems 407.

 
Sand, sand, sand...until it looks nice

 
Lastly, as the fiberglass is drying on each of these projects I am filling my time with wiring. Mostly just coming up with routing strategies. Here is my wing terminal block...I went back and forth over a cannon connector or no connector...and then decided on just a terminal block. May not be the most elegant, but it will be robust and easy to troubleshoot if needed.