
Let me start by saying that my blog posts are typically about a week behind the actual Factory progress, so what I am showing here is already old news to some degree. With that caveat, this rudder strobe issue is not nearly as hard to do as I was trying to make it out to be. More on this in next week's post, but it is essentially done at this point.

First, I soldered on some longer leads to the strobe. In hindsight, some blade connectors would've been a little more elegant solution so the strobe could be more easily removed.
I am running shielded wire from the VP-X to the DB9 connector for the rudder...but you can see, from the strobe to the DB9 is unshielded. I'm hoping this distance (~24") is going to be ok for EMI? I can change it later if it is.

I plan to permanently attach my rudder cap via pop rivets and micro to blend it in...plans say to screw it on, I don't see a good reason to have to remove it outside of damaging it and I'll take that risk. Many pilots say they haven't removed theirs in 20 yrs of flying. I don't like visible screws, so its an aesthetic issue for me. With that said, you will need to carefully consider how to remove/replace the strobe if needed. I put a piece of conduit down the center...I fiberglassed a bulkhead into the rudder cap which I will show you later.

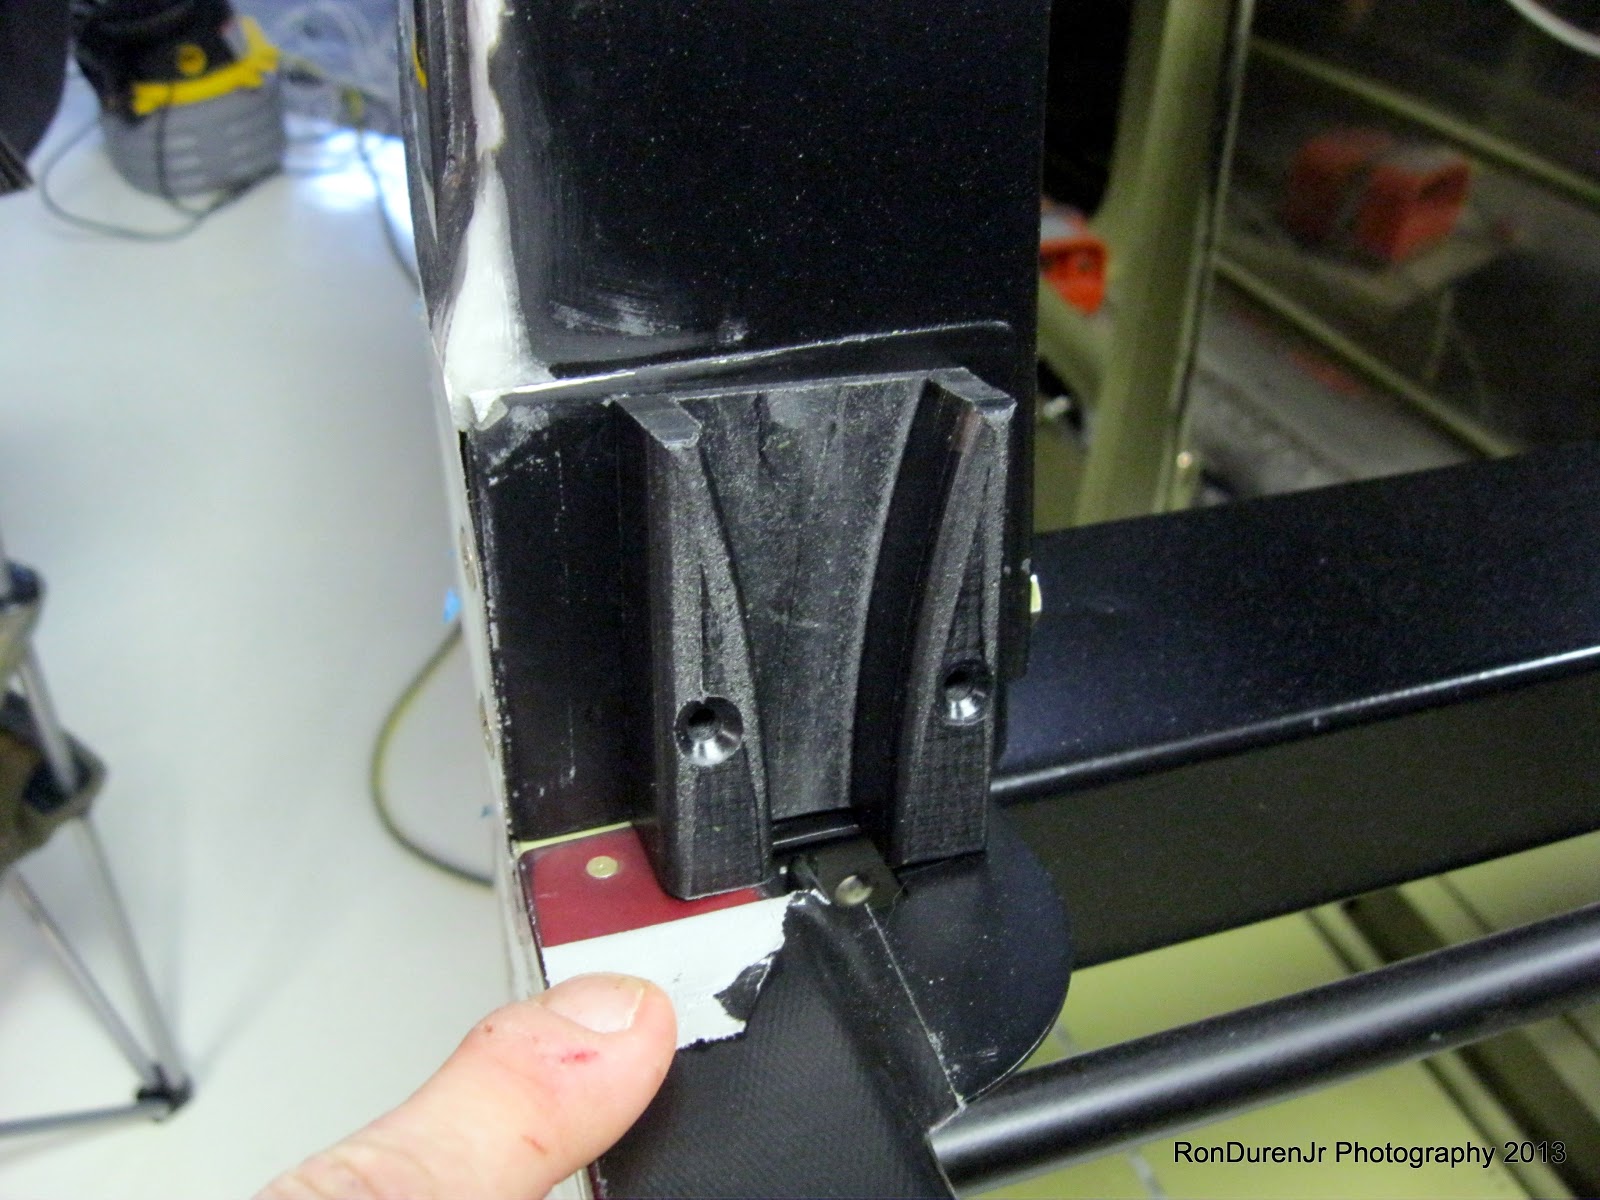
Because the rudder is permanently attached, I decided to make a removable front cap...just in case I needed to see or access the inside of the rudder cap at some point. This is what I came up with. This is still being developed, but this is the start of it.


I fiberglassed in a recessed surface for attaching nutplates, same concept as the oil filler door.

Once that is done, cut my access hole...it wont give me much access...but it is something, and it didn't cost me much to do it...just some time. The screws that hold this cap in place will be hidden behind the fuse.

One quick shot of my 'final' solution for the elevator trim wire. I think...? I may reevaluate later, that red zip tie may want to cut through that shrink tube with wear and tear. Otherwise this works well. You can see I put a piece of polyurethane tubing around the wire for abrasion protection. I am finding all kinds of uses for this stuff.
Also, make sure you add these bolts/washers on the elevator horns BEFORE attaching the Vertical stab! I had the VS all finalized and happy, went to mount my elevators and realized I couldnt access them worth a damn. Off came the VS...these are the things that novice builders don't always catch, and take time to navigate.

Moving to the tailwheel assembly as it I get the tail ready for flight. I somehow misplaced my locking pin and spring...maybe I will find it later? I needed to order an internal rudder stop (pics later) and I knew Flyboy Accessories had one...so I ordered a couple other items while I was at it. The aforementioned locking pin...and a couple other goodies.
You can see how this installs in the Bell fork....


Depress the spring and slide the fork on...followed by the control arm.

And voila, there you have it...nothing to it but to do it.

As I was doing fiberglass work on the rudder I needed other jobs to keep me busy. I have the last bottom skin on each wing to rivet in place...may as well use that as a filler job to stay busy. First task was riveting the pitot mast in place. As you can see, I also siliconed it for a good seal. I would've used ProSeal but I am out. This is paintable silicone that I used to attach the antenna's and is recommended on the hints for homebuilders video for antenna's so why not my pitot mast I figured?

One other thing I purchased from Flyboys was this canopy breaker. Its bigger and heavier than I anticipated...but it does look like it would do the job of breaking the canopy. I don't have any idea where I am going to put it in the cockpit yet...but at least I have it.

Lastly, I seen this product from Buller Enterprises, Inc. on VAF and was also mentioned by Sean Blair to me. Although fundamentally, you only need one, they are sold in a set of two. No worries, it looks better to have them on each side and they were only $40 for the pair. Not something a builder couldn't do himself...but a nice out of the box solution to save time. The machining on them is a little rough, but otherwise I was happy with them and its one less thing to worry about.
No comments:
Post a Comment