
I had a very productive and fun weekend working on the project. Sandwiched around the Front Range Airport open house (FTG) and a nice visit with Gary, Scott and Deb out at the hangar. The fuselage is starting to come together and its pretty exciting to finally start riveting big pieces together. It is taking shape...although I keep having this feeling of dread that I am missing something on the "laundry list"...Van's does not define these little tasks very well so you are kind of on your own.
As I mentioned before, doing this solo, I am skipping around in sequence a little. I did all of my prep work with the 'canoe' right side up. Now, as I get ready to rivet the bottom skins on...I flipped it over. Much easier to rivet the bottom skins like this.

Added this clearance hole to the gear attach gussets for a rubber grommet. The fuel line will enter the fuse here.


I added these bolts while I still had good acess...bottoms and side skins removed. After I got done, I inspected these...and I think the bolts are too long for this application. The plans say -5 (5/8") length...I may add another washer because I think the nut is bottoming out on the shoulder?? Van's does a great job with these kits...but always double check things, sometimes things arent quite right.

Here you can see I have applied ProSeal to my bottom skin joints. Yes...ProSeal...ugh! haha! I wanted to get a good watertight seal on the overlapping joints and also want to seal up the firewall from fumes entering the cockpit. The watertight seal might be overkill...but I figured it cant hurt.

Dont forget to machine coutersink these rivets where the floor stiffener angles attach.

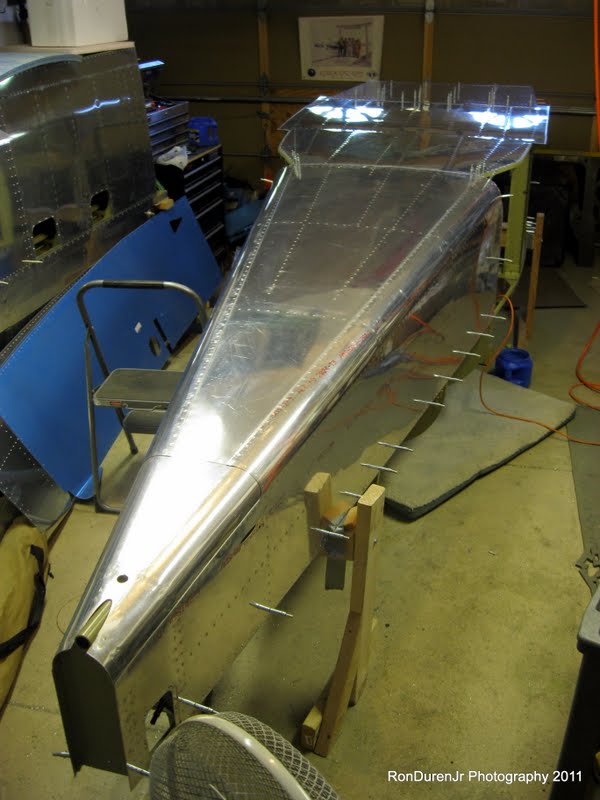
Getting ready to rivet...solo...this is gonna be a task


Doing this bottom skin solo was tough. I almost threw in the towel trying to reach the rivets right in the center...my arms just didnt seem to stretch that far. Especially holding a rivet gun and bucking bar. But...somehow, I tried again and was able to get to them...just barely. I probably looked like an idiot while doing it though as I was in some pretty wierd positions to make it happen...paint this picture in your mind...legs spread wide apart, squatting, reaching, face pinned against the side and grunting. haha! Not pretty! Although I've never done yoga before, I couldnt help but think...who needs yoga when you are building an RV!!! I'm actually feeling it a little bit today, muscles are a little sore. ;)

Cleco's slowly being replaced by rivets...looking good! So cool to see a riveted skin, love it! On a different topic...If you look close in this pic, you can see that the lap joint between the mid fuse and the aft fuse is the wrong orientation. I overlapped them wrong. Doh! Dangit, that hacked me off when I finally noticed it last night. After some pondering, I have made the decision to leave it as is, I am too far along to change it now...structurally it is fine and it shouldnt cause any ripple effects that I can see. If you were looking for a blog about how to build a 'perfect' airplane...you came to the wrong place. As I always say, it is little things like this that make the plane all mine...they add character and are things I will laugh about later. ;)

One of my builder friends, Steve McGirr, gave me this idea to "autograph" your plane. Cool idea, this is my first one and it will be hidden by the side skin. I plan to let anyone that helps do the same.
Hey Ron,
ReplyDeleteLooks good! Thanks for the credit. Watching your progress is inspiring as I haven't been able to get out to my hangar enough recently