

You may have noticed that I am doing this a little different than Van's says in the plans...they say to have your fuse upside down, not sure why at this point? Maybe when I get to riveting it will be helpful...but right now this would be a pain to work on upside down. Anyway, here is a shot of me test fitting the rudder pedal structure.

I need to drill a few sets of holes for the rudder pedals to allow for adjustment. I have pretty long legs for a 5'9" guy so I expect I will have them set all the way back but I also want adjustability built in. Just in case I ever sell it?
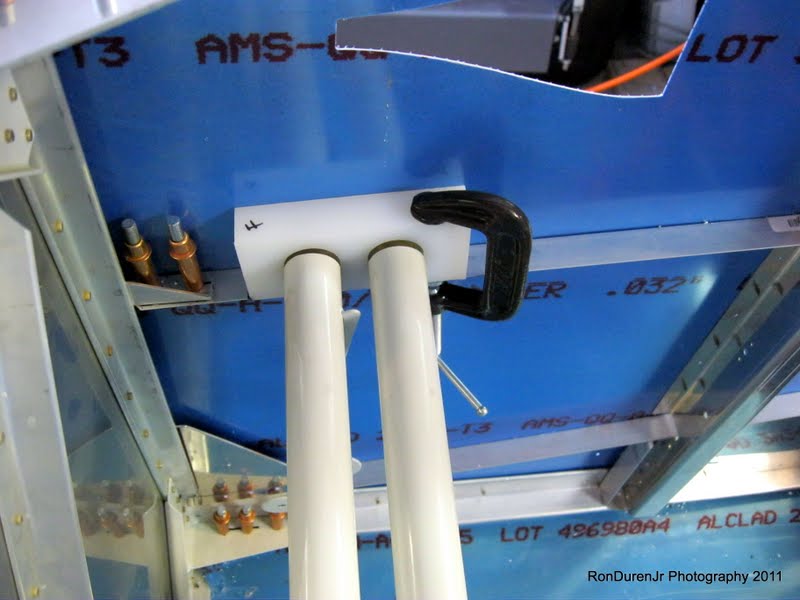
I haven't decided how to drill these mounting holes just yet...maybe do it before I assemble the side skin? Access is very limited. Also, pay attention...these plastic mounting blocks are not symmetrical...they are machined to fit the curve of the fuse so there is a 'left' and a 'right'.

Test fitting the panel structure...not sure why, just because...

Test fitting the cover panels and fuel selector bracket (which I wont use). I'm trying to formulate my mounting strategy for my center console and false floor. I have an idea how its going to go...but I'll figure this out later.

Match drilling these gussets...I still need to add a square hole in these.

Seat belt attach brackets...I wanted to get all of my holes drilled in the longerons before disassembling for countersinking and primer. I am jumping ahead in the plans with these steps..shouldn't be a problem however.

I cleco-ed on the top skin so I could get an idea how these gusset brackets would be oriented before match drilling them. Pretty much just drill them parallel with the longerons and you'll be fine. It really is cool to see how this baby comes together...looking more and more like an airplane all the time!


Here is my misc hardware I brought back from OSH. Does this look like $150 of hardware?? sheesh! Oh well, this isn't stuff you can get at Home Depot so its nice to have some extra on hand.
No comments:
Post a Comment