Ron's RV7 Aircraft Factory


Welcome to my personal blog. This site was created as an informal description of my build progress in the construction of a Van's RV7 aircraft. A place where family/friends/builders/curiosity seekers can follow along. It is not intended to be a detailed description of every step in the building process as that would be much too time consuming. There are plenty of sites that do a great job in that arena, that is not my intention with this site. My intention is for this to be a philisophical/motivational/inspirational account of the emotional ups and downs of the life changing journey...and it will change your life. I hope this will give you an idea, through my eyes, of what its like to make this transformation. A note to other builders, I am not an expert so do not put your safety at risk by attempting anything you see on this site until you have done your own research, or send me an email so we can discuss it. Any deviations from the plans are not approved, nor endorsed by Van's Aircraft or myself. Thanks for visiting.


Tuesday, December 21, 2010

Left Flap Complete HOBBS 394.0 hrs

Finished up my left flap last night. As the plans said, this a pretty easy control surface to assemble. It is a little bit of a tight squeeze reaching inside to do some of the rivets but otherwise its pretty straightforward. I recieved a couple cuts on my hands in the process...and finally joined the "drilled my finger" club!

From what I've heard, I think its a right of passage when building an airplane to drill your finger at least once. It just grazed my thumb, but it was painful enough for me to say a few choice words. haha! On a side note, it sure is nice to rivet without having to deal with ProSeal all over the place!! :)


I would do the pop rivets (red arrows) before the solid rivets (blue arrows)...I didnt. This was a bitch to get into this tight space to do the pop rivets, and you can only do it with your 'modified' pop rivet gun (ground down for tight quarters). Click on the photo for a larger view.


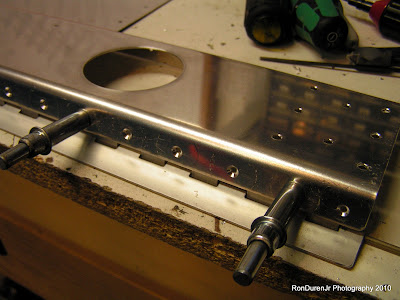
Dont forget to machine countersink the main spar on the side where the hinge attaches.


I left the hinge pin uncut at full length since I'm not sure if I may need the extra length to secure it to the wing. I could've read ahead in the plans I guess? This works for now, I can cut it later.


And here is the finished product, sitting in its stand.

No comments:

Post a Comment