
I didn't log as many hours in the Factory this week. A couple things contributed to this. One, we had a record breaking 76 degree day on Friday, so I met some friends for a patio happy hour (hey, a guy has to have some fun sometime!). And two, I was feeling a little bit overworked and underpaid...so I took Sunday off completely. Which I realized was the first Sunday I haven't worked on the plane in months. Bottom line, I needed a breather, and it was a nice break.
But as I always say, breaks are fine...but keep them short and get back at it if you want to finish in a reasonable time frame. Nothing wrong with slow and steady. So...I am still progressing, slowly but surely advancing on "first flight" day.


Sure enough, I realized I didn't order enough shielded cable on my last order...I forgot about the headphone jacks needing it also. I buy my shielded cable from SteinAir. While I was on the site poking around to see if there was anything else I needed, I came across this new product Stein is offering....wheel chocks. Sure, easy to make yourself, but what I liked was the engraved N-number...and I gotta be honest, it saved me an hour or two of work to drill all those lightening holes and otherwise fabricate my own. The best part, they were only $29 for not one set...but a pair! You couldn't buy the material for a whole lot less than that and certainly couldn't have a machine shop engrave your N-number for anywhere near that cost.
There are very few things on this build that I spend my money and say...that was well worth it. Almost everything in this hobby is highway robbery. My Crow harnesses come to mind as being a GREAT value...and definitely these wheel chocks fit the mold, I recommend them.

Soldering, shrink tubing, labeling my headphone jacks...do everything you can to keep these wires secure and free from vibration. How many times have you heard of headphone jacks that are intermittent? Usually just wiggle it and it'll work again. Most likely due a loose solder joint is my guess...remember, solder joints don't like vibration.

Wire routing of the headphone jacks...I usually don't like the adhesive stick on tie-wrap holders, but you can see I am giving them a try...we'll see how the adhesive holds up over time, in my past they tended to get brittle and break off.

A TNC (threaded Neill–Concelman) connector for the Dynon transponder. They don't send you one (grrr), so you'll have to source your own. Luckily there is a local electronics store here in Boulder that carried these so I saved shipping costs. The TNC is the same as the BNC (Bayonet style) which is the more common version, this one is just threaded.


If you are using the PSEngineering PAR100EX, make sure you read the manual BEFORE powering this baby up! It comes configured for a 24 volt system, to switch it over to a 12 volt system you will need to remove the cover and move the red jumpers as indicated in the manual. Don't forget or you'll have a paperweight.

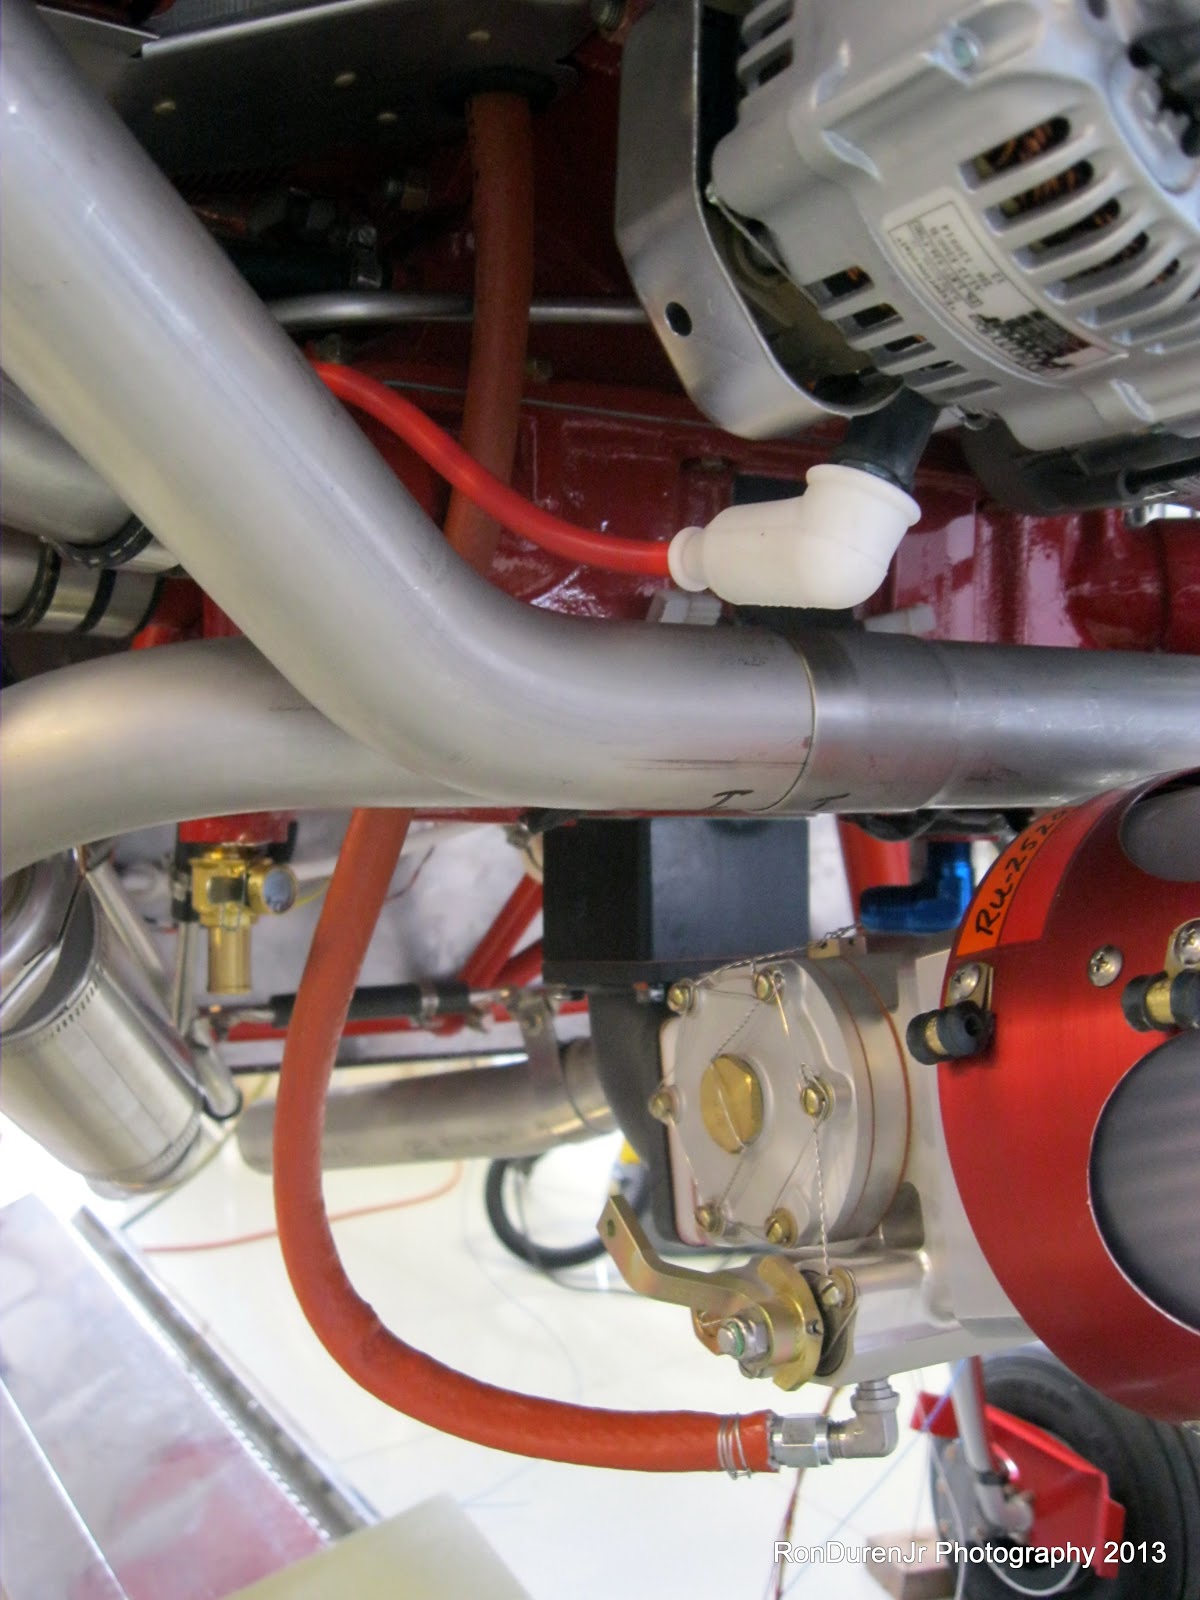
Trying to figure out my last few fuel lines in the FWF before putting one last order in to Bonaco. One of which is the fuel line running from the fuel injection servo to the fuel distribution "spider" on top of the engine. I suppose there are many different paths you could take to get this done. I want to keep all fuel lines as short as possible to reduce vapor lock potential with hot fuel so I chose the most direct route. This happens to be straight up through the bottom baffle.
Removing and then reinstalling this puppy was a little tedious, but its doable. As you can see, I drilled and inserted a rubber grommet for the fuel line routing.


And bam...there is where it enters the spider...came out well.
The other end attaches to the servo...I am still playing around with this fuel line routing to keep it away from the crossover exhaust as much as possible...what you see here is not final.
No comments:
Post a Comment