


I bought this digital level a few months ago...and it sure is handy to have in the shop, wish I would've bought it sooner.

Squaring up the mounting angle bracket for the vertical support piece so I can match drill it to the tunnel cover.
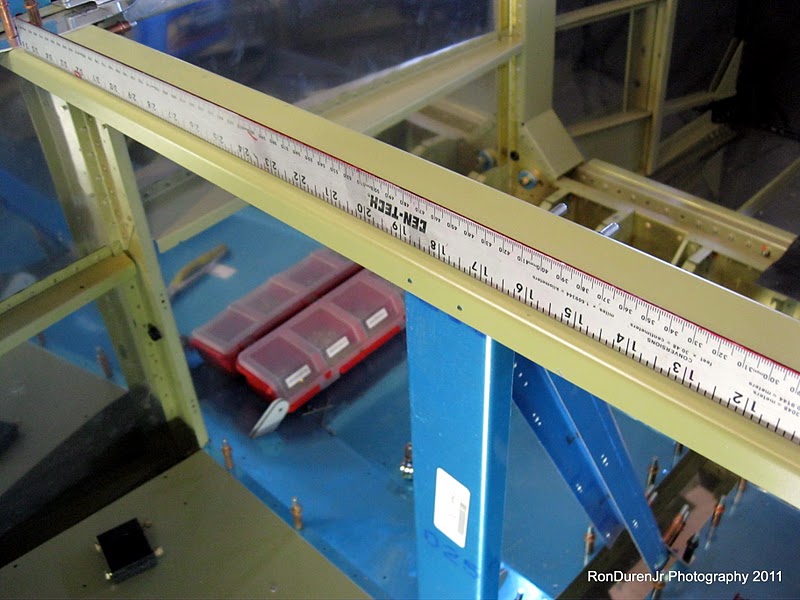
There was a very slight bow in the horizontal support that is behind the seats, I wanted to get this straight before match drilling it. A minor detail, but important to me.

Here you can see the welded steel flap actuator in place. The electric motor will attach to this in the center and then each side will have a 5/16" diameter flap push rod linkage that moves the flaps up and down.

A pic of the electric motor as I match drill the mounting brackets that I fabricated. This is the piece that will sit in between the seats. The motor assembly seems like a nice piece of hardware.

Here's a shot of the side covers cleco-ed in place and match drilled. If you look closely, you will see they dont look straight...apparently thats the way they are designed to fit? Not sure why?
Hi Ron,
ReplyDeleteI made two mods at this point. The first was to drill through the end of the flap motor pushrod/clevis bolt shaft to lock the bolt at the end so it can't twist in either direction (Van's safety bulletin only prevents movement in one direction; I did that as well)
The second was to add angle aluminum to the inside of the vertical brace to stiffen it so if someone rests their butt on the horizontal brace it won't cave.
I'll try to add photos the next time I update my blog
Your RV7 is looking really good!
Steve M