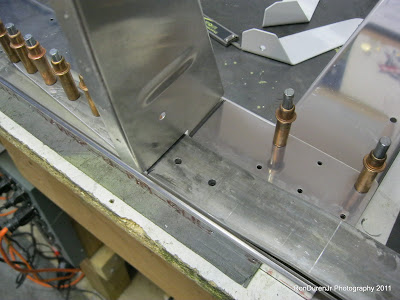
 I spent some time away from the project this weekend. I think I have worked on it for about ten weekends straight now and was feeling a little burnout. So I met up with the guys for some flying instead and it was well worth it...I'll post on that later. But, I did get a few hours in on the seatback bulkhead...here are some pics.
For this bulkhead assembly you have to trim the seatbelt attach brackets to make room for the ribs that attach later. Here you can see I have cleco-ed on a rib to see exactly how much I need to trim.
And here is the trimmed bracket, compared to an untrimmed version
My setup for getting the correct spacing between the two brackets so I could match drill them. I was a little taken aback by the fact that these brackets are not very stout for a seatbelt attach point. They are steel but I expected them to be a little beefier?
This is a spacer that you fabricate and then match drill...I just marked a center line for reference
These are a somewhat funky setup of shims/spacers/angle alum that you fabricate to attach to the structural piece that sits right behind the seats. I couldnt really figure out what the purpose of these were for in the plans? So when I went out to fly with the guys, I looked at their completed planes. Turns out these brackets are to be used if you want to adjust the incline of the seats...not sure why you would want to do that? Gary and Scott never have used that feature and said they wouldnt install them. Perfect, I'm omitting them from my build...just wish I would've known sooner so I didnt have to fabricate all of them.


No comments:
Post a Comment