


I'll start off this post showing off my new RV Nation t-shirt and N-number embroidered hat. I really like both of them and the hat has some nice colors don't ya think? If you are unaware of the RV Nation site, check it out...its still in its infancy, but it has promise and Scott seems like a real good guy.

I was planning on focusing on the wheels and wheel pants next. Not sure why, just because its on the list and kind of sounded like fun.

First order of business is drill the axle holes for the cotter pins. I didn't much like the instructions Van's offers for this. It says to use a spring loaded center punch to mark the hole. Good luck with that! Tighten up the nut snug, but not too tight to bind the wheel rotation. I used my long drill bit and just kind of angled it in the best I could to get a mark started. I then pulled the wheel off to drill it through...one side at a time. Worked out ok, you cant get the drill perfectly straight--but it got the job done which is all that matters.

Cotter pin in place...not secured yet though...just in case I have to take this puppy back off for some reason. Definitely be part of my pre-flight checklist to make sure I take care of this later.

Safety wiring the brake pad bolts in place.

Wheel pants dance. Since I have the bigger 380X150-5 tires, I knew some surgery would be required of the wheel pants. First, cutting the openings to fit the bigger tires. You know the drill by now...sneak up on it, small cuts followed by fit checks. Its a pain, but necessary. I have already had these wheel pants on and off almost as many time as I did the cowl.


I love trying to find nice objects in the hangar to use as patterns to trace. For this task, it was a 6" diameter coffee top.

Van's calls out a 1" clearance above the tire...follow this advice. I used a 1" piece of foam. I know a friend with a Giles 202 that had his wheels rub a hole through the top of his pants...he figured it was elongation of the wheel at 100mph landing speeds. Dunno?...but make sure you figure in the dynamic condition of the tire, rather than just static.


Trim work...cut for the tire...and for the axle.

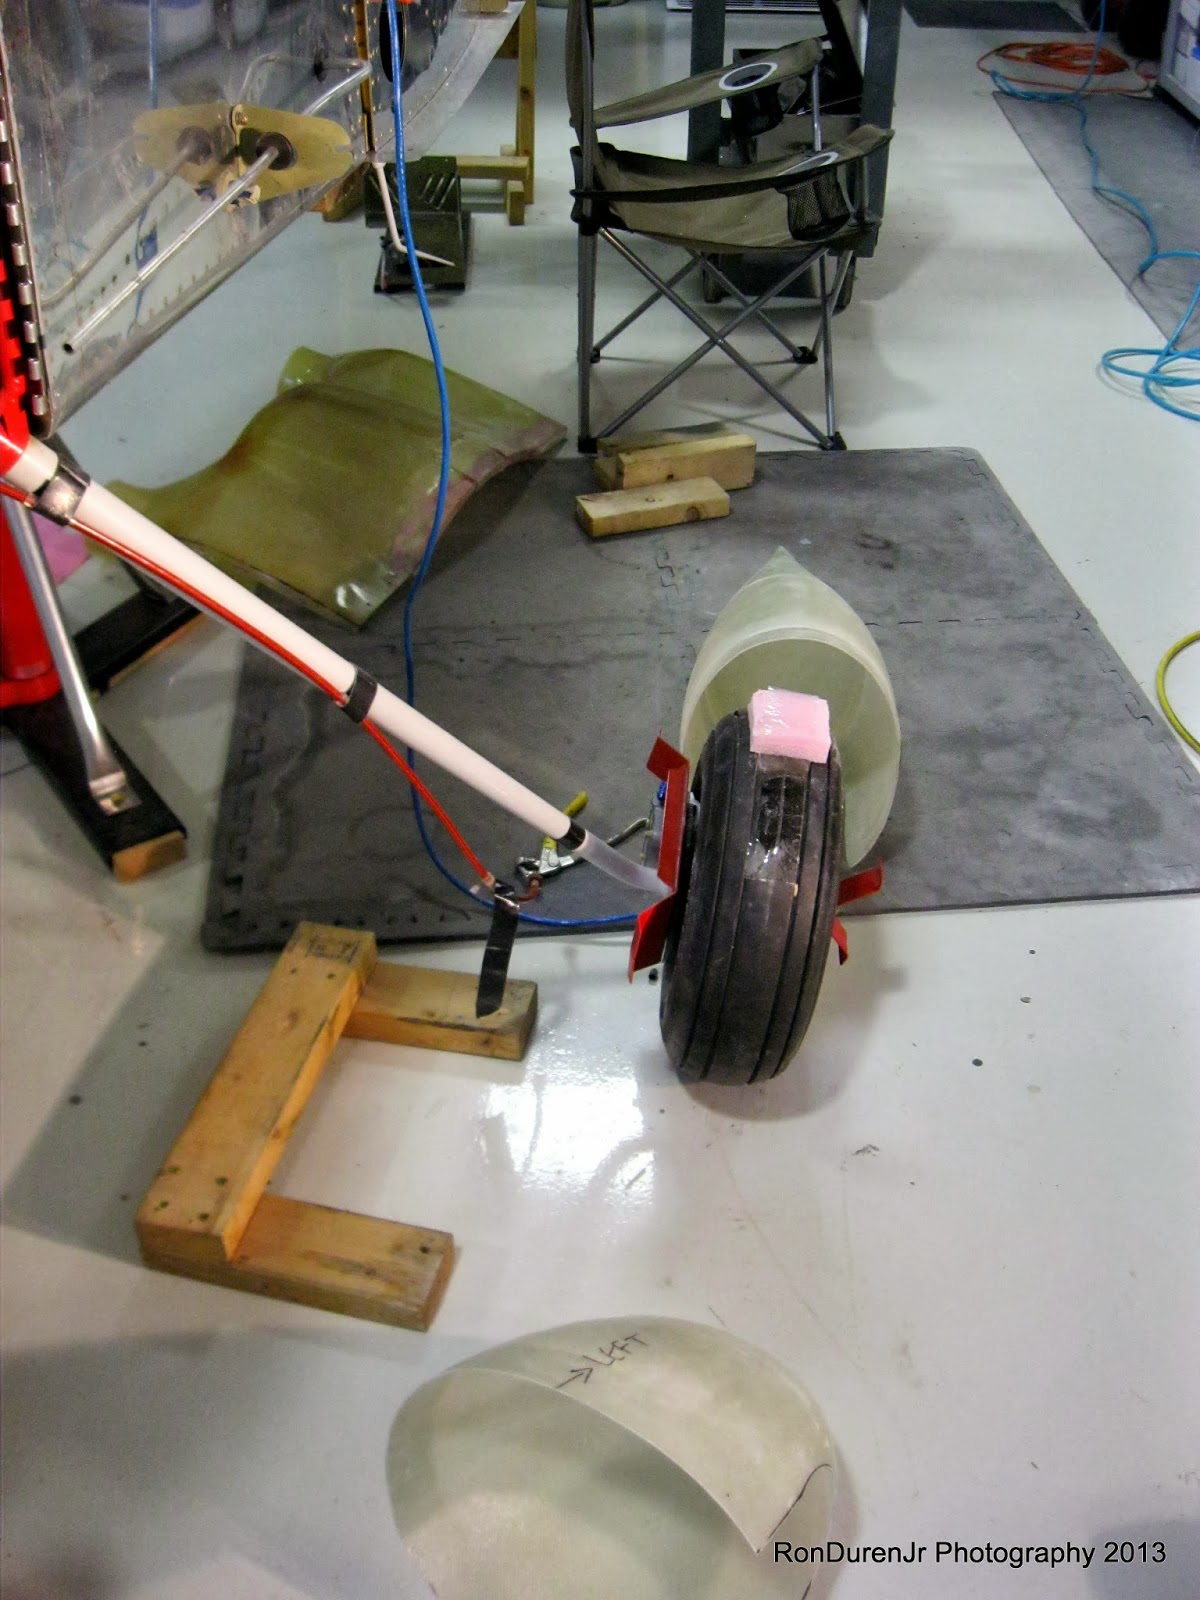
Here is a good shot of how my wheel pant was hitting the brake housing...more on this later as I had to add a "bump" in this area. Other than that...the pants fit alright, I wasn't sure how much modification would be needed for the bigger tires?

Doing test fitting...


And more...test fitting...

I just had to take this photo...putting the wheel pants on sure makes it looks even more like an airplane ready to take flight!

The plans call for you to get the pants marked front to back with a straight line. How in the hell you do that is beyond me. What, besides your eyeball can you use for reference? In the end, I just used my eyeball...the Duren's have a good eye for such things, as my Dad was a skilled carpenter and machinist as various times in his life. :) Looks straight to me...what do you think?


I forgot to mention, the instructions say to raise the plane off its gear to do the pants fitting. The thought process is you want the wheel pants straight while in the flight configuration. Makes sense at first read. After some thought, and research, not sure I agree with this. The gear will camber inward, but shouldn't toe inward. You will line your pants up with the tread centerline...so what difference does it make if the weight is off the gear? Your call on this one...not sure I would jack it up again.
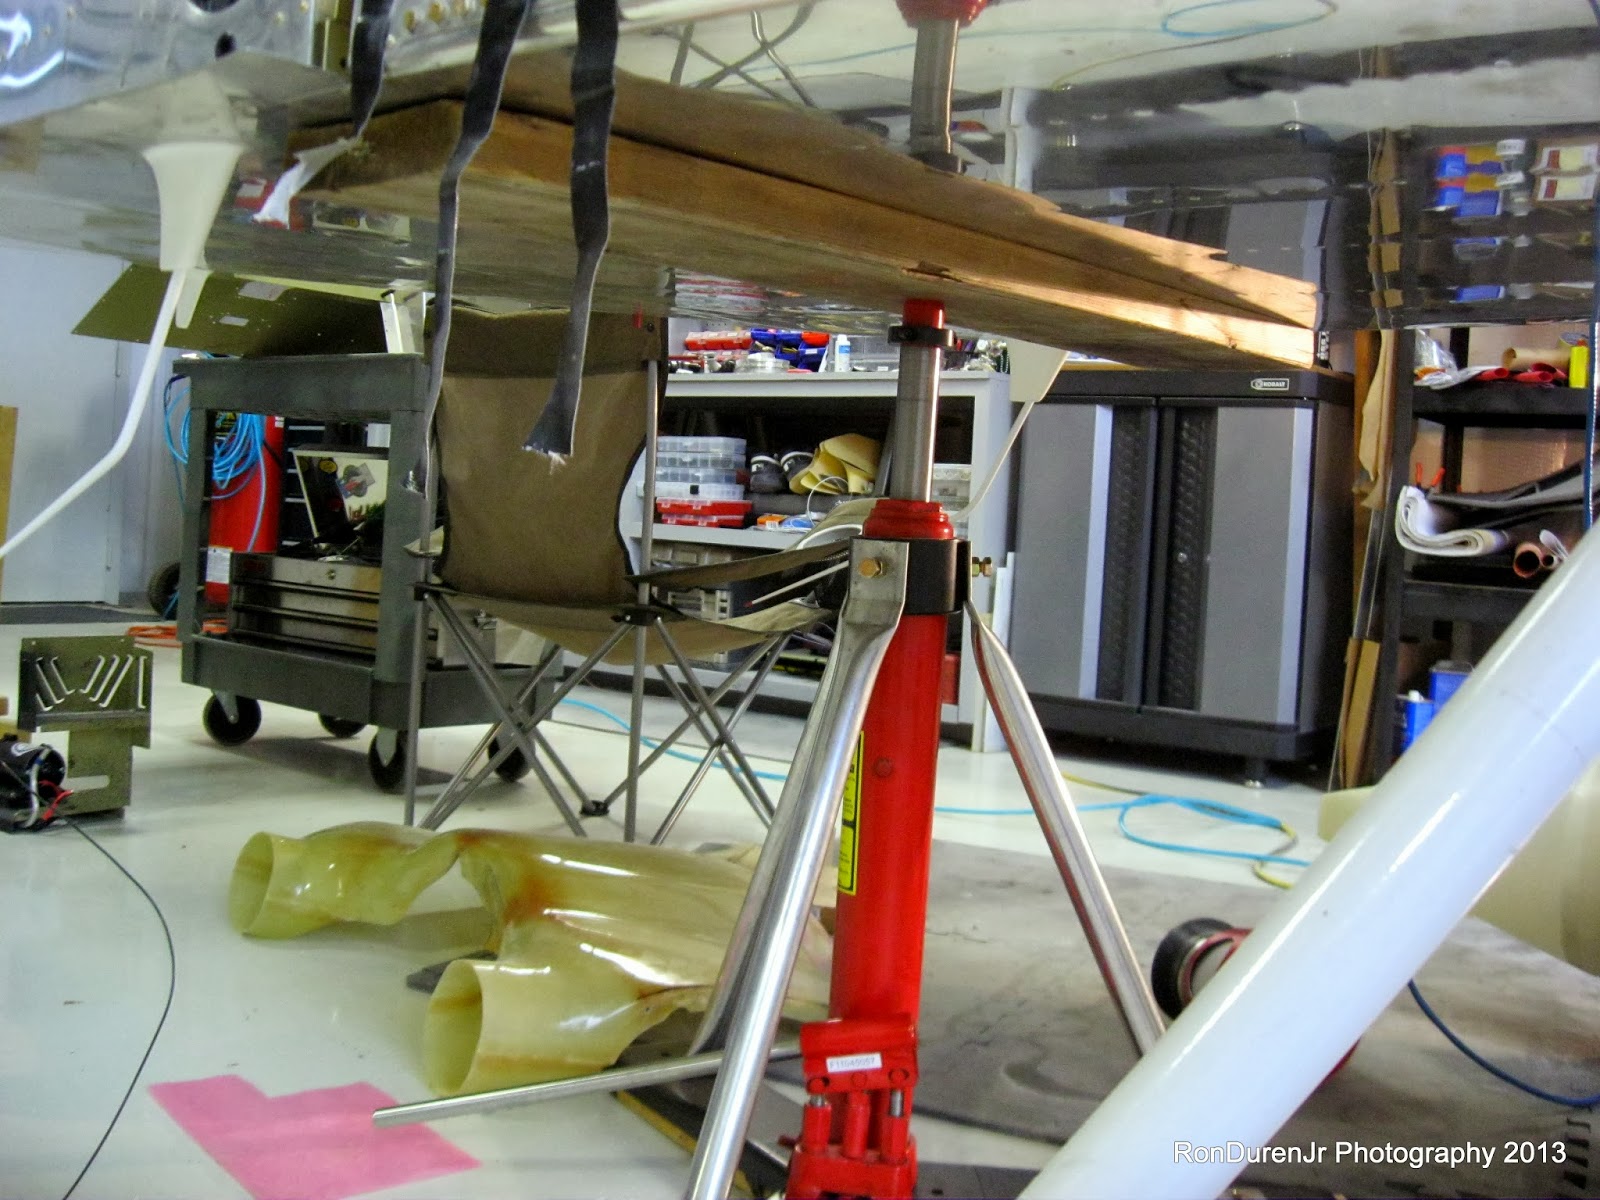
Since I didn't have my wings attached...it was a question of how to lift this puppy. I borrowed my hangar mate's jack and put a nice wide 2x8 under the spar carry through to distribute the pressure. I then started jacking...until my longeron showed a level attitude (this part actually is important). The problem with this method is, the CG is forward of the spar. So as I jacked the tail just kept rising...the wheels never did get fully off the ground...although they were darn close. I could've just added weight to the tail...but I really wasn't feeling comfortable with all of this. Once I got to 0.0 degrees...I stopped jacking and did my fitting.
Here you can see the camber I mentioned...notice the angle of the tire.

Wheel pant centerline (eyeballed mark) lined up with tire centerline.

Drilling holes to brackets...use a bright light inside the pant to see the holes and drill from the outside...carefully. This bracket gets permanently riveted to the pant.

Axle clearance hole...

Getting the pants straight...I used the 8 5/8" measurement from the plans for the tail. I didn't pull a measurement from fuse centerline..but I did use a plum bob to measure from the fuse side. I did this so I could match the other side. The straightness of the pant, was again, eyeballed. Nothing fancy. Some guys build real nice jigs for this, which isn't a bad idea, but one I skipped. We'll see, later, if I regret this. They look pretty darn good to me.

Here is a good shot at how high the tail rose when I jacked it up...the HS is at eye level. Looked cool...tail high, standing proud like a nice wheel landing.


For some reason...the axle penetration varied from one side to the next?? I couldn't for the life of me figure out why? I knew my measure points were consistent...so I just chalked it up to different variations in the pants themselves, as some have reported. Again...we'll see if this causes me a headache later?

This is what it looks like with the tailwheel back on the ground...I think the angle looks good.

Clearance from the bottom of the pants to the ground is a little bigger than the guys with stock tires. I used the 2x4 to give you some perspective. I like the added clearance for the same reason I put the bigger tires on...flying in and out of unimproved strips like Johnson Creek. The added drag and decrease in cruise speed from this is almost non-existent from PIREP's from other pilots who have gone this route.


Getting the final trimming done and cleaning up the edges. Also worked on getting my reveal nice and consistent. Remember, leave some room for paint...it doesn't have to be tight, just consistent, to look good.

I did my screw hole layout almost according to plans. The plans say to take these two 3 3/4" apart centered on the tire. I added a little and went to 4" as shown. I don't like how close they are to the tire and ended up moving them out to 6" (not shown)...and could have went further. My tip to you is, consider this before drilling. You want that tire to have a clear path above it.
No comments:
Post a Comment