Ron's RV7 Aircraft Factory


Welcome to my personal blog. This site was created as an informal description of my build progress in the construction of a Van's RV7 aircraft. A place where family/friends/builders/curiosity seekers can follow along. It is not intended to be a detailed description of every step in the building process as that would be much too time consuming. There are plenty of sites that do a great job in that arena, that is not my intention with this site. My intention is for this to be a philisophical/motivational/inspirational account of the emotional ups and downs of the life changing journey...and it will change your life. I hope this will give you an idea, through my eyes, of what its like to make this transformation. A note to other builders, I am not an expert so do not put your safety at risk by attempting anything you see on this site until you have done your own research, or send me an email so we can discuss it. Any deviations from the plans are not approved, nor endorsed by Van's Aircraft or myself. Thanks for visiting.


Tuesday, July 24, 2012

Its Time HOBBS 1420.0 hrs

Here we go again, another year, and of course another Oshkosh. I like to look back at my progress on an annual basis at this time of year. Going back into the archives...my trips to Oshkosh came at 95, 262, 750 and now 1420 hrs on the HOBBS. As you can see, I'm closing in on the day I will actually fly my plane there. I'll have plenty to report when I get back, including my first look at the new RV14...until then, here are some pretty bad a$$ pics I took the other day of Wablosa...she almost looks ready to fly eh?! :)


Wednesday, July 18, 2012

Prop Arrives! HOBBS 1400.0 hrs


Yesterday, my 200G-CS prop arrived from Whirl Wind Aviation in two cardboard boxes via UPS. Although I was excited beforehand to get this baby, I was overwhelmed at how much I enjoyed unpacking this thing and seeing my paint colors for the first time. You couldn't wipe the smile off my face. 

There is a commonly used phrase in the business world these days, "customer delight"...I know, kinda cheesy but bear with me. The successful businesses (think Apple) achieve customer delight with their products. It becomes an emotional experience for a customer to purchase their product. Why else do you think people camp out in line to get the newest iPad? Emotion...plain and simple, cost no longer matters to them. 

I gotta say, Whirl Wind easily achieved customer delight with me. I was so pleased with this prop, that I forgot how much I paid for it and that's saying something...emotion took over and trumped reason. That's a product that will make a business a lot of money. If this things flies half as good as it looks, they have a customer for life in me.

Take a look at these pictures and you can see why, this is a work of art. Notice how the tip paint goes EXACTLY to the tip of the blade...not 'close enough', but exactly. There was some pride put into these props and its easy to see and recognize if you're looking. That is rare today, no one seems to take pride in craftsmanship anymore. I look for this in things I buy, and was impressed by everything I saw on this prop...nothing was sub-par to my eye. 


Nickel leading edges--protection so it can be flown in the rain and off unimproved strips.


Color matched to paint chips I provided. The yellow is from the yellow on the wing of the red-winged blackbird (see pic on my blog).


I wanted an aggressive looking prop but I was taken aback at how big the chord was on this thing! 8 1/2" at its widest point. It dwarfs the 200RV. You can easily see why this prop is a big time STOL performer. I wonder if I got a big enough engine to swing this monster! :)


Great paint job and Whirl Wind decals...everything is perfect....


Again, notice the tip paint and the nickel leading edge...they both culminate exactly at the tip. This is the "swept tip" option by the way. Highly recommended if you choose this prop/engine setup like I did.


I was expecting the prop to arrive before my engine hanging party...but alas, it didn't make it. If it had arrived, I had planned to put it as the centerpiece on my dining room table like this. How cool would that have been?!? :) Anyway, I think I may leave it here until its ready to mount on the engine.


So, in summary. I am thrilled I went this unconventional route with my prop choice (see my earlier post for my reasoning behind this decision). This prop, on an RV7, will turn a lot of heads on the ramp. As far as I know, my RV will be the first with this prop...but I have a funny feeling it won't be the last. It looks exactly like what I wanted....we'll have to see how it performs in the air, but for now I am ecstatic! No single product I have bought thus far has made me want to get this puppy flying more than seeing this prop.

Family Visit HOBBS 1385.0 hrs

Still working on getting caught up on blog posts so this news is already a couple weeks old. I mentioned that my family was coming for a visit...the contingent included my parents, two of my teenage nieces (Kaylee and Kristen) and my nephew. They were on hand for the engine hanging. Even though I am a single guy with no kids, building an RV should still be a family affair if possible...get them involved! Here are a few pics...


Can I get in the "airplane" Uncle? Of course you can, let me lift you inside! How could you say no to that face? :) A pilot in the making I'm hoping.


Here he is moving the stick around. I actually had the elevator controls hooked up at this point so he enjoyed moving the stick and seeing the tail surfaces move. Apparently he couldn't stop telling everyone that "Uncle let him sit in the airplane!" Love it. :)


What happens if I pull on this one? "Oops Uncle, I broke it"....hehe, not to worry little G-man, it can be fixed.


Of course, Pop was more than happy to dig right in on several projects while he was here, which as stated previously, a huge help.


Assembling some temporary wheel chocks...


Getting ready to hang the engine...


Checking out all the goodies I had put on display for the engine hanging party..it was quite an assortment of engine probes, avionics, cable harnesses, stick grips, seat belt harnesses, etc.


The "boys" at home in the shop...pure heaven!


Pop graciously offered to tackle the brake assemblies that I had been neglecting since I got the brackets powder coated...along with repacking the wheel bearings.


Using the "RV jack" I bought...looking good

Monday, July 16, 2012

Dynon SkyView HOBBS 1385.0 hrs

A couple quick updates... My prop is finally, after two delays, on its way. Supposed to arrive at my house via UPS in two boxes/crates tomorrow (7/17/12)...the spinner is the second box. I am VERY excited to see this puppy...almost as much as I was for the engine. I will finally get to see my chosen colors on an actual aircraft part...and also the prop itself, since I don't think I have ever seen this particular version before since its a fairly new offering at Whirl Wind.

My carbon fiber panel from Aerosport Products is also on its way...in fact, it should also be here later today. This is another product I am pretty excited to lay my eyes on. I'm jazzed to start doing my panel work, and this part is obviously a crucial part of that puzzle. A lot of exciting stuff happening this week in the Factory!


I received my 10" Dynon SkyView from SteinAir and after a slight delay, decided to fire it up and see if the darn thing worked. ;) I purchased this "used" from Stein...its actually new, but the owner decided to go a different route so Stein sold it to me for a slight discount on the VAF forum. I completely trust Stein and knew he would stand behind his product, but wanted to test it just the same to make sure I had a good unit.

I hooked it directly up to my power supply and had no problems getting it powered up. Although, I later read the installation manual and it recommends using a 5 amp fuse for such matters just to be safe. I bought one and will use one for all future bench testing. Probably not too bright of me...don't want to mistakenly fry a $4600 computer!


My first power up just yielded a screen like this...not too exciting. Nothing was hooked up...no ADAHRS, no engine instrumentation and no GPS so there was no data for the computer to display. Wanting more than a couple "X's"...I quickly grabbed some alligator clips and got my GPS antenna temporarily tied into the SkyView 37 pin harness and tried again.


Ah, now we're talking...I now have something to look at! It took the unit a little while to get an initial position fix, but once it did, this is what I saw. I played around with it for awhile zooming in and out. Notice the "30 hr" trial mode message for the map software...I already bought my software license ($500) for this but haven't installed it yet. Once I do, that message will go away. Its just a software code you need to enter into the system to unlock it. Anyway, this was just a quick test run to ensure I had good hardware, looks like all systems are go with the SkyView...more to come as I get started on my panel real soon.

Friday, July 13, 2012

Sam James Cowl HOBBS 1385.0 hrs

I received my Sam James extended cowl a couple weeks ago...sometimes called the "Holy Cowl." There is plenty of debate whether this cowl is an improvement over the Van's stock cowl. Debate I'm not going to get into here...up to you which way to go on your plane. We'll see how it works out for me?

Quite honestly though, I went this route mostly because of the appearance. I just think this cowl, with the aluminum inserts, looks much sleeker than the Van's version. It looks like something you would see on a high end Cirrus. Cost is about the same either way.


Its a big shipping box...but as you might guess...very light. Kinda weird to pick up a box this big and have it be so light.


Notice the enforced area around the future oil door


What it will look like on the plane...the fiberglass work looks good, rumor has it that you have less pinholes with the SJ cowl vs. the Van's cowl. Wont know for sure until its painted.


It came with some extra fiberglass material and of course, the aforementioned alum rings

Engine Details HOBBS 1385.0 hrs

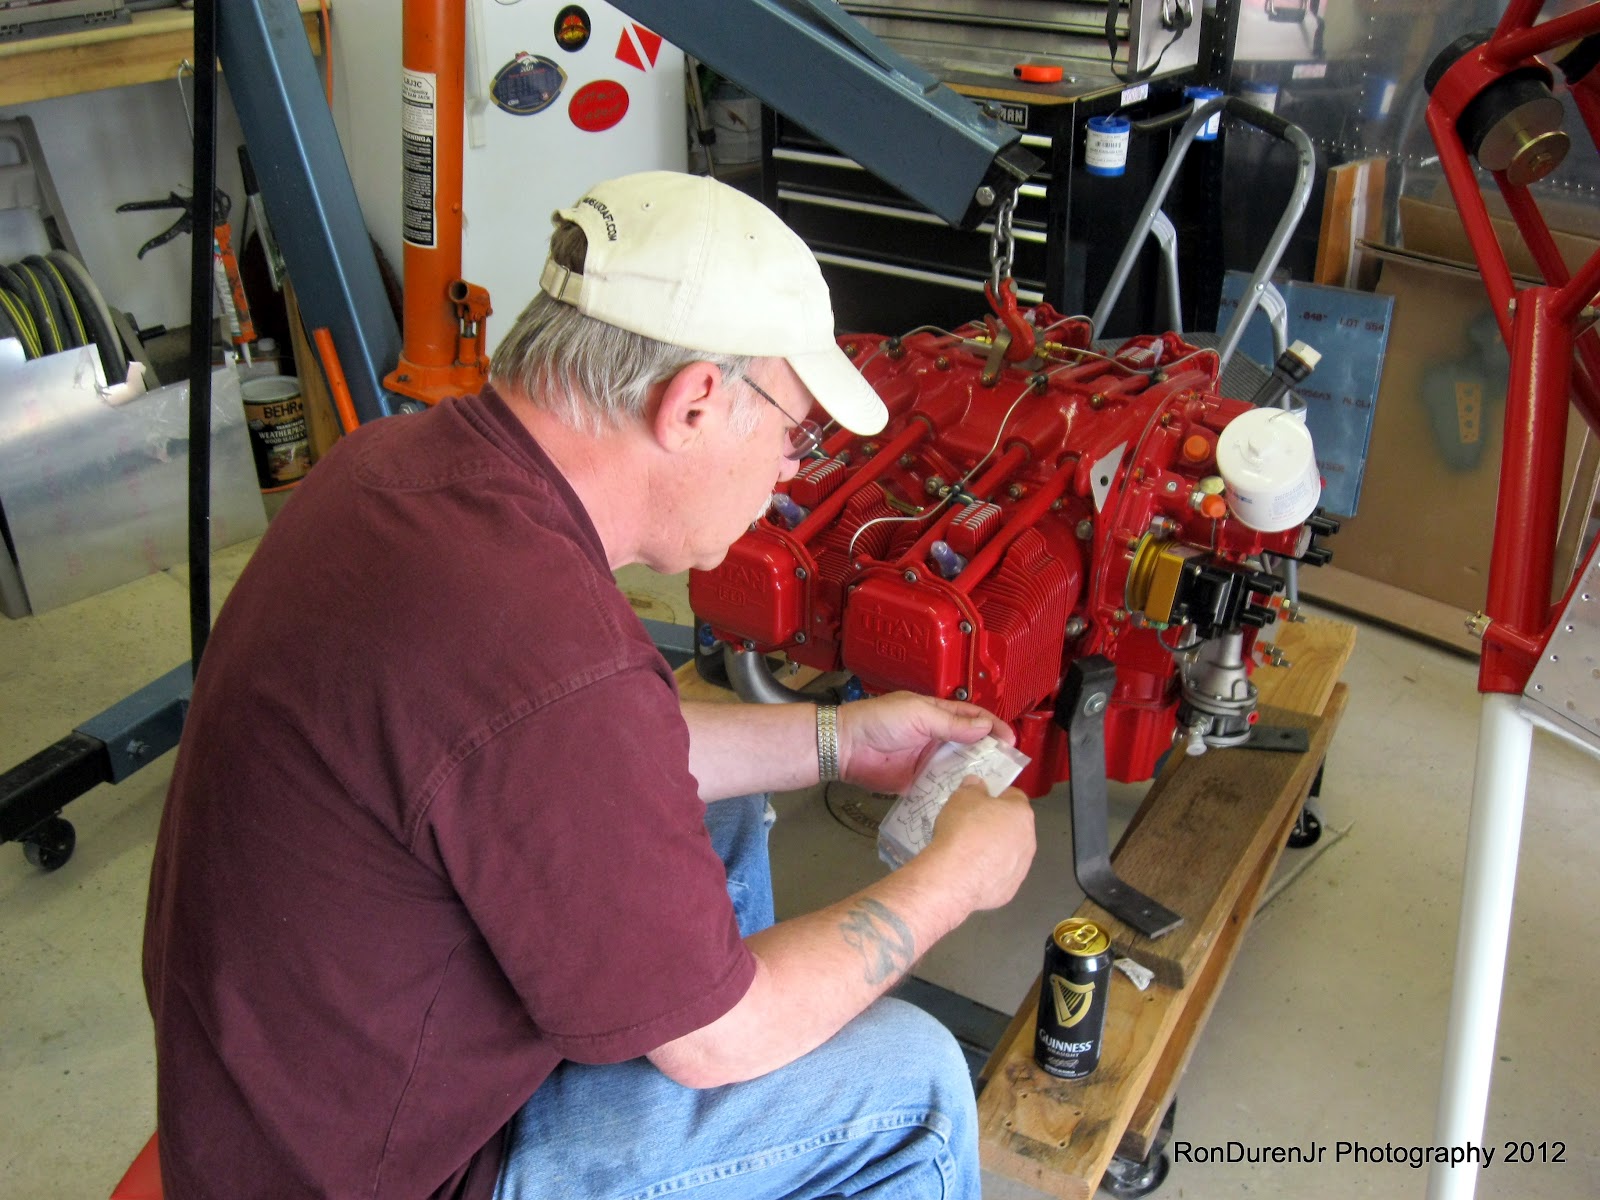
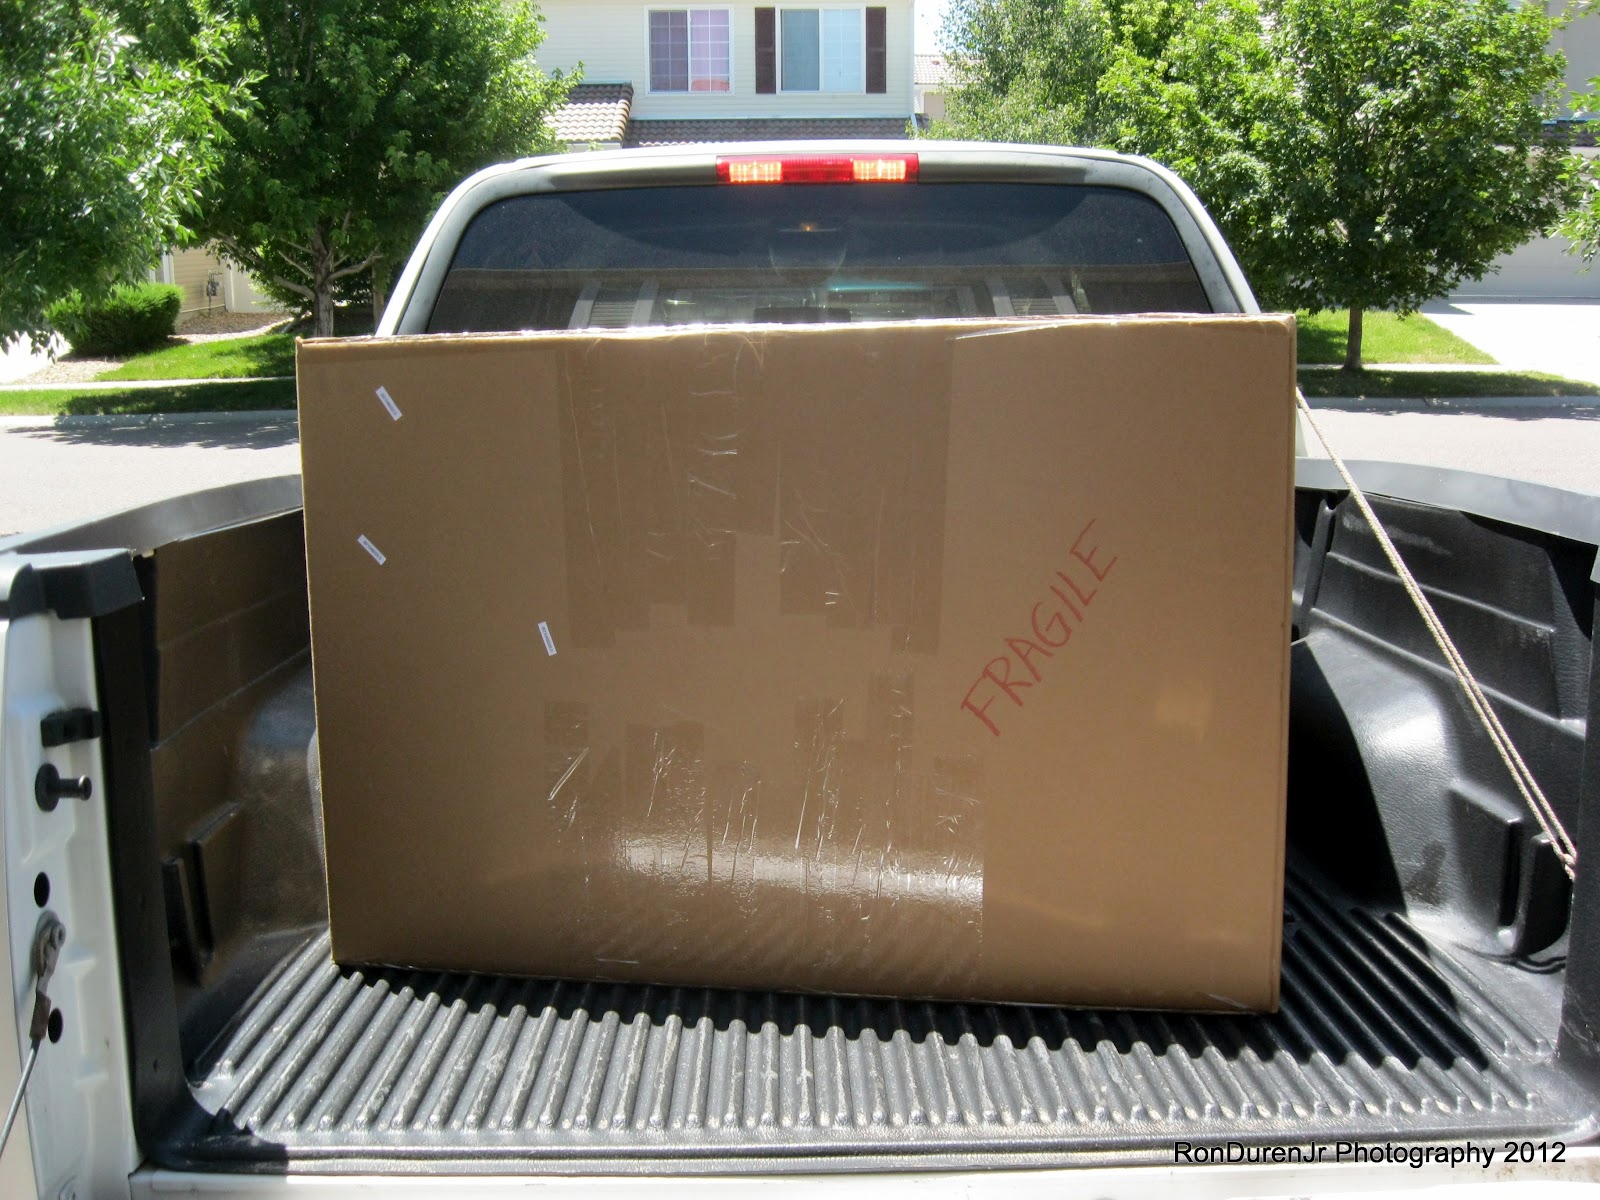
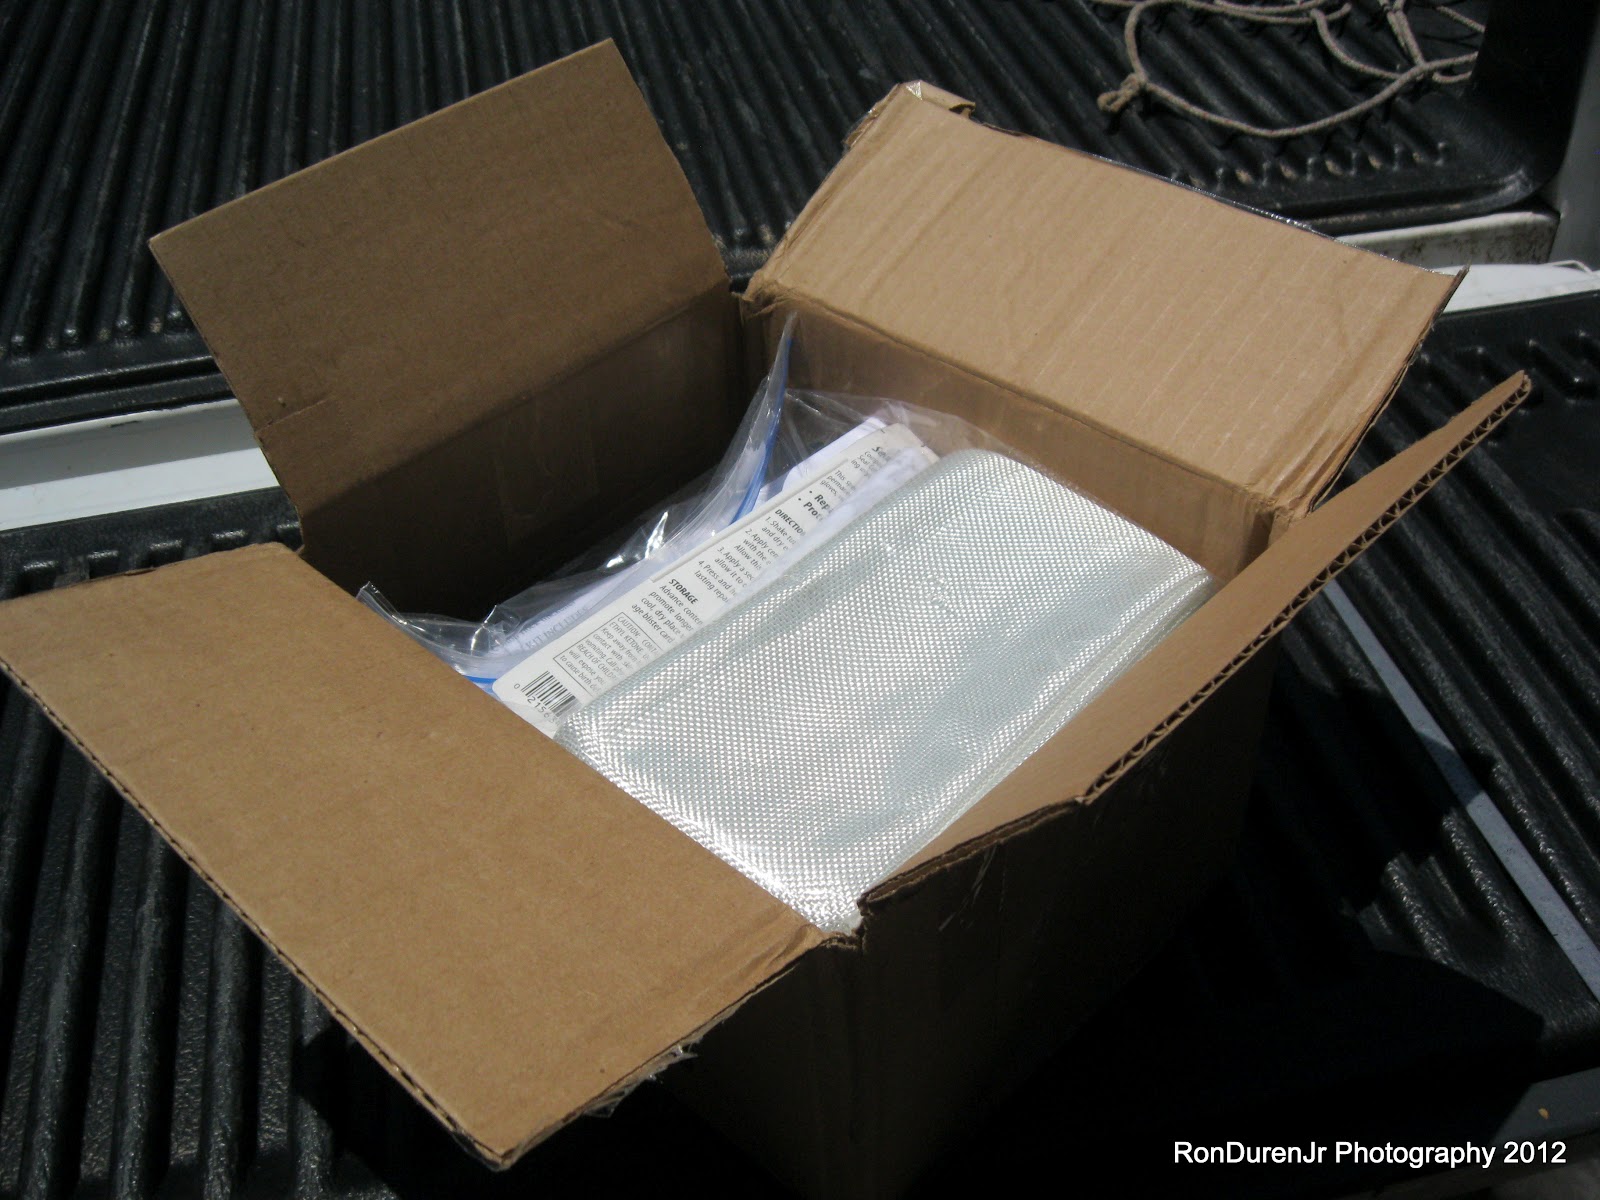
The engine is hung, as you've already read...going back in time, here are some pics of the stuff that came with it. I had one reader (Bob C.) ask what was in the box? Well, here is the answer.

First, a couple specs on the engine. It is an IO-375 from Aerosport Power in Kamloops, BC, Canada. It is rated at 195hp. The documentation that came with the engine did not show a dyno hp rating from testing. I called and asked about this, they stated that it had dyno-ed 198-202hp...which they said was "healthy" for this engine....I agree, a 200hp +/- 2hp engine sounds kinda nice doesn't it? I'm not entirely sure why this kind of data wasn't included with the engine...but I have my ideas why they wouldn't send it by default.


Lycoming engine manual...my engine is essentially the same as an IO-360-B1B. There isn't much information in here about installation or good pictures so don't get your hopes up...it covers mostly maintenance issues.


A packet containing several documents and informational brochures, including an engine log.


My Precision Silver Hawk fuel injection servo...nice looking piece of machinery.


Firesleeved hoses...although, not entirely sure what these are for yet...?


Oil sump heater installed by Aerosport...this should be plenty sufficient for Colorado winters (this isn't Minnesota or Wisconsin), a block heater is the other alternative, but would be overkill for me.


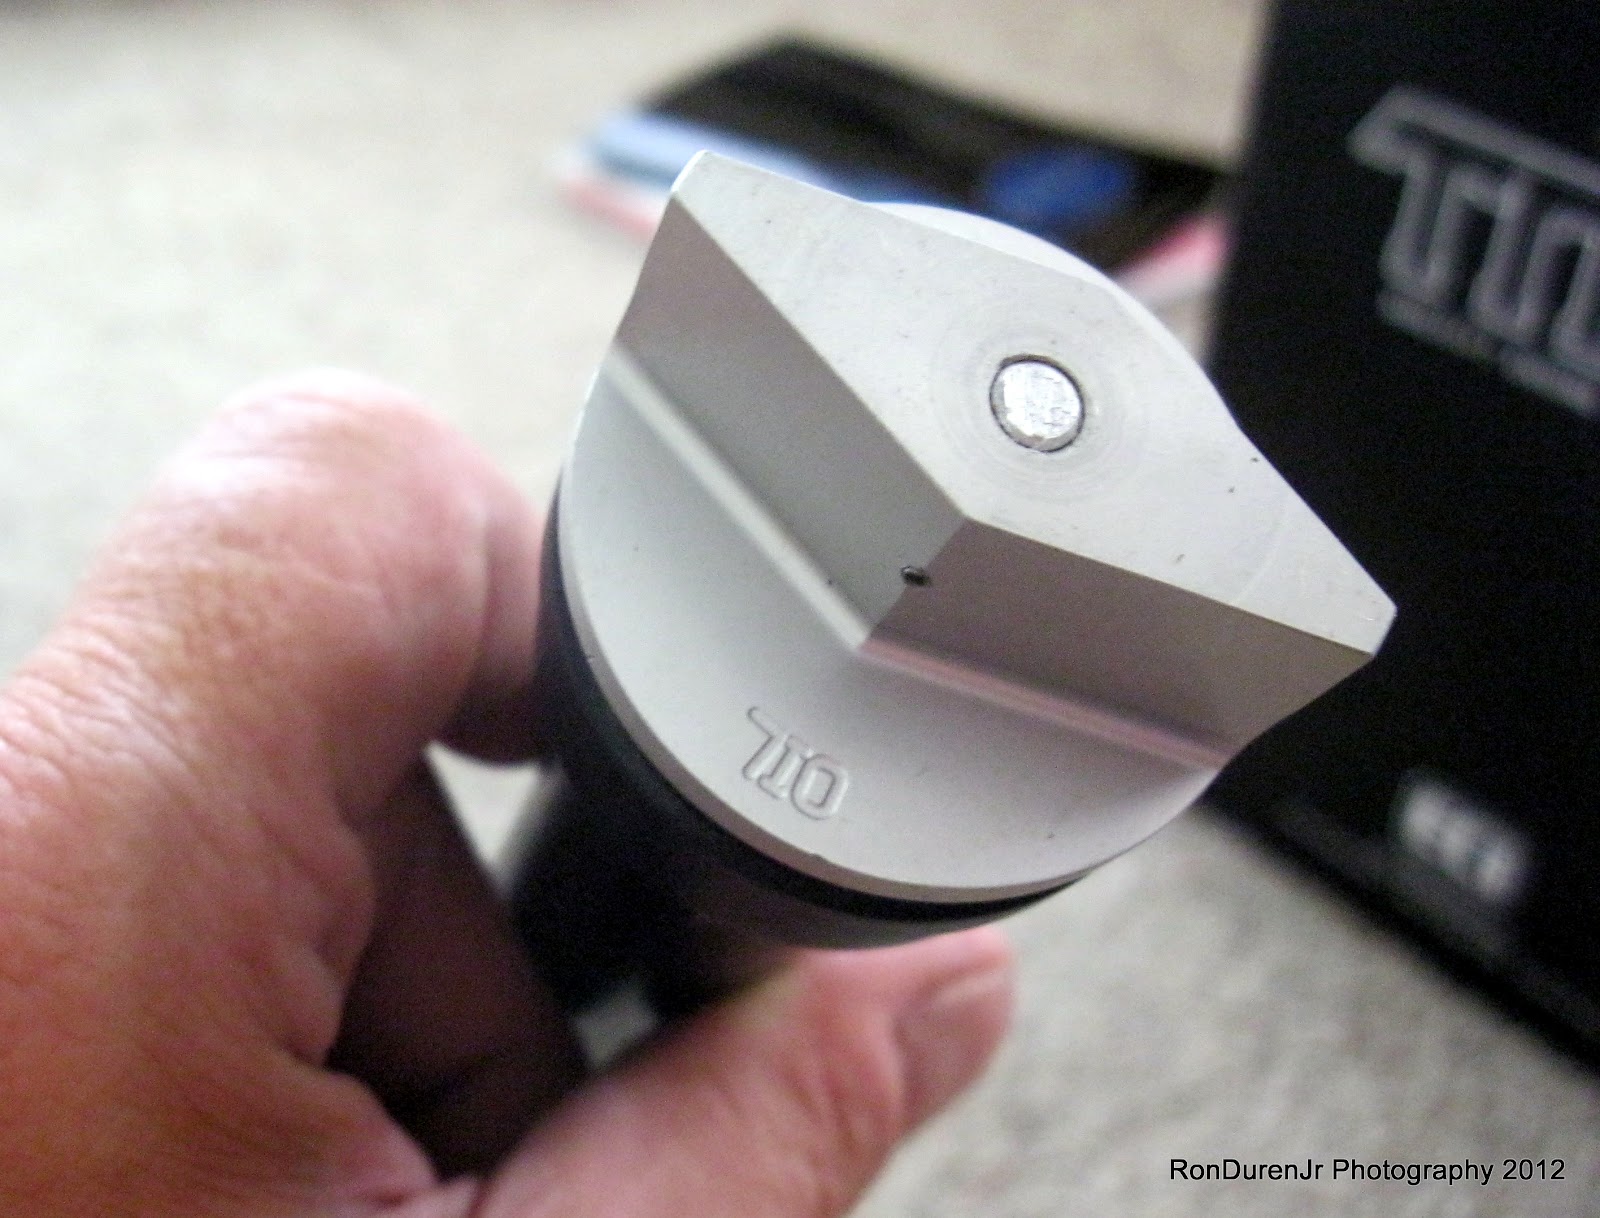
Oil filler/dipstick...this was protruding out of the top of the box when I got it, which seemed like a strange way to ship it...but hey, it worked.


A couple complimentary t-shirts...nice gesture by Aerosport Power


Auto plug wires for the dual P-mag system...this will save cost on buying aviation grade spark plugs and these supposedly work just as good.


Some hoses and decals came with the P-mag's...


A gasket and install kit for the prop governor...


Not sure yet what this cable harness is for?


Spark plug spacers to accommodate the auto plugs...spin these onto the spark plugs finger tight and then install the sub-assembly on the engine


8 plugs...two for each cylinder


Red touch up paint...which I have already used...it looks and applies like fingernail polish


60A Plane Power alternator


Lightweight SkyTech starter


Fuel distribution spider on top of the engine for the fuel injection system


90 deg spin on oil filter option...


The engine driven fuel pump on the left and mounting pad for the governor on the right


Wires hanging down for the oil sump heater...I taped these up so I don't accidentally damage them


A pic of one of the P-mag's...I went dual P-mag's...I debated one P-mag and one slick mag right up until the end. I just thought, if I am going to embrace this new technology, lets jump in with both feet. It remains to be seen if I regret this choice down the road...I do think they have stabilized the P-mag design quite a bit since the early models. For education...the difference between an E-mag and a P-mag is that the P-mag has its own backup power source in case of system electrical failure. You can read more about it on Emag Air's website.