
More work was done on the wheel pants this past week. After getting them initially fit, I noticed that the lower portion of the brake pad housing was rubbing on the side of the pants just slightly. Most likely because of my larger tires. I figured in the high vibration environment of flight, that rubbing would not be good. I decided to add a "bulge" to the wheel pants to contour around this interference. I figured I could pull it off without it being very noticeable. I call it my "guppy belly"...if you've ever seen a pregnant guppy you'll know what I mean.


Disclaimer...I am very comfortable doing fiberglass at this stage of the project. But, by no means am I a sage old expert. This way of doing it may not be the best, but its what I did and it turned out just fine. Somebody who has years of experience and expertise may think this is a silly way to do it? So...you decide if this is the path for you. I am actually enjoying experimenting with different techniques rather than just doing a Google search.
Ok, again, break out your modeling clay that you bought from the local hobby shop. I bought a large "brick" of it and use it quite a bit these days. Notice the grid lines I drew to try and keep the two pants similar. Form and shape your "guppy belly" right over the wheel pants. Do your best to make it pretty, but realize final shaping can be done with micro later.

Do your fiberglass layup. Remember to fairly aggressively scuff (sand) the wheel pants surface for good adhesion of your layups. I used to be lackadaisical about surface prep...my advice, don't be, its important.

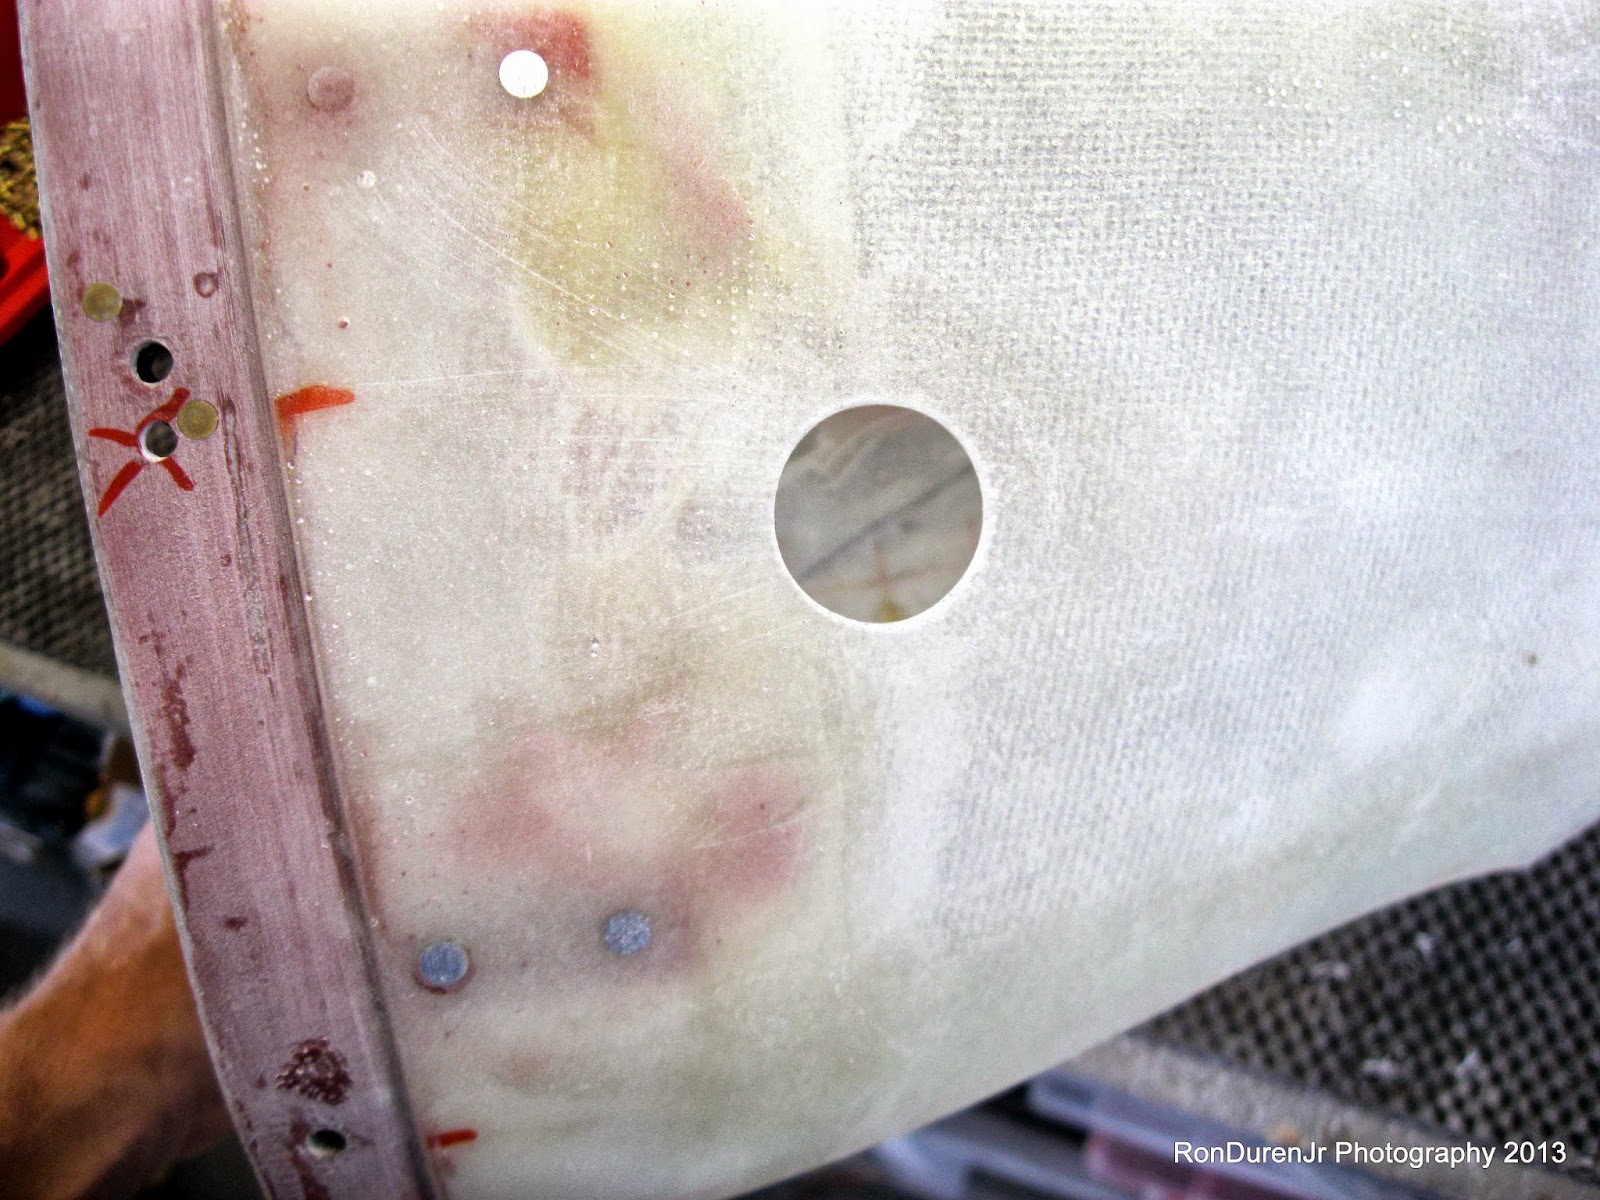
This is what it looks like from the inside. The small cutout you see is some carving I did to get clearance for fitting.

Again, looking from the inside. I now take my cutting wheel in my die grinder and cut out the wall of the wheel pants that I no longer want. Pretty easy to see the edge with the olive drab colored modeling clay. Although not shown, use a tongue depressor or similar to scrape out the modeling clay...its now done its job and can be discarded.

Here is what the bulge looks like at this stage. Not too bad...but it will need some finishing work done to make it look nice. That will come later when I glass in my fairing transition pieces.

Doing a fit check, it looks like the faring will not only clear it nicely...but kind of hide it also. Once I am done, I feel confident you wont even notice this "guppy belly" without looking closely. Doing stuff like this is part of the game if you are going to do non-standard modifications. Be prepared.


Someone on VAF posted about a nice Camlock access door that builders use to access their valve stem for airing up the tires. I thought, its really not that difficult to remove the front half of the wheel pant to air up a tire. But, the counter argument is, the harder it is to access, the less likely I will be to add air when needed. In the end, I decided to add these little access doors. These buggers are over-priced (duh), but really are a nice solution.


I'm thinking I will just paint these so they blend right in with the paint scheme. All in all, I like how they turned out and were easy to install.
No comments:
Post a Comment