
I had a VAF reader compliment my plenum design (previous posts can be found by clicking the keyword "plenum" in the right column), or more specifically how I did the front end (behind the flywheel). I had decided to remove the plenum this week to finally seal up all the gaps I could find with high temp RTV and do some tweaking to the fiberglass also.
Keep in mind, it still isn't done...its still a little bit rough, but you get the idea. I wont know for sure until later how well it performs, but I think this solution is going to work just fine. It is very securely mounted, I can move the entire airplane when I grab the plenum.
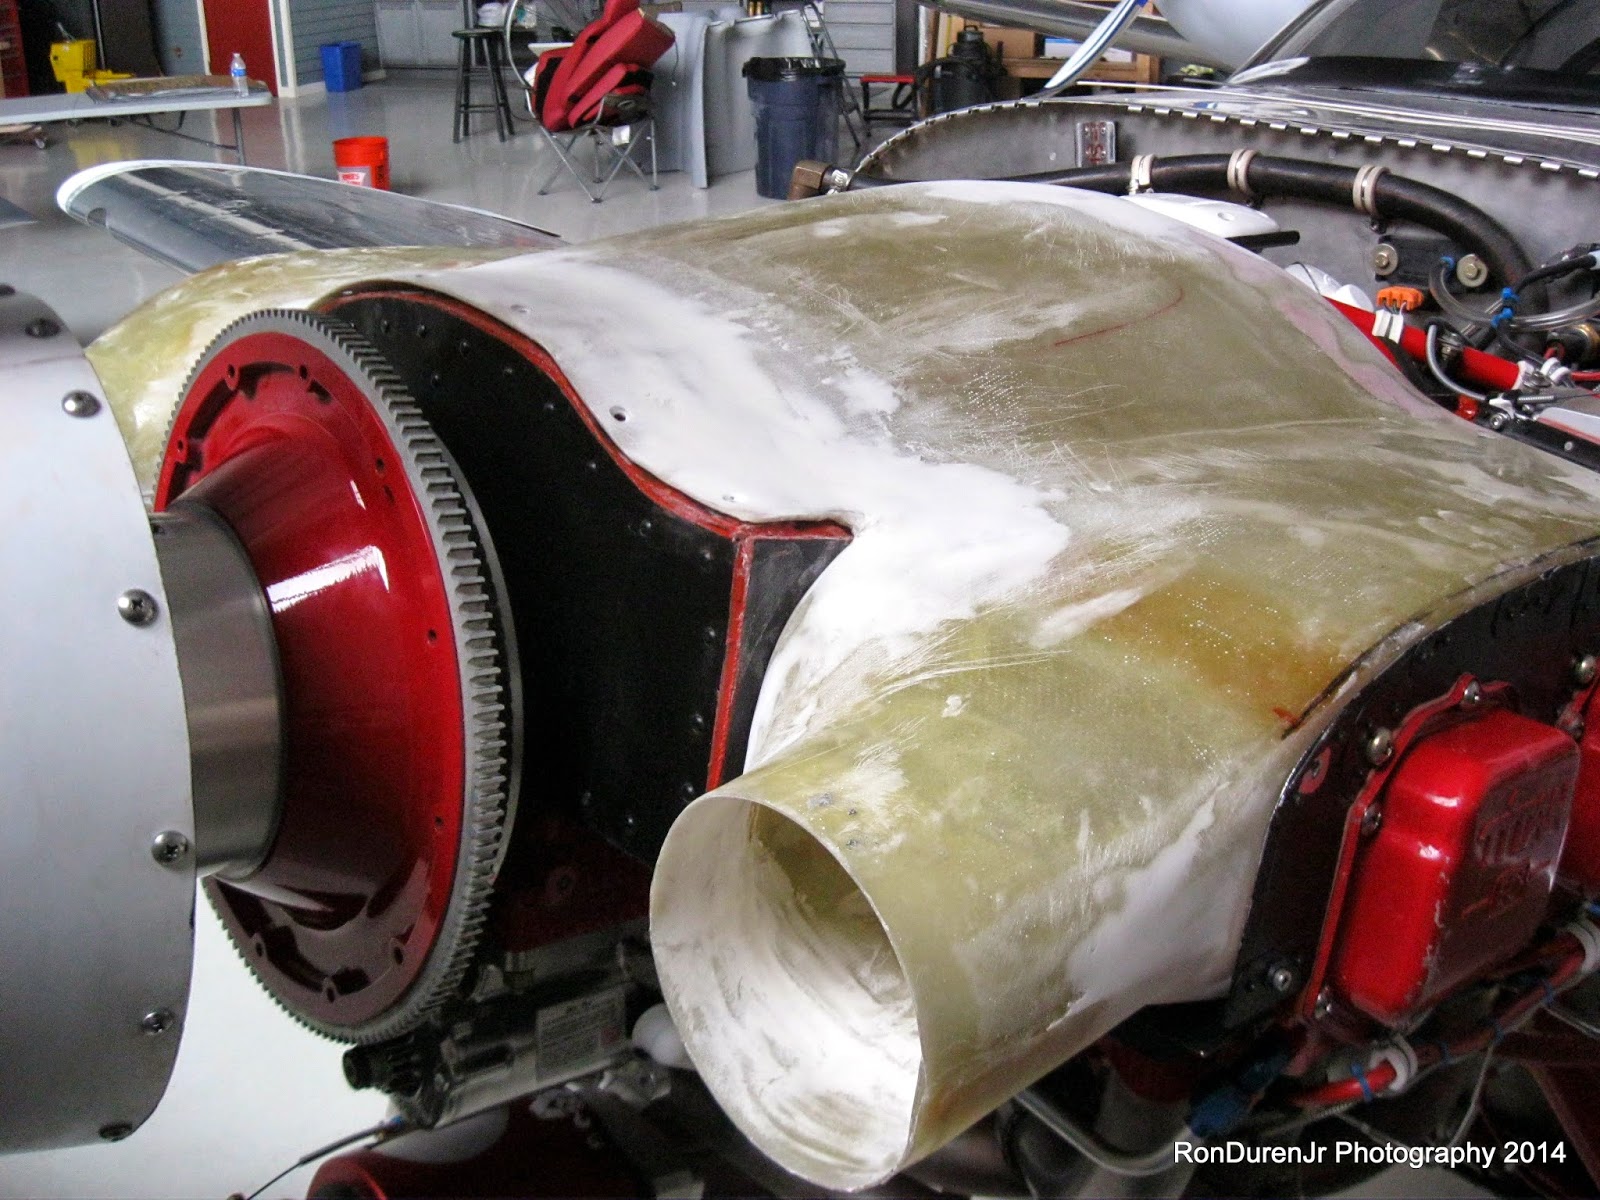
I basically just used the standard baffle kit from Van's and cut it to fit my installation. Once I had this in place, I put some packing tape and mold release on the sheet metal and laid up fiberglass to make the transition from plenum to baffles.
I then cut some of the rubber material supplied in the baffle kit and laid it over my front (black part) bracket. This sandwiches between the plenum and the bracket as a sort of rubber washer. I used some high temp RTV to hold it in place.


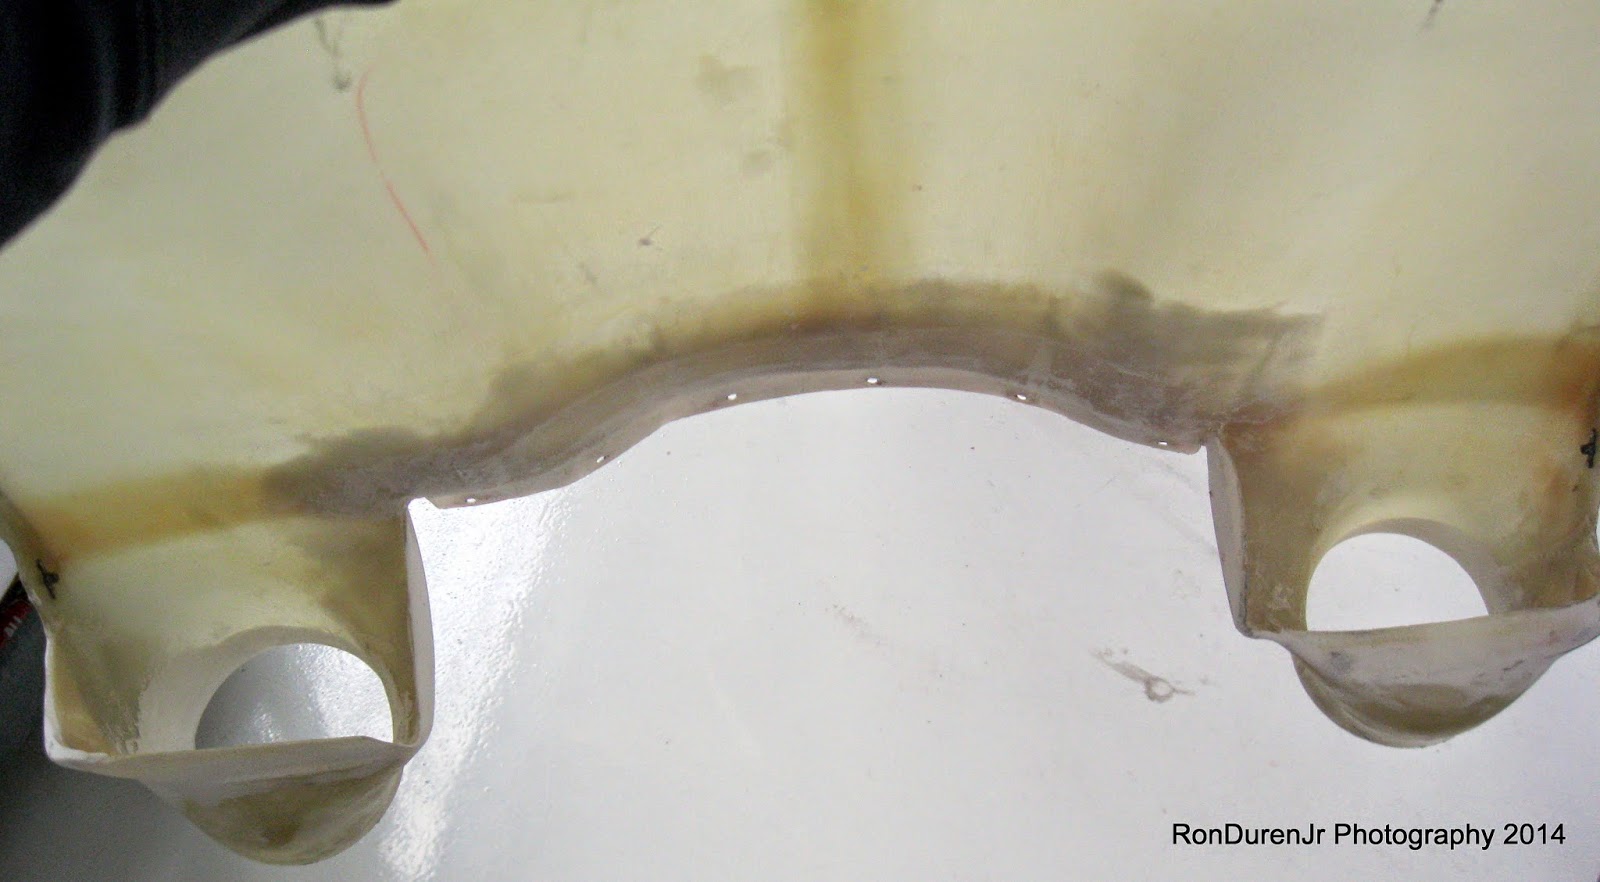
These two pics show the transition of the two inlets. As you can see, I didn't use any fasteners in this area and am relying on a nice tight mate between the plenum and baffles. It does fit real nice, so I'm hopeful this is a good enough air seal.

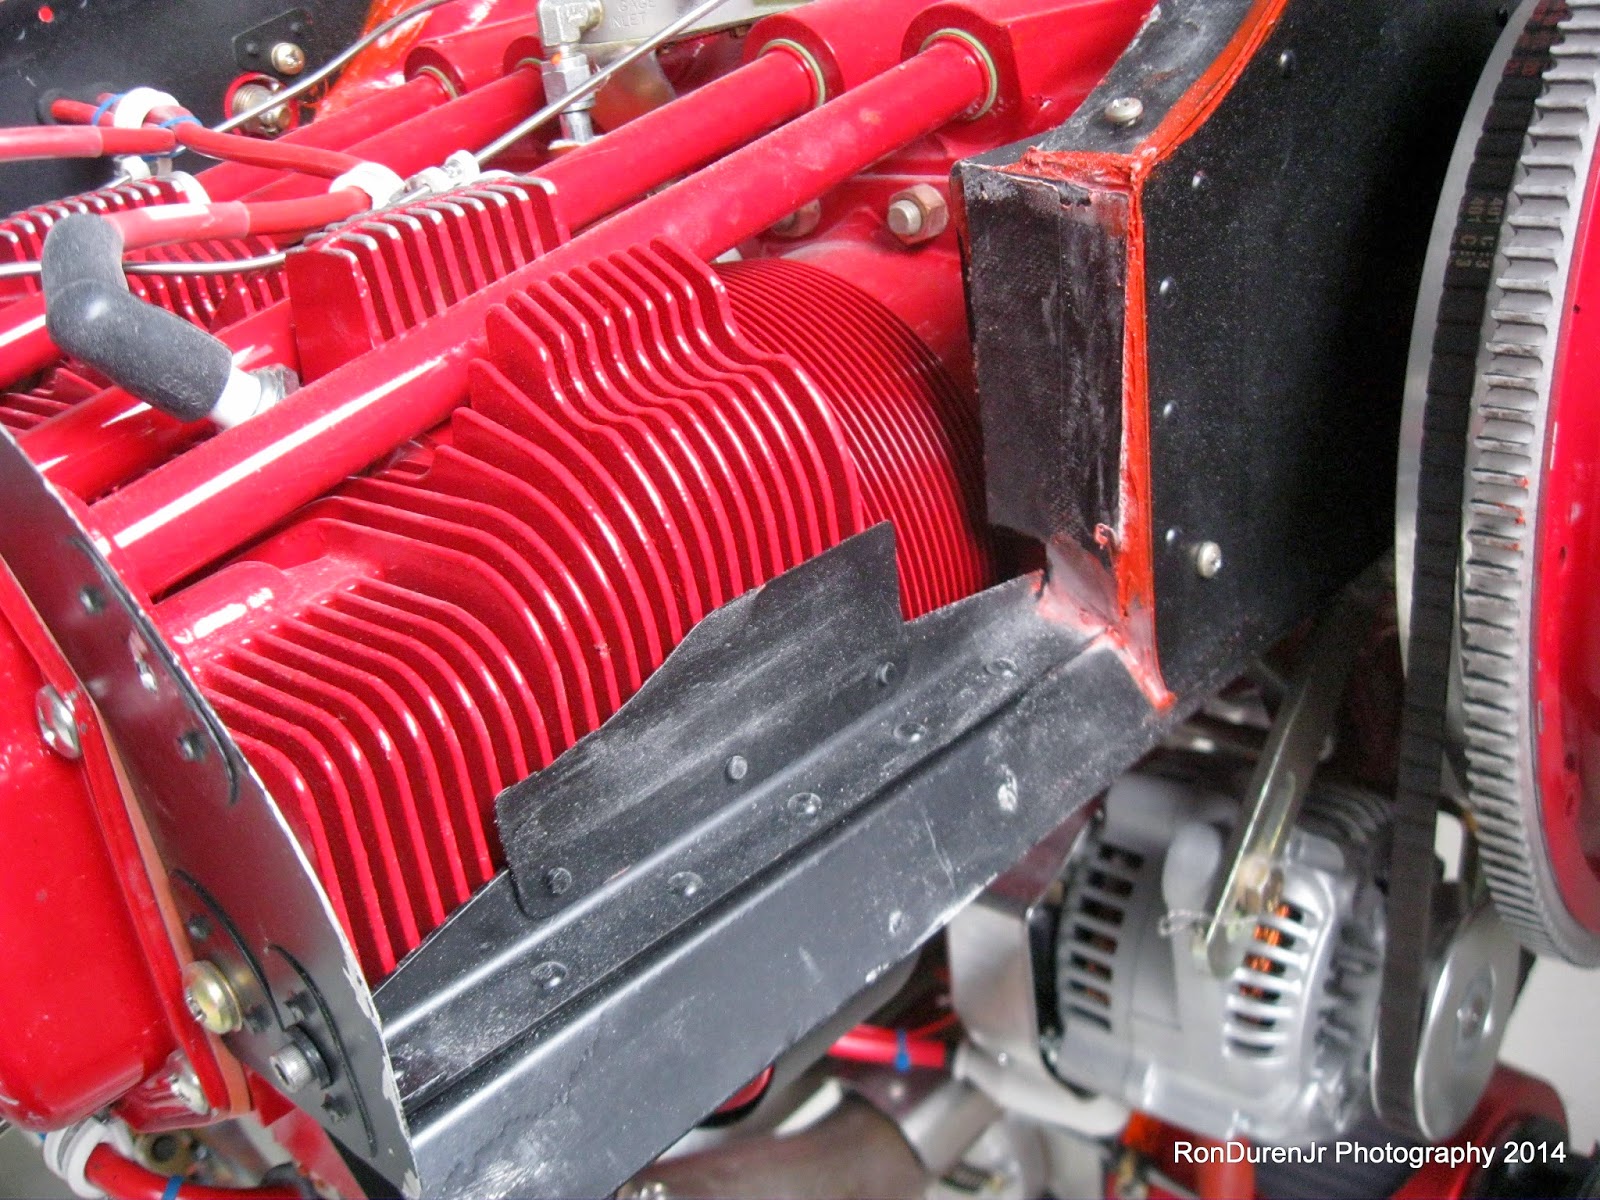
These shots give you an idea how I modified the Van's baffle kit to fit my installation. Notice how much I cut down the deflectors also...time will tell how well I did on that as I balance out the thermals on the cylinders.
Again, another shot of how the inside of the plenum looks. One thing I failed to mention was that I had to extend the SJ plenum to overlap my front bracket.

I then used tinnerman washers and flathead screws to mount it from the top. Notice the two above and in front of the oil cooler.

Another detailed view of the top/front.


Detailed views of how the inlets look when installed.

Lastly, another view of the other side. I hope these pics and description give you enough to go on for your own solution. Or better yet, take what you see here and make it better. I personally like how this turned out, but the proof will be in the pudding...how efficient is it for cooling? Time will tell. The next flight should tell me a lot, now that I have sealed it up better.
No comments:
Post a Comment