

Again, I couldn't find any instructions in the Van's manual about how to install my tip covers, nor did I research any blogs, so I just winged it...pun intended. This is what the cover looks like from the factory...a quick glance will tell you that this is used for both wing tips. First task is splitting it into two pieces. I just sketched a line down the center and used a cutoff wheel in the dremel.
At first, I wasn't sure the dremel was the best tool for cutting this stuff. My guess is this is polycarbonate (PC). The main difference between PC and Plexiglass (which the canopy is) is PC is softer and not a brittle...i.e., it wont crack as easy but it will also scratch easier (which is why we don't use it on the canopy). So, working with it is a little more forgiving.
Anyhow, cutting it with the dremel caused some melting and even a little smoke. The melted PC was easily removed however and so I used it throughout the process...mainly because I couldn't think of a better way to cut it. Just take your time, it will work fine.

Once you have it cut in half...do some fitting, try your best to line up the curvature...this is about where I thought it looked best. I temporarily taped it in place and started laying out my finish cuts.

I suppose you could just a sharpie to do this...but I thought this electrical tape would work better as I didn't want to try and clean sharpie marks later. Of course, I laid out this tape while is was in place on the tip.

After several iterations of cutting, trimming and sanding...this is what I got. Not too shabby, I like it.

Not sure if its the Mechanical Engineer in me, but I am paranoid about wires rubbing in the vibration prone environment of an aircraft. Here you can see I added some protective flex guard to the wire harness. Probably overkill...but it is what it is.

Here she is mounted in place...I just centered it top and bottom and tried to bias it toward the front of the wing for better visibility...no rocket science here. I tell ya, Aveo makes a nice looking product...I really think this puppies look sexy!

Nut plate installed...inside view.

Most everyone these days only puts two screws in these covers...right in the corners. Doesn't seem like much to me, but plenty of planes flying like this so I am following suit.

Let me add...I match drilled the holes with a #40 bit (little chance for cracking) and then opened up the holes with this little grinding tool in my dremel. Worked just fine...cleaned up the hole and...no cracks. The PC is more forgiving, but still be careful so you don't have to redo it.
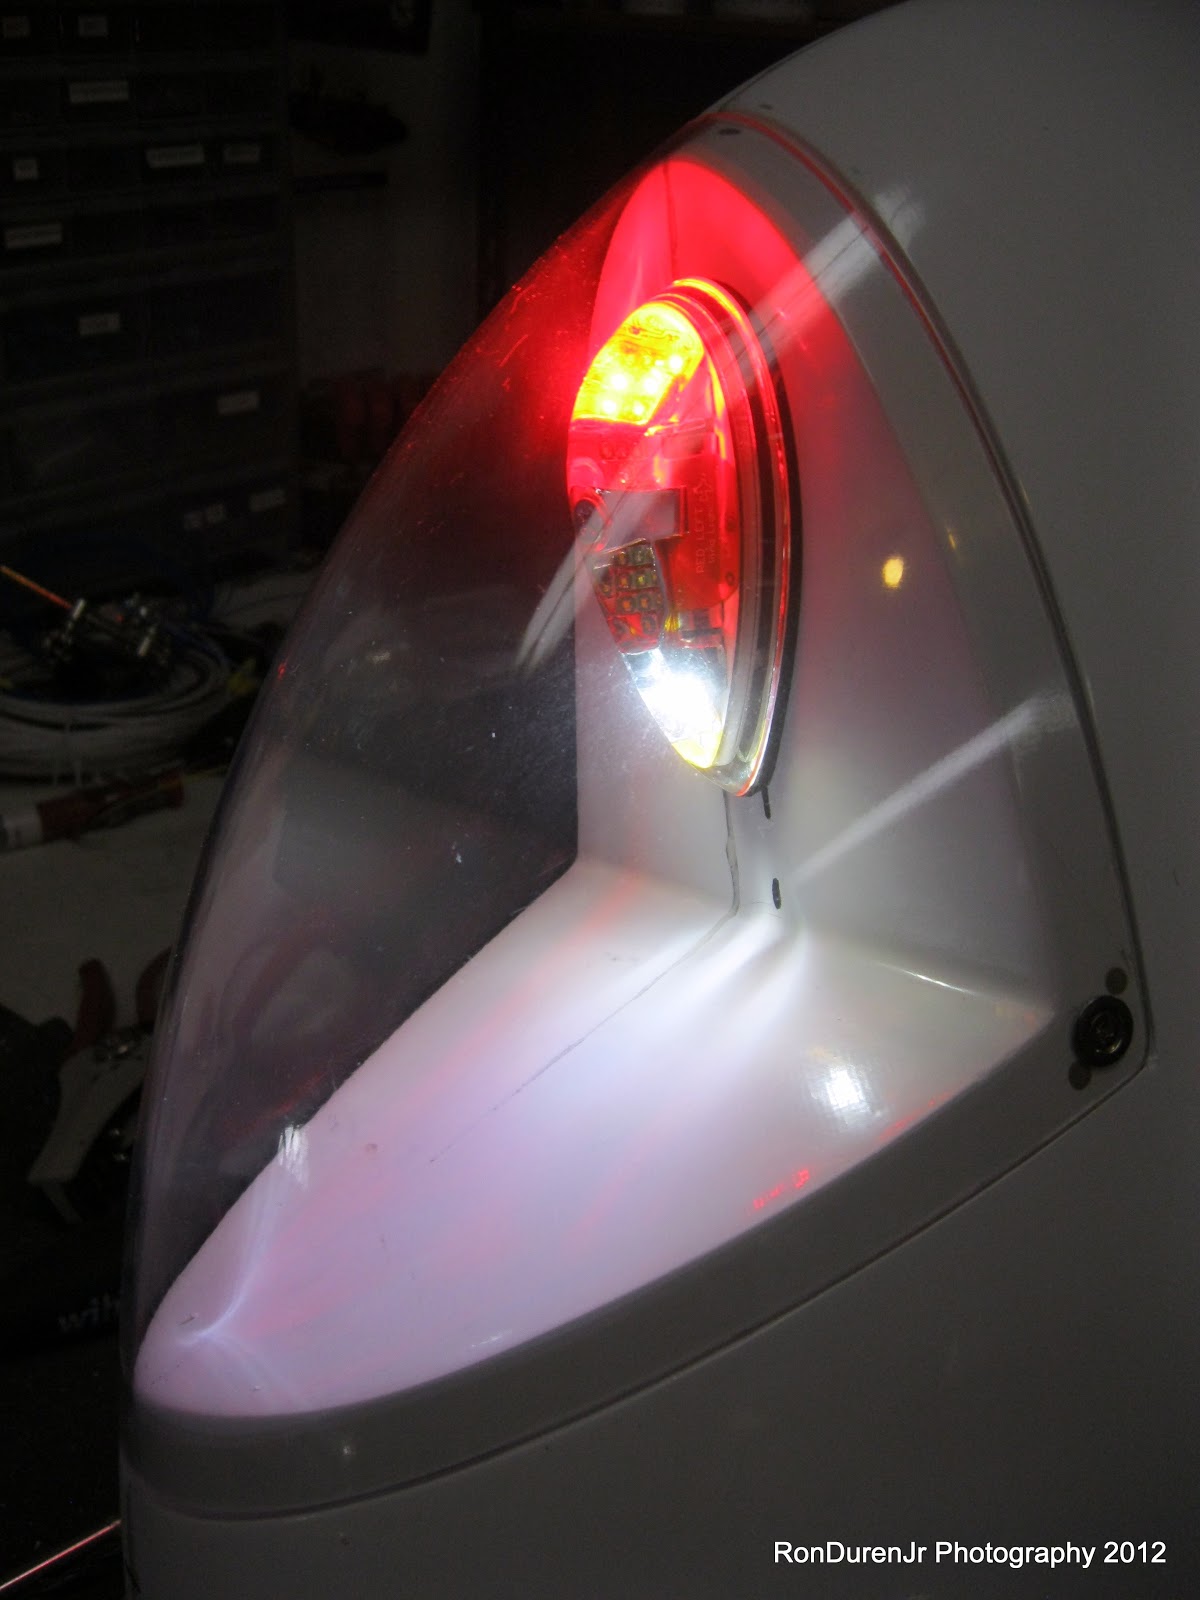
Hooked it up to my power supply to see some pretty lights....cool eh?
And a little video to show the Nav and strobe in action...love these babies. If you were wondering, these are LED lights...low power and will last forever.
No comments:
Post a Comment