
Before I took the plane back off its gear, I wanted to get the brakes mounted and the wheel pants brackets deburred and trimmed since I plan to get them powder coated red, along with my engine mount. I, as you know, went with the Grove brakes so I had to do some minor trim work on the brackets for clearance. Not sure if you need to do this with the Van's stock setup?
I'm embarrassed to admit, figuring out how these brake assemblies went together took me a good hour of head scratching. And I call myself a Mechanical Engineer! Pitiful! Van's doesn't have any exploded view drawings to show this (probably because they assume its sooo easy, whats the point?). Grove has a nice assembly view of their setup, but doesn't show how it mounts on the plane...so the builder is left to connect the dots. I've never seen an aircraft brake system assembled, so I was a little in the dark. Anyhow, I finally got it done...and then said, gosh that is so simple...not sure why it threw me for such a loop? :) But, just in case, you have trouble with it too...here are some pics to help you along.

A view showing the orientation of the brackets mounted on the gear leg

You have to fabricate spacers for the pants bracket mounting (see previous pic)...here you can see, I used washers to figure out the correct spacer length as the plans only give you an estimate

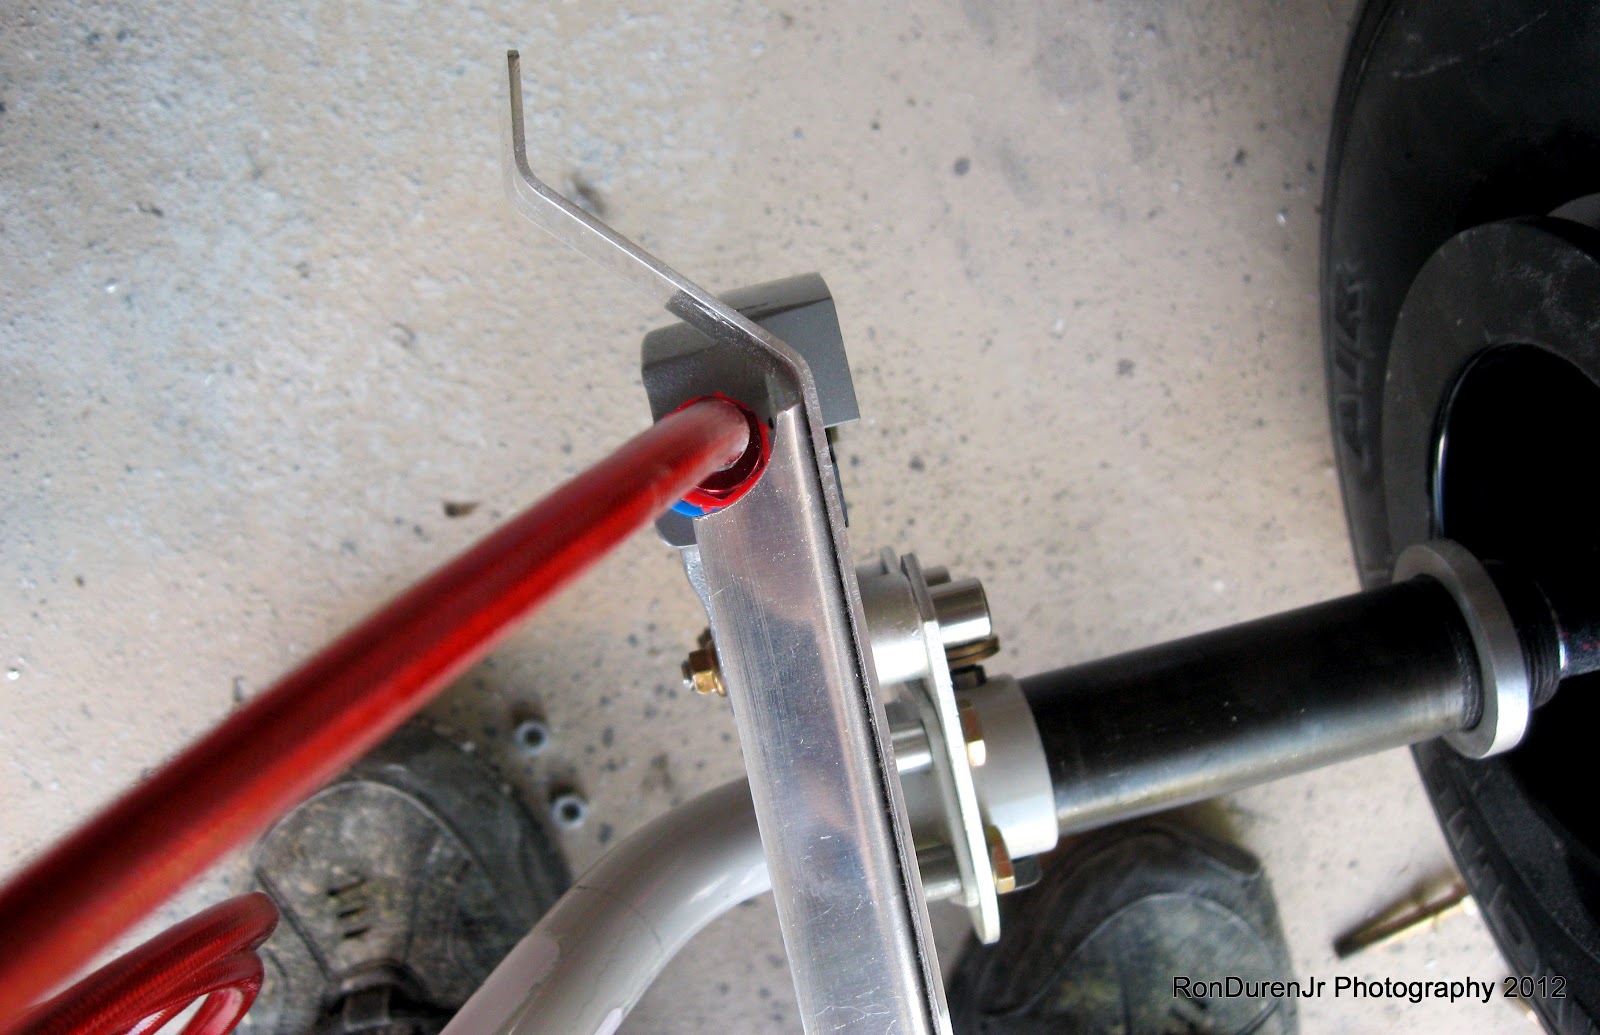
Pants bracket mounted in place. If you look closely at this pick you can see where I had to notch out some material around the brake cylinder assembly

Another view showing the "notch" I mentioned in the previous pic. I had heard of these things cracking (usually without the pants installed...probably due to vibration in flight). And, putting my Engineer hat on...I really thought this bracket was kind of flimsy for the job it is supposed to do. And the notch I cut in it, weakened it even more. So, I added some stiffeners to the brackets...I had these left over from my axillary tanks...handy to have around. I know, I know...its added weight...but shoot, those stiffeners weighed just ounces, and the brackets are now much stiffer. In my mind, a good modification.

Fit checking (top view looking down)...I noticed I didn't have room for the brake line that will be coming down the gear leg. Some extra modification fixed that dilema

I cant believe I didn't get a picture of my new "RV jack" from Avery. This thing works great and is a must have for RV owners...money well spent. For it to work, you need to modify the axle nuts. In this pic, you can see how they come from the factory with nutplates installed. This is where the outer pants bracket will mount

First step...cut a 1" diameter hole in the center of the nut...very easy to do with a 1" hole saw

Then you need to add some slots (angle grinder and file) for the Avery supplied steel brackets...not too tough

And...bam!...you now have your modified axle nuts....took less than an hour. You will remove the steel brackets to use the jack.
No comments:
Post a Comment