

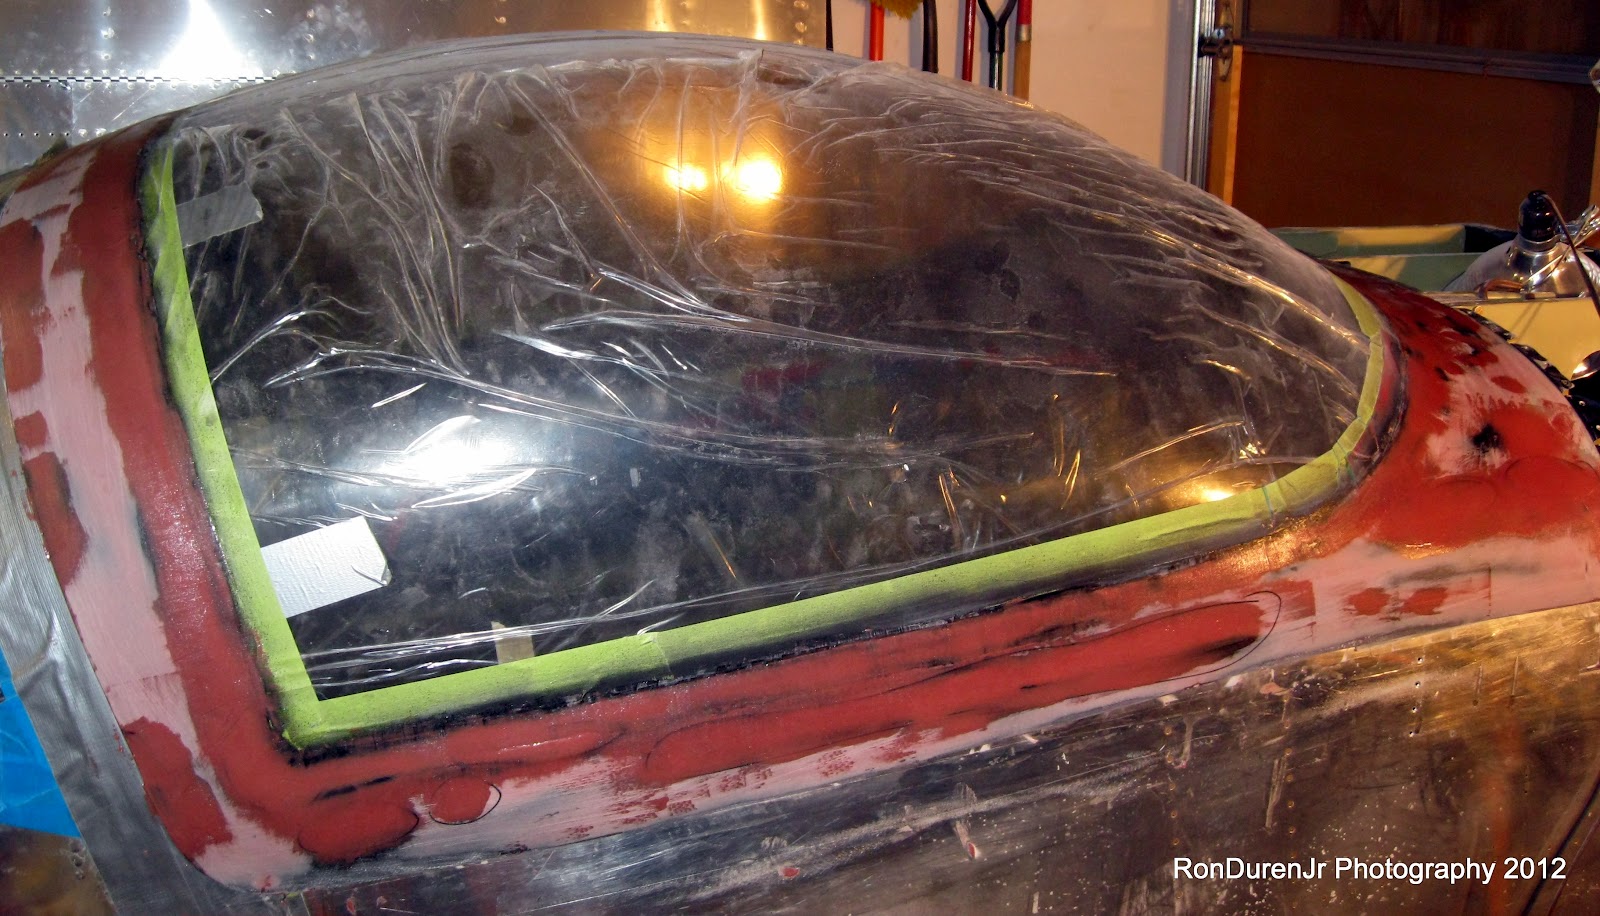
Still pluggin' away on the canopy work. I hate sanding, so I only do a little at a time and then switch to a different task. Here you can see, I have added a coat of resin with West Systems 407 sandable filler (special kind of microballoons)...that's the rust color you see. The trick is to get just the right consistency, thin enough so it flows well but thick enough it stays where you put it. From my empennage work, I am getting pretty good at this.


After some sanding...I can see low spots pretty easily...I circled these with a sharpie in preparation for another coat of filler
And after application...getting closer

I went with the Grove reservoir and it takes a little bit of design change to make this system work. I borrowed this slick design from Roee Kalinsky. Very nicely done Roee! I didn't do it exactly like he did...thought the bracket he fabricated was a little overkill, but I did add a spacer as you can see.


Installing the contactor and relay under the battery box. Ignore my vertical spacing between the two...I made a slight mistake there and have them further apart than the plans show.

No comments:
Post a Comment