
I did this while it was laying on a pad on the floor and raising the tail slightly. Once the center fuse was securely attached, I then added the side skins and the longerons. I then lifted the entire assembly up onto the saw horses. No...I haven't built a fuse stand yet...I wanted to get a feel for how I want to do that?...how high off the ground should it sit? Should I support the fuse at two places, or three? Do I need it to be mobile (on wheels)? etc. Having it on sawhorses makes me a little nervous though so I need to address that soon.
From there, it was kind of a whirlwind at how fast big parts were coming together. Albeit, only cleco-ed in place rather than riveted, but very cool nonetheless. The firewall and forward fuse was the next big chunk. I now have what is really starting to resemble an airplane. :)

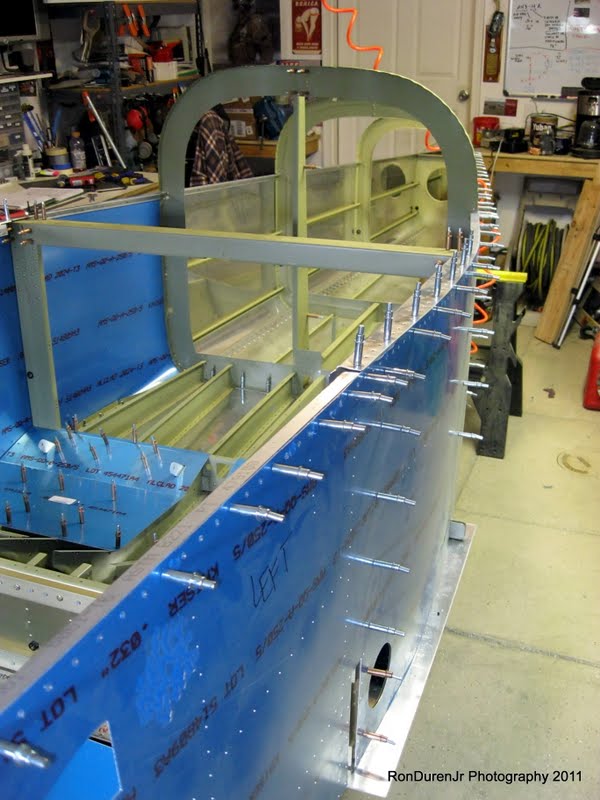
This is how it looked when I first lifted it up onto the sawhorses.


Fitting and match drilling the arm rests...have to do a little fluting on these as you can see.

The instructions say to install the side skins...do a few minor things, then remove them to add this bend and reinstall. I would just add the bend immediately...no need to attach them twice in my opinion. But here you can see by the red arrow the area to be bent. This has to transition into the curvature of the aft fuselage.

I did mine a little different than the plans say and I was pleased with the results. I used a piece of water pipe I had from prior build activities. I just used my hands to massage a nice curve into the sheet. It doesn't have to be perfect, but the closer you get it, the better.


You can see in this pic, the finished results. However, notice that I have the orientation of the overlap wrong. How each skin overlaps the other can be a little confusing while looking at the drawings. I once worked as a roofer and, although I missed this one, the concept is pretty intuitive to me. Just think about how you would overlap flashing on a roof...how would you want the water to run off? In this pic, the water would run right inside the fuse, which obviously isn't desirable. I will fix this when I reassemble it for riveting. Edit 07/13/11: Checked the plans last night, this orientatin is actually how its called out. I dont agree with it...and it looks like it would be easy to do it either way?? I'm probably making a big deal over nothing?

Here you can see by the red arrows where you have to notch the longerons around the empennage attach brackets. DON'T notch the attach brackets...Van's warns you about this in the plans as well.

Here is a shot of the forward end of the longeron. You have to trim this back so you have 3/4" from the edge of the side skin. As you can see...I ended up cutting approx. 1/4" off mine. Just used a die grinder/cutting disk...nothing to it, worked out well.
I was pretty amazed at how well my longerons matched up with the curvature of the fuse. You bend these longerons up according to the plans, plenty of twists and turns. But in the back of my mind I kept thinking...I'm going to have to do a lot of tweaking to get them to fit perfect. Wrong..follow the plans the best you can and its amazing at how well they come out (the longeron dies were probably instrumental in this). I did have to massage the 17 deg twist where it attaches to the firewall, but not by much. Anyway, I really enjoyed looking at seeing the nice smooth curvature in the fuse...pretty cool.

Match drilling the longeron/skin/steel attach bracket. This took a little doing to get the holes lined up nicely. Don't get lazy here and shortcut this, make an effort to do it like Van's says. This is an important part of the structure and you don't want to be oblonging these rivet holes.


Now I am starting to add the support pieces (match drill) to the side skins and floor. This will be my next work session. Seeing this all come together has been a blast!
No comments:
Post a Comment