
I have to admit, I am bouncing between fuselage work and finishing up the wings right now. I'll do a separate post for the fuse work. This one concerns my activities on the wings. I spent a few hours finishing up the interior details before riveting on the first bottom skin.


As I prepared to rivet my bottom skins solo, I knew that I would be using my tungsten bucking bar almost exclusively because of its small size. I also knew all of the riveting would be done "blind" so I wanted to protect the interior ribs and spar as much as possible while I did my work. That meant covering the edges of the bucking bar. I have used duct tape before and I have heard of some builders using old bicycle tubes. I came up with this idea, a large piece of shrink tube...hit it with the heat gun and voila, a nicely protected bucking bar.

I also wanted to put my new fuselage prints into blueprint "sticks". I checked on prices at a local blueprint supply store and they wanted $200 for a set of four!! Huh?! Screw that, I'm building an airplane and the 'can do' attitude that goes along with that. I bought some aluminum extrusions at the local hardware store that are used for door reveals for $6 each. Added some screws I had laying around and for a whopping $12 my prints are now secured nicely.

Here is how my wiring conduit, vent line coming from the ER tank and my pitot and AOA lines. Note: I should've put the conduit on the top of the wing to have it out of the way for riveting the bottom skins on. Although that was a bad layout decision on my part, it still looks nice and professional.

If you look close, in this photo you can see a custom bracket that I made (wrapped in shrink tube) to capture the pitot and AOA lines as they crossed past the bell crank. I wanted to ensure there was no possible way they could either interfere with the bell crank or rub on it.
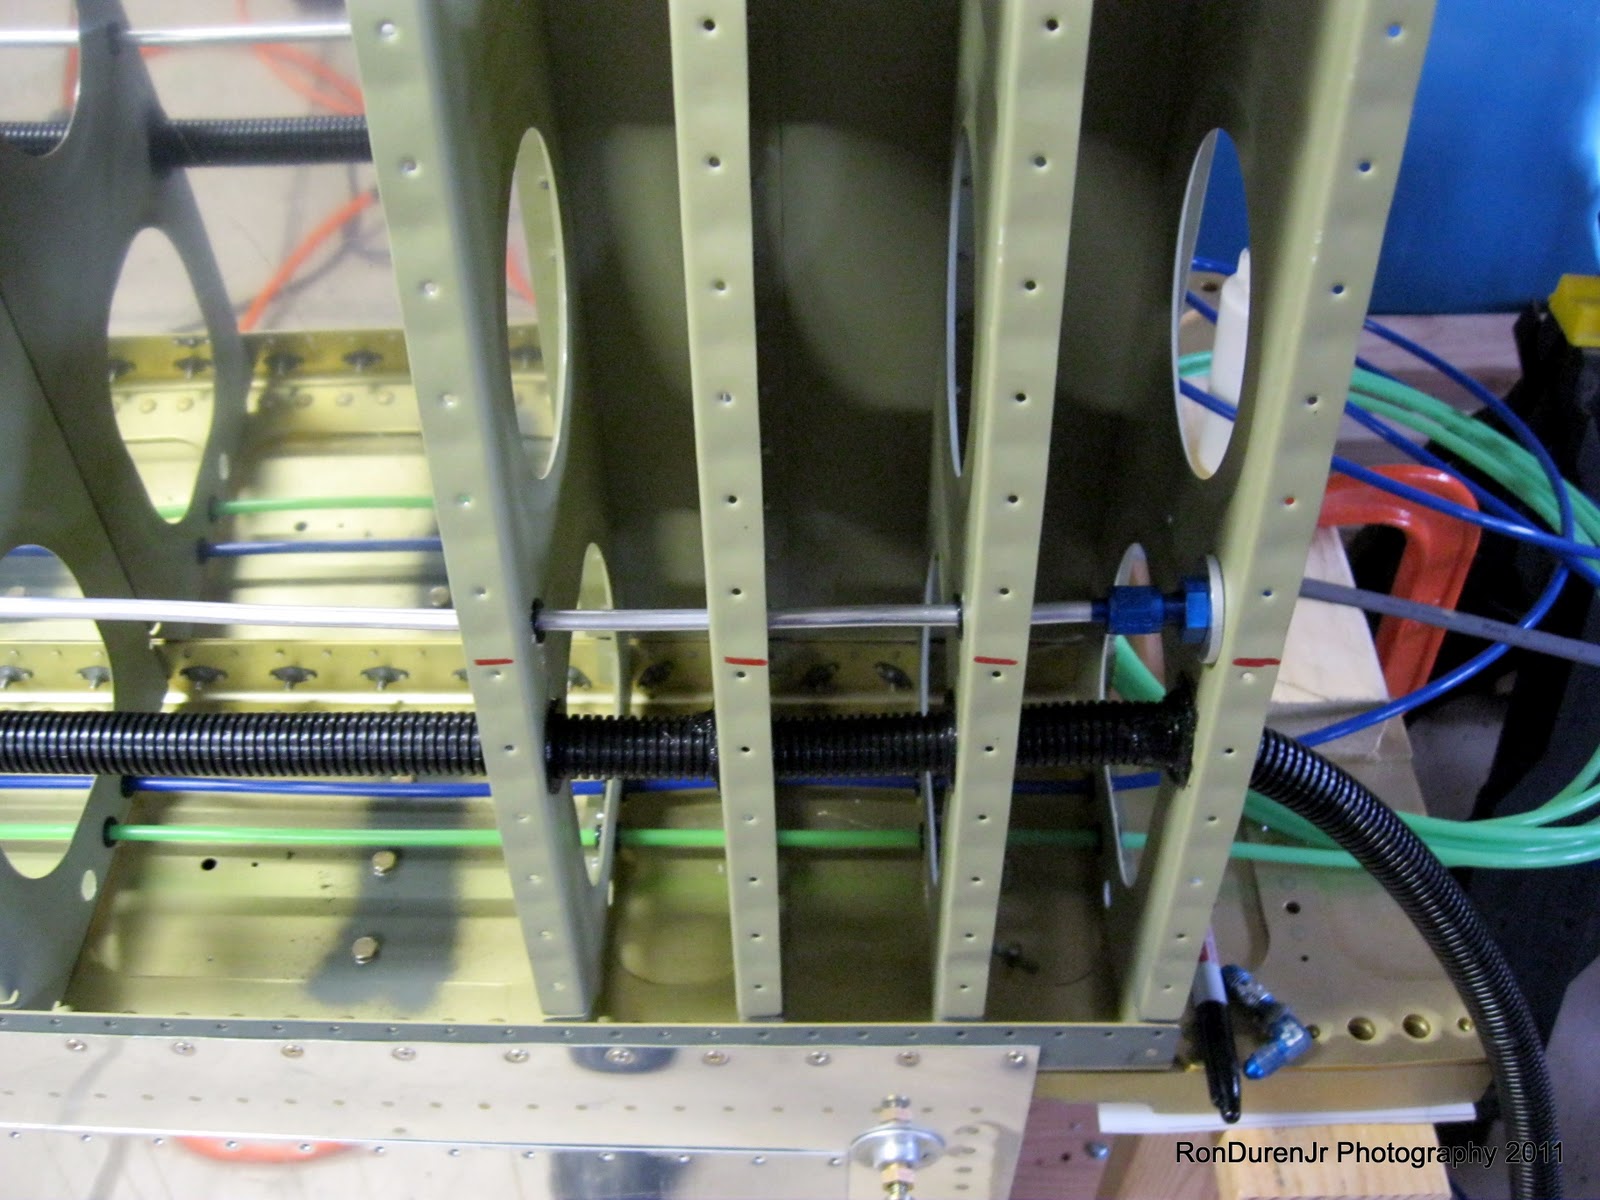
Another closeup shot of the conduit and vent line running through the wing walk doublers.

And here is my first bottom skin (left side)...I'm about 2/3 of the way done in this photo. I got tired...its slow going and not easy. [On a side note: Don't ask me what I got on this wing skin?? I got something on it that doesn't want to come off?] Anyway, the riveting wasn't too bad but wasn't too fun either. Somewhere in between the two extremes. The 'solo' part was actually not bad...in fact I'm not sure two people would help much. Its very tight spaces and reaching blindly with your bucking bar. I cant imagine two people trying to squeeze into that space. Obviously the worst part is in between the wing walk doublers near the rear spar...it gets better as you progress from there. All I can say is its good I have pretty skinny arms!! :) Its tight!
No comments:
Post a Comment