I had heard that as you progress in the build, Van's kind of stops 'holding your hand' and leaves more and more of the details up to the builder. Well, with the aileron I started to see this transition. I had to fill in the blanks with a few things on this sub assembly. That slowed me down a little and caused some head scratching and even a couple minor mistakes. The right aileron will go much quicker now that I know the process. Here are some pics for the weekend's work....
All interior parts acid etched, alodined and primed...you know the drill by now
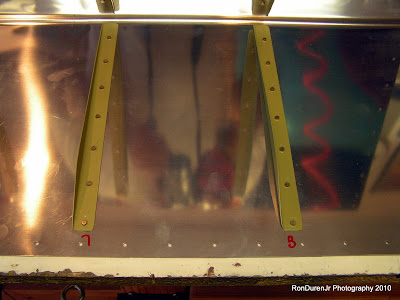
Stiffeners back riveted into place, these babies really do a great job stiffening up the structure
All stiffeners are numbered and marked so that they go in their correct location where they were match drilled
One of the many fit checks...cleco it together, match drill, check fit and plan your assembly order
A shot of the nose rib interior structure with the water pipe counterbalance
Be sure to follow the instructions here, blind rivet the counterbalance pipe FIRST before riveting to the main spar...ask me how I know?
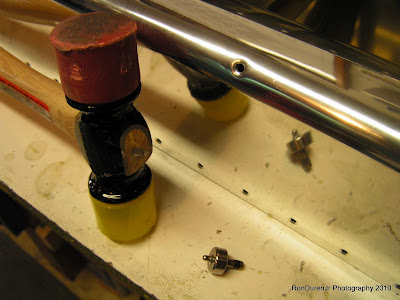
Van's was kind of vague about how to get these countersinks in the leading edge for the counterbalance. From what I could tell, they just said to install the blind flathead rivets and they would pull the material into a dimple?? I cleco-ed the counterbalance pipe (which has machine countersinks) in place, then took my dimple die...inserted it in the hole and smacked it with a soft mallet. Worked slick.
The result, a pretty flush flathead rivet considering where it is located. I can live with this.
Attach bracket in place for fit check, all systems go!
And there ya have it, an aileron. I gotta add the nut plate and tweak the trailing edge but other than that, its done.
And a shot of my right fuel tank...spent about five hours on it sunday. All interior ribs and one end rib done. Still have to install the capacitance plates, vent tube, end rib, access cover and the baffle/attach brackets but the hard part is over.


