
Crimping (terminating) RG400 coaxial cable is pretty straightforward...with a little guidance. I learned this in my SportAir electrical class, but I had to refresh my memory since its been awhile. Here is a short guide for your reference if you've never done it before.

First, go to Vertical Power's website, Marc has some very helpful documents that you should read. For this task, click on the "Connector Service Manual" link.

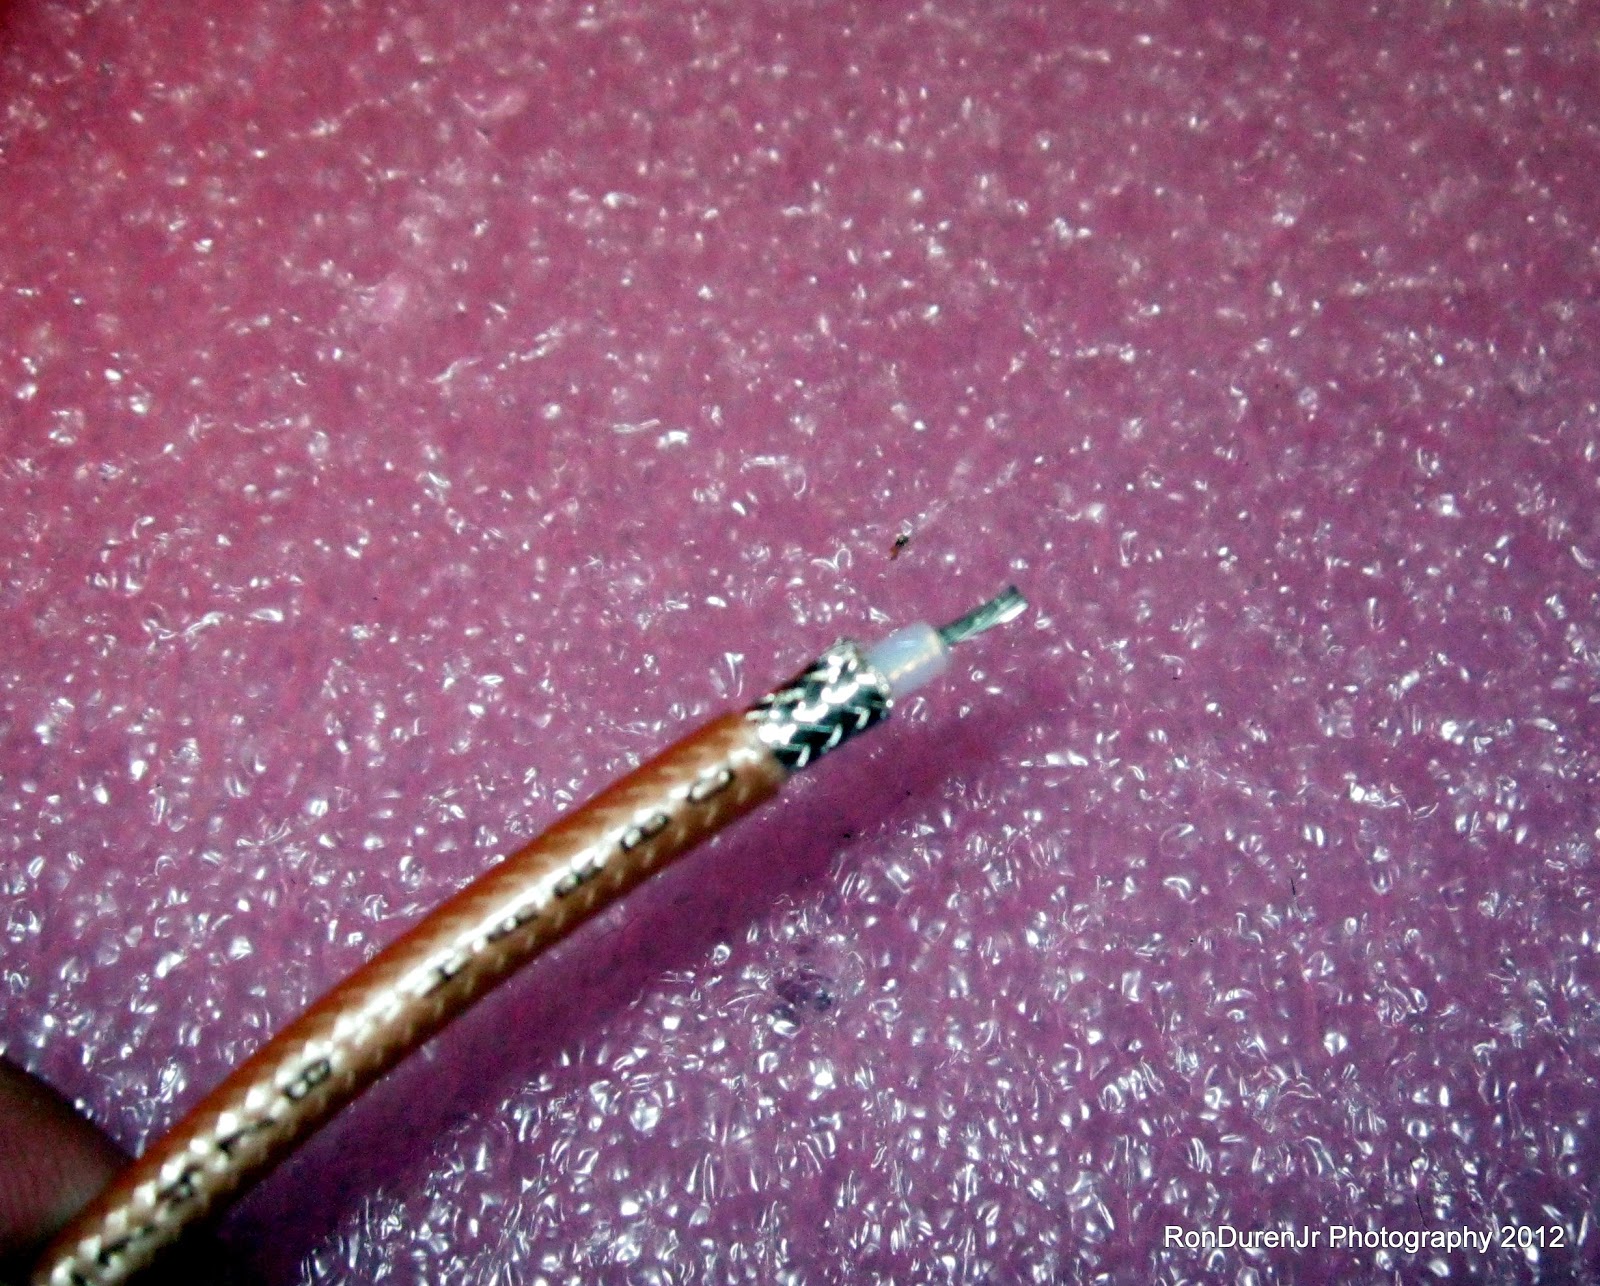
I found some inconsistency in these strip dimensions in my google search. Above is what I used and it worked fine. Bob Knuckles, for example, uses different numbers. It leads me to believe this isn't that critical as long as the shield extends far enough for a good ground contact with the crimp.
They sell special stripping tools for this task...I, amazingly since I like tools, did not buy one. I just used a razor blade...worked fine for the small number of times I need to do this.

Slide your center pin on...notice a small gap between the white insulator and the pin, this way you know it is fully seated.

Use the proper Coax crimping tool for the job...no pliers!

First crimp the center pin...these pliers do both the pin and the main connector housing.

Before sliding the connector housing on, slide the sleeve and a piece of shrink tube on first. Notice that the silver braided ground sleeve slides over the connector.

Again, use your ratcheting crimp pliers to secure the connector.

Slide your shrink tube over and apply heat...there ya go, nothing to it. You can use color coded or label printed shrink tube also...on this example I didn't do either, but the opposite end will have some identification.
No comments:
Post a Comment